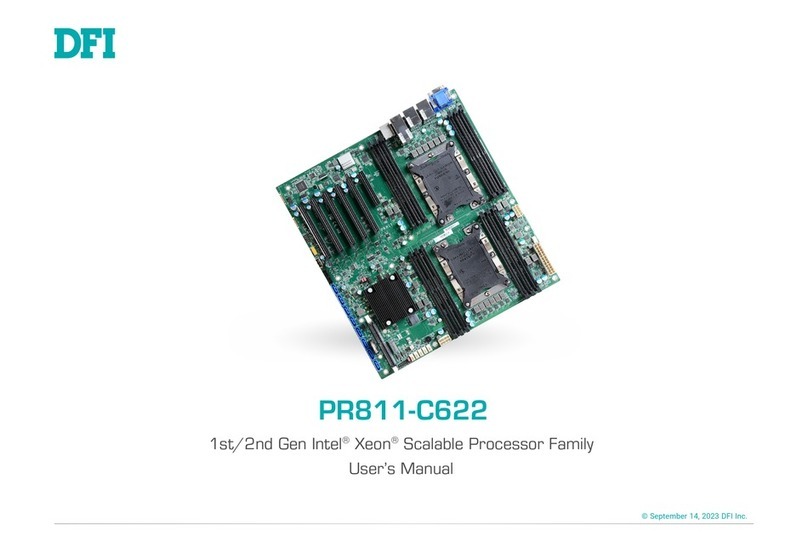
DFI PW35 Series User manual

PW35 Series
Rev. AC+
System Board
Users Manual
409C0946

Copyright
This publication contains information that is protected by copyright.
No part of it may be reproduced in any form or by any means or
used to make any transformation/adaptation without the prior
written permission from the copyright holders.
This publication is provided for informational purposes only. The
manufacturer makes no representations or warranties with respect to
the contents or use of this manual and specifically disclaims any
express or implied warranties of merchantability or fitness for any
particular purpose.The user will assume the entire risk of the use or
the results of the use of this document. Further, the manufacturer
reserves the right to revise this publication and make changes to its
contents at any time, without obligation to notify any person or
entity of such revisions or changes.
© 1999. All Rights Reserved.
Trademarks
Microsoft®MS-DOS®, WindowsTM, Windows®95 and Windows®98
are registered trademarks of Microsoft Corporation. Intel®, Pentium®
II, Pentium®III and CeleronTM are registered trademarks of Intel
Corporation. Award is a registered trademark of Award Software,
Inc. Other trademarks and registered trademarks of products
appearing in this manual are the properties of their respective
holders.
Caution:
Danger of explosion if battery incorrectly replaced.
Replace only with the same or equivalent type recommended by the
manufacturer.
Dispose of used batteries according to the battery manufacturers
instructions.

FCC and DOC Statement on Class B
This equipment has been tested and found to comply with the limits
for a Class B digital device, pursuant to Part 15 of the FCC rules.
These limits are designed to provide reasonable protection against
harmful interference when the equipment is operated in a residential
installation. This equipment generates, uses and can radiate radio
frequency energy and, if not installed and used in accordance with
the instruction manual, may cause harmful interference to radio
communications. However, there is no guarantee that interference
will not occur in a particular installation. If this equipment does cause
harmful interference to radio or television reception, which can be
determined by turning the equipment off and on, the user is
encouraged to try to correct the interference by one or more of the
following measures:
Reorient or relocate the receiving antenna.
Increase the separation between the equipment and the receiver.
Connect the equipment into an outlet on a circuit different from
that to which the receiver is connected.
Consult the dealer or an experienced radio TV technician for
help.
Notice:
1. The changes or modifications not expressly approved by the
party responsible for compliance could void the user's authority
to operate the equipment.
2. Shielded interface cables must be used in order to comply with
the emission limits.

Table of Contents
Chapter 1 - Introduction
1.1 Features and Specifications..................................................................................
1.2 Package Checklist.........................................................................................................
Chapter 2 - Hardware Installation
2.1 System Board Layout .............................................................................................
2.2 System Memory.............................................................................................................
2.3 Processor Installation.................................................................................................
2.4 Jumper Settings for Clearing CMOS Data..........................................
2.5 Jumper Settings for Wake-On-Keyboard/Mouse....................................
2.6 Jumper Settings for the Audio Codec......................................................
2.7 Jumper Settings for the Systems Beep Message...........................
2.8 Jumper Settings for the CPUs Front Side Bus................................
2.9 Jumper Settings for the Boot Block Lock/Unlock..........................
2.10 Ports and Connectors.............................................................................................
Chapter 3 - Award BIOS Setup Utility
3.1 The Basic Input/Output System.....................................................................
3.1.1 Standard CMOS Features.............................................................
3.1.2 Advanced BIOS Features..............................................................
3.1.3 Advanced Chipset Features ......................................................
3.1.4 Integrated Peripherals.........................................................................
3.1.5 Power Management Setup............................................................
3.1.6 PnP/PCI Configurations....................................................................
3.1.7 System Health Monitor.....................................................................
3.1.8 CPU Frequency Control..................................................................
3.1.9 Load Fail-Safe Defaults.....................................................................
3.1.10 Load Optimized Defaults..............................................................
3.1.11 Set Supervisor Password...............................................................
3.1.12 Set User Password..............................................................................
3.1.13 Save & Exit Setup.................................................................................
3.1.14 Exit Without Saving..............................................................................
6
13
43
43
47
51
54
60
64
66
67
68
69
69
69
70
70
14
16
18
20
21
23
24
25
26
27

81
81
Chapter 4 - Supported Softwares
4.1 Desktop Management Interface.....................................................................
4.2 Hardware Doctor Utility........................................................................................
4.3 INF Update for Windows95/98...............................................................
4.4 Installing the Graphics Driver..............................................................................
4.5 Installing the Sound Driver....................................................................................
4.6 Drivers and Utilities Installation Notes.....................................................
Appendix A - Using the Suspend to RAM
Function
A.1 Using the Suspend to RAM Function........................................................
Appendix B - System Error Messages
B.1 POST Beep.......................................................................................................................
B.2 Error Messages..............................................................................................................
Appendix C - Troubleshooting
C.1 Troubleshooting Checklist....................................................................................
71
74
74
75
76
76
77
83

Introduction
1
6
1.1 Features and Specifications
1.1.1 Features
Chipset
Intel®810-E (PW35-E)
Intel®810 DC-100 (PW35-D)
Intel®810 (PW35-S)
Intel®810-L (PW35-L)
Processor
The system board is equipped with a 242-pin Slot 1 processor slot
for installing an Intel PentiumII/III processor that is packaged in an
SEC (Single Edge Contact) cartridge or an Intel CeleronTM processor.
It is also equipped with a switching voltage regulator that
automatically detects 1.30V to 3.5V.
Pentium®III 133MHz FSB (533MHz-733MHz) processor -
PW35-E only
Pentium®III 100MHz FSB (450MHz-600MHz) processor
Pentium®II 100MHz FSB (350MHz-450MHz) or 66MHz FSB
(233MHz-333MHz) processor
CeleronTM - SEPP for Slot 1 (266MHz-433MHz) processor
System Memory
16MB to 256MB/512MB memory using unbuffered DIMMs with
64Mbit/128Mbit technology. (You must use 32MBx64 SDRAM
DIMM to support 512MB memory.)
Two 168-pin DIMM sockets
Uses x64 PC-100 SDRAM DIMM, 3.3V
Chapter 1 - Introduction
DIMMs
2MBx64
4MBx64
8MBx64
16MBx64
32MBx64
Memory Size
16MB
32MB
64MB
128MB
256MB

1
Introduction
7
Expansion Slots
The system board is equipped with 3 dedicated PCI slots and 1
AMR slot. AMR (Audio/Modem Riser) is an interface designed for
installing an audio riser card, modem riser card or audio/modem riser
card that is compliant to the AMR specification.
Onboard Graphics Features
Graphics memory
- Shares 1MB of the system memory. This is fixed regardless of
the size of the system memory.
- Uses the Dynamic Display Memory (DDM) technology. This
freely changes in size because graphics memory is allocated
from the system memory according to current needs.
- 4MB onboard display cache (PW35-E and PW35-D only)
Graphics controller
- 100MHz (PW35-D) or 133MHz (PW35-E) super AGP per-
formance using 4MB display cache memory
- 3D hyper pipelined architecture
- 2D hardware and motion video acceleration
- 9-bit precision hardware motion compensation assistance for
software MPEG2 decode
- Software DVD at 30fps
2D graphics features
- Resolution: up to 1600x1200 in 8-bit color at 85Hz refresh
- 64-bit blitter with enhancements
- 64x64x3 color transparent cursor
- Arithmetic stretch blitter
3D graphics features
- 600K-700K tri/sec sustained
- 55Mpixels/sec
- Flat and Gouraud shading
- MIP mapping with bi-linear and anisotropic filtering
- 16-bit color/Z-buffering
- Discrete/strips/fans
- Anisotropic filtering
- Texture compositing, color keying and chroma keying
Software drivers
- Windows®95/98
- Windows NT®4.0

Introduction
1
8
Onboard Audio Features
Supports Microsoft®DirectSound
32-voice wavetable synthesis
AC97 supported with full duplex, independent sample rate con-
verter for audio recording and playback
Downloadable sound (DLS) level-1
Compatibility
Microsoft PC 98 compliant
VESA Display Power Management Signaling (DPMS)
VESA DDC2B for Plug and Play monitors
PCI 2.2, AMR 1.0 and AC 97 compliant
ATX Double Deck Ports
Two USB ports
One NS16C550A-compatible DB-9 serial port
One DB-15 VGA port
One SPP/ECP/EPP DB-25 parallel port
One mini-DIN-6 PS/2 mouse port
One mini-DIN-6 PS/2 keyboard port
One game/MIDI port
Three audio jacks: line-out, line-in and mic-in
Connectors
One 9-pin connector for external serial port
One connector for IrDA interface
Two IDE connectors
One floppy drive interface supports up to two 2.88MB floppy
drives
One 20-pin ATX power supply connector
One 3-pin Wake-On-LAN connector
CPU, chassis and second chassis fan connectors
One opened chassis alarm connector
Three CD audio-in connectors (2 Sony and 1 Mitsumi)
1 AUX-in connector
1 TAD connector for telephony audio device

1
Introduction
9
PCI Bus Master IDE Controller
Two PCI IDE interfaces support up to four IDE devices
Supports Ultra ATA/33 (PW35-L) or ATA/66 (PW35-E,
PW35-D or PW35-S) hard drives
PIO Mode 4 Enhanced IDE (data transfer rate up to 14MB/sec.)
Bus mastering reduces CPU utilization during disk transfer
Supports ATAPI CD-ROM, LS-120 and ZIP
IrDA Interface
The system board is equipped with an IrDA connector for wireless
connectivity between your computer and peripheral devices. It
supports peripheral devices that meet the IrDA or ASKIR standard.
USB Ports
The system board is equipped with two USB ports. USB allows
data exchange between your computer and a wide range of
simultaneously accessible external Plug and Play peripherals.
BIOS
Award BIOS, Windows®95/98 Plug and Play compatible
Supports SCSI sequential boot-up
Flash EPROM for easy BIOS upgrades (4Mbit)
Includes NCR 810 SCSI BIOS
Supports DMI 2.0 function
Desktop Management Interface (DMI)
The system board comes with a DMI 2.0 built into the BIOS. The
DMI utility in the BIOS automatically records various information
about your system configuration and stores these information in the
DMI pool, which is a part of the system board's Plug and Play
BIOS. DMI, along with the appropriately networked software, is
designed to make inventory, maintenance and troubleshooting of
computer systems easier. Refer to chapter 4 for instructions on using
the DMI utility.

Introduction
1
10
1.1.2 System Health Monitor Functions
The system board is capable of monitoring the following system
health conditions.
Monitors processor/system temperature and overheat alarm
One optional temperature sensor for user customization
Monitors 5VSB/VBAT/1.5V/3.3V/+5V/±12V/processor voltages
and failure alarm
Monitors the fan speed of the processor fan, chassis fan and
second chassis fan; controls the fan speed of the processor and
chassis fans; and failure alarm
Automatic fan on/off control
Read back capability that displays temperature, voltage and fan
speed
Opened chassis alarm
Refer to the System Health Monitor section in chapter 3 and the
Hardware Doctor Utility section in chapter 4 for more information.
1.1.3 Intelligence
Automatic CPU/Chassis Fan Off
The CPU and chassis fans will automatically turn off once the system
enters the Suspend mode.
Dual Function Power Button
Depending on the setting in the Soft-Off By PWR-BTTN field of
the Power Management Setup, this switch will allow the system to
enter the Soft-Off or Suspend mode.
External Modem Ring-on
The Modem Ring-on feature allows the system that is in the
Suspend mode or Soft Power Off mode to wake-up/power-on to
respond to incoming calls.
Note:
This feature supports external modem only.
This manual suits for next models
4
Other DFI Computer Hardware manuals
Popular Computer Hardware manuals by other brands

EMC2
EMC2 VNX Series Hardware Information Guide

Panasonic
Panasonic DV0PM20105 Operation manual

Mitsubishi Electric
Mitsubishi Electric Q81BD-J61BT11 user manual

Gigabyte
Gigabyte B660M DS3H AX DDR4 user manual

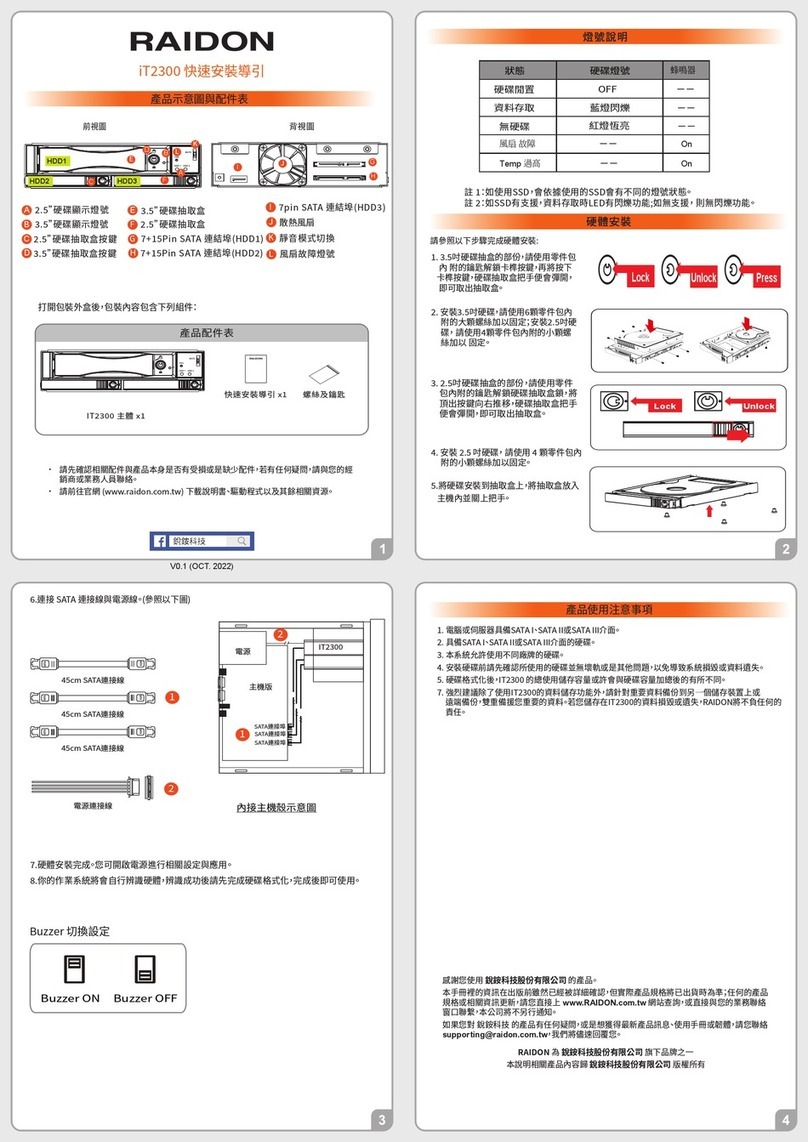
Raidon
Raidon iT2300 Quick installation guide

National Instruments
National Instruments PXI-8186 user manual