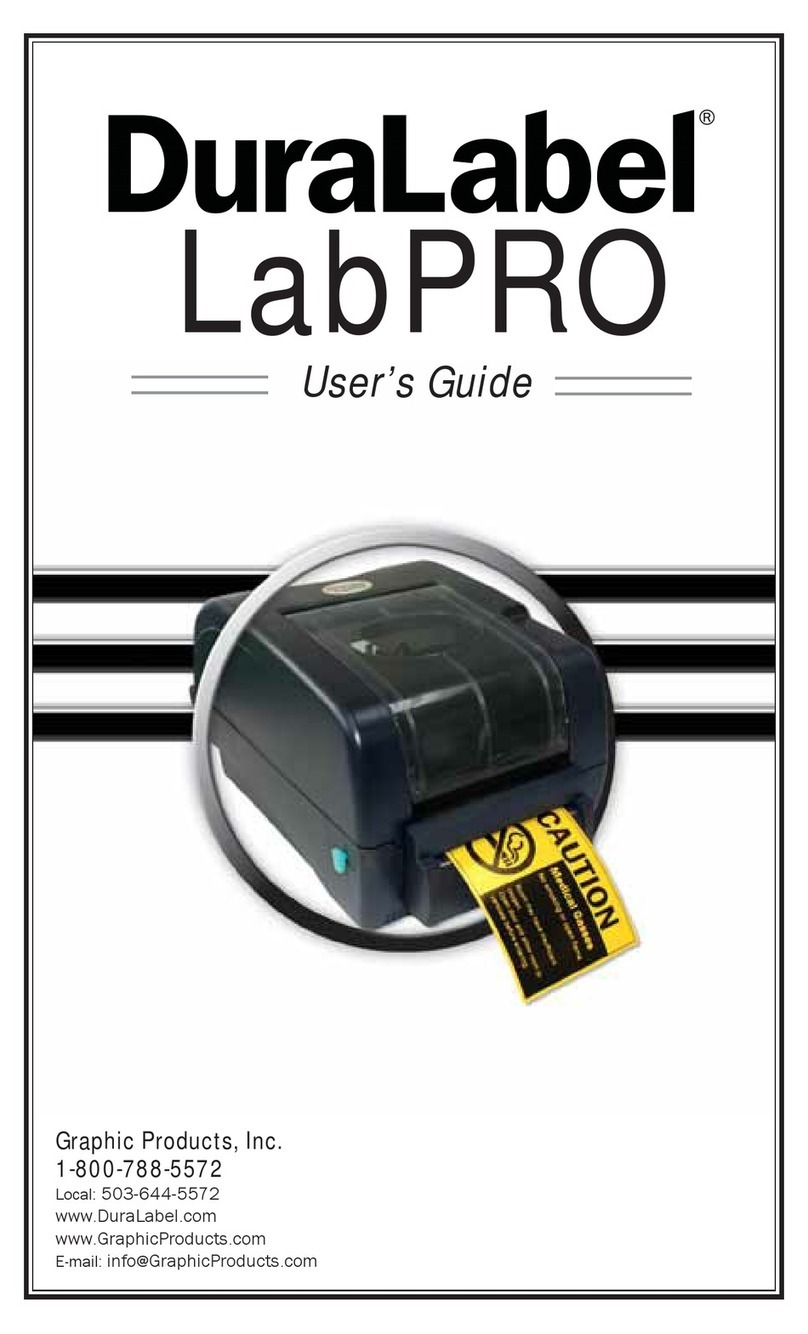
Cobra VnM SignMaker User manual

VnM®4 SignMaker
User Manual
Version 1.01
Updated 01/2014

Introduction ...............................................................................
VnM®4 SignMaker Quickstart ..................................................
VnM®4 SignMaker Overview ....................................................
Loading VnM®4 Ink Roll ...........................................................
Loading VnM®4 Media ..............................................................
VnM®4 SignMaker Setup ..........................................................
VnM®4 Keypad Navigation ......................................................
VnM®4 Keypad Templates .......................................................
A) 1 to 5 Line Horizontal ..........................................
B) 1 Line Vertical ......................................................
C) OSHA/ANSI Haz Com ..........................................
D) GHS Templates ....................................................
E) RTK Labels ..........................................................
F) Lock Out Tags .....................................................
G) Pipe Marking .......................................................
H) Barcode Labels ...................................................
I) VnM4 Apps ...........................................................
VnM®4 Print & Font Settings ...................................................
Fonts/Symbols ..........................................................................
OSHA/ANSI Safety Denitions .................................................
Pipe Marker Color Chart ...........................................................
Connecting to PC ......................................................................
Maintenance/Troubleshooting .................................................
Accessories ...............................................................................
Frequently Asked Questions ...................................................
Tech Support .............................................................................
2
3
4
5
6
7
8
9-17
9
10
11
12
13
14
15
16
17
18
19-20
21
22
23
24
25
25
26
Table of Contents
1

Thank you for purchasing the VnM®4 SignMaker by Cobra Systems, Inc.
The compact, high-performance VnM®4 SignMaker System has been
developed to provide an easy, fast, and hassle free solution to all your
industrial applications.
It includes a pre-programmed smart keyboard and thermal transfer sign
applications via USB connection (not supported unless pruchased with
VnM®LabelDirect).
Specications
Dimensions: 2.36” (L) x 8.39” (W) x 7.40” (H)
Operating Conditions: 5°-40° C (41°-104° F)
Storage Conditions: -40°-60° C (-40°-140° F)
Resolution: 203 DPI
AC Input: 100 - 240V Power Supply
DC Output: 24V 3.75A (external adaptor)
Print Speed: 2, 3, 4, 5, 6, or 7 inches per second
Connections: VnM®Keypad, USB, LPT
Warranty
VnM®4 SignMaker comes with a 3-Year Printer Warranty, 1-Year Printhead
Warranty, 6-Month Cutter Warranty, and 1-Year Keypad Warranty.
Out of the Box
The VnM®4 SignMaker System includes:
1. VnM®4 SignMaker Printer (1)
2. VnM®4 SignMaker Keypad
with RS232 Cable (1)
3. Printer Power Supply (1)
4. Printer Power Cord (1)
5. Printer USB Cable for
PC Connection (1)
6. Take-Up Core for
VnM®Ink (1)
7. VnM® Ink Take-Up
Spindles (2)
Introduction
2
1
23
7
4
5
6

VnM®4 SignMaker Quickstart
3
PRINTER MUST BE TURNED OFF!
Open printer lid by pressing
the green tabs on each side
located toward the front
of the printer.
Slide ink roll onto rst spindle and
set in rear hub. Pass ink roll leader
under the ink roll carriage, past the
printhead, and attach to the ink
roll take up core in front hub.
Easily slide new VnM Media
into roll mount.
Feed media face up under the support
bar and through the cutter slot.
Plug VnM4 Keypad & the power
cord into AC power cord socket at
the rear of the VnM4 Printer.
Plug power cord into a properly
grounded power outlet. Turn on VnM4
Printer, choose template and print.
1 2
3 4
5 6

VnM®4 SignMaker Overview
4
VnM4 SignMaker Top View
1. Ribbon access cover
2. LED indicator
3. Feed button
4. Printer top cover
5. Top cover open lever
6. Cutter
VnM4 SignMaker Rear View
1. USB interface
2. Parallel interface
3. RS-232 DB-9 interface
4. Power jack
5. Power switch
6. Rear VnM media guide
VnM4 SignMaker Interior View
1. Top cover
2. Top cover support
3. VnM media guide
4. Cutter
5. Printer head
6. Roll mount
7. Teon bar
1 2 3 4 5
6
1
2
3
4
5
6
1
2
3
4
5
6
7

Loading VnM®4 Ink Roll
5
Pull ink from
rear to the
front going
under the
print head
and up to
attach to the
mpty take-
up core.
Make sure
ink spindles
are as
shown,
note larger
circular end
on the right
side.
End Result:
close the
ink roll
access
cover.
Load rear
ink spindle
with the
unused
portion of
the ink roll.
Tape or
adhere
rear ink to
front take
up ink
spindle.
Wind the
front ink
spindle to
take up the
slack, make
sure there
are no
wrinkles in
the ink.
/IMPORTANT
TURN OFF PRINTER WHEN
CHANGING INK ROLLS
/IMPORTANT
FOLLOW INSTRUCTIONAL
DIAGRAM INSIDE PRINTER
PRINTER
MUST BE
TURNED
OFF!
Open
the VnM®4
SignMaker
Printer and
the ribbon
access cover.
1Load front
ink spindle
with an
empty
take-up
core.
2
3 4
5 6
7 8

Loading VnM®4 Media
/IMPORTANT
HANDLE MEDIA ON THE SIDES
TO PREVENT BAD PRINTS
6
Pull media
through
cutter as
shown on
photo.
Leave a
small piece
of media
hanging out
of the printer.
Wind up any
extra material
and keep
straight.
Turn on your
VnM®4
Printer by
ipping the
power switch
located on the
back of the
printer. Start
printing your
instant signs.
Pull media
to go under
the white
platten
roller.
Adjust media
guide to t
the VnM®4
Media being
used and
keep the
media
centered.
Close the
top cover
slowly by
lifting up
the push
lever. DO
NOT SLAM
SHUT!
First, be
sure to
have the
correct
VnM®4
Media.
1Simply drop
the new
VnM®4
media roll
into the
printers roll
mount.
2
3 4
5 6
7 8

7
VnM®4 SignMaker Setup
Connecting VnM®4 Keypad and Power Up
1. Place printer on a at and secure surface.
2. Make sure the power switch is OFF.
3. Connect VnM4 Keypad to the VnM4 SignMaker RS-232 serial port.
4. Plug power cord into AC power cord socket at the rear of printer then
plug power cord into a properly grounded power outlet.
Optional Battery Pack
Power Supply
Plug
USB
Paralle RS232 Power Cable
Power Switch

HOW TO PRINT
QUOTATIONS!
VnM4 Tips
SELECT MEDIA WIDTH:
PRESS 1,2,3, or 4
SELECT FONT/SYMBOLS
PRESS ENTER
VNM PRINT SETTINGS
PRESS ENTER
8
VnM®4 Keypad Navigation
+
+
SELECT MEDIA WIDTH:
PRESS 1,2,3, or 4
Use the UP and
DOWN arrow keys on
the VnM®4 Keypad
to navigate through
the templates. Press
the ENTER key to
select your template
.
Select Media Width is the default
prompt when powering on the VnM®4
SignMaker and when pressing the
ALT + EXIT keys.
To begin printing, rst select the
size media loaded inside the printer.
The VnM®4 keypad navigation tree to
the left displays the ow and order of
all the available options/templates.
More detailed information about the
templates are found further in the manual.
To get back to the main
menu (or if you made
a type error), press the
ALT key + EXIT key.
In order to print quotations (“) or inch
and foot marks, press the SHIFT key +
PERIOD key (on the numeric keypad).
Do not use the keypad QUOTATION
key, you will have blank text.
1 to 5 LINE HORIZONTAL
PRESS ENTER
OSHA TEMPLATES
PRESS ENTER
GHS TEMPLATES
PRESS ENTER
RTK LABEL TEMPLATES
PRESS ENTER
LOCK OUT TEMPLATES
PRESS ENTER
PIPE MARKING TEMPLATES
PRESS ENTER
BARCODE TEMPLATES
PRESS ENTER
VnM4 APPS
PRESS ENTER
1 LINE VERTICAL
PRESS ENTER
Default VnM®4 SignMaker Prompt

9
VnM®4 Keypad Templates - 1 to 5 Line Horizontal
PRINT UP TO
5 LINES OF TEXT
WITHOUT THE
USE OF A COMPUTER
OR SOFTWARE!
d) 5 Lines
c) 1 line template no reverse text (press N)
DANGER!
b) 1 line template reverse text (press Y)
1 to 5 LINE HORIZONTAL
PRESS ENTER
XINCH HOW MANY LINES?
PRESS 1,2,3,4 OR 5
RESERVE TEXT?
1.(Y)ES OR 2.(N)O
ENTER QUANTITY TO PRINT:
1
ENTER LINE l:
/CAUTION
1. Select the 1 to 5 Line Horizontal
template by pressing the ENTER
key on the VnM®4 Keypad.
2.
Select how many lines by pressing the
numbers 1, 2, 3, 4 or 5. Do not press
enter after pressing the amount of lines.
3. Enter the text/symbols for your sign
and once you nished the line or
sign, press the ENTER key.
4. Enter the quantity to print and
press ENTER.
5. Select if you would like reverse text.
Press Y or 1 for Yes.
Press N or 2 for No.
The 1 to 5 Line Horizontal template is the most versatile template for the VnM®4
SignMaker. Create anything from 1 to 5 lines of text and control the font size by
selecting the appropriate media size.
The sample sign below, a), was created by rst selecting the SYMBOLS1 font,
second selecting the 1 to 5 Line Horizontal template, then select the media width
and choosing 1 for how many lines, then typing, “/CAUTION” where the “/” on the
keypad screen represents / symbol.
a) 1 line template no reverse, symbols1 font
TO GET BACK TO THE MAIN
MENU PRESS AND HOLD
DOWN THE ALT KEY AND
EXIT BUTTON
VnM4 Tips
Table of contents