
Camplux FMGG303B User manual

Model: FMGG303B
PROPANE GAS GRIDDLE
Instruction For Installation And Use
Visit Us: Camplux.com
3330-A Marathon Ct Charleston, SC 29418 1(844) 538-7475
801368

If you smell gas:
● Disconnect the gas supply to the barbecue.
● Extinguish all open flames.
● Open the lid on the grill griddle unit.
● If the smell persists, move away from the barbecue and contact your gas supplier or the fire brigade.
DANGER
● Do not store petrol or other flammable liquids or gases near your barbecue or other electrical appliances.
● Never keep an unused gas cylinder in the vicinity of your barbecue or other electrical appliances.
WARNING
Read this instruction carefully and ensure that your appliance is properly installed, assembled, maintained and
serviced in accordance to these instructions. If you have any questions concerning the assembly or operation of
this appliance, please consult Camplux. Do not try to fix theproblems yourself, or it will cause injury or property
damage.
Precautions
● This gas grill griddle is intended for personal private use only.
● Accessible parts may be very hot. Please keep young children away.
● Do not move the appliance during use.
● Turn off the gas supply at the gas cylinder after use.
● Do not modify the appliance.
● Any modification of the appliance may be dangerous.
Improper Use:
Any other use, or any use beyond the stated purpose, is not permissible. This appliance in particular to the
following types of misuse:
● Do not operate the grill griddle with coal or fuel other than liquid gas
(propane/butane).
● Do not operate the grill griddle as a heater.
● Do not use the grill griddle to heat materials and substances other than
barbecue food.
IMPORTANT! Read thoroughly before use. Keep these operating instructions for future reference.
NOTE: for the installer: This manual must remain with the consumer.
WARNING
Visit Us: Camplux.com
3330-A Marathon Ct Charleston, SC 29418 1(844) 538-7475
1
www.camplux.com

Pictograms & Signal Words
The following rules are used in these instructions to point out hazards and important information.
Safety Information:
Indicates a possible danger that can result in severe
personal injury or damage to property if the stated
measures are not taken
Indicates a hazardous situation which, if not avoided,
could result in death, serious injury or material damage
Indicates a hazardous situation which, if not avoided,
could result in minor or moderate injury or material damage
Pictogram and signal word Note on
DANGER!
WARNING!
CAUTION!
Important Safety Precautions
CAUTION! Failure to obtain the following basic safety precautions may result in serious personal injury or
material damage due to fire or explosion.
Installation and assembly
CAUTION! Before you start, read the operating manual carefully.
WARNING! Never use the grill griddle if there is any visible damage. Never make any technical modifications
to the grill griddle. Only use original spare parts.
DANGER! Never install this grill griddle in an integrated or slide-in construction. This grill griddle is not suitable
for installation in caravans or boats.
Operation and use
WARNING! Use the product exclusively for the intended purpose.
DANGER! Only use the grill griddle in a well-ventilated spot and above ground level (i.e. not in areas
below ground level). Do not use the grill griddle in garages, covered passageways, tents, awnings, and other
closed areas or combustible structures.
DANGER! Fire or smoldering fire if flammable materials or substances are near the grill griddle. Choose
an area for installation where no flammable materials or substances are or will be, in close proximity to the
product. Minimum distance to flammable materials or substances: 6.6 ft overhead and 3.3 ft to the side.
Distance to flame-resistant materials, e.g. house walls: at least 1.9 ft.
CAUTION! Accessible parts can become very hot. Keep children away. Wear grill griddle mittens while
using .
WARNING! The grill griddle must stand level during operation and must not be moved.
WARNING! Never leave the grill griddle unattended when in use. Take particular care to ensure that
children and individuals with physical or mental disabilities are kept away from the barbecue. They may not be
able to identify the dangers correctly.
2
www.camplux.com
Visit Us: Camplux.com
3330-A Marathon Ct Charleston, SC 29418 1(844) 538-7475

● Do not store petrol or other flammable liquids or gases near your barbecue or other electrical appliances.
● Never keep an unused gas cylinder in the vicinity of your barbecue or other electrical appliances.
● Never use the grill griddle if there is any visible damage. Never make any technical modifications to the grill
griddle.
● Only use original spare parts.
● Use the product exclusively for the intended purpose.
● The grill griddle must stand level during operation and must not be moved.
● Never leave the grill griddle unattended when in use. Take particular care to ensure that children and
individuals with physical or mental disabilities are kept away from the barbecue. They may not be able to
identify the dangers correctly.
● Do not close any openings on the sides or on the back of the unit. Storage and/or non-use.
● Close the valve on the gas cylinder (b) immediately when you finish using the grill griddle.
● If you will not be using the product for a longer period of time, disconnect the gas cylinder and store them
properly:
● Protect the gas cylinder with a protective cap.
● The gas cylinder must be kept outdoors and out of the reach of children.
● Gas cylinder must not be stored below ground level, in garages, in stairwells corridors or other closed rooms.
WARNING
● Failure to obtain the following basic safety precau-tions may result in serious personal injury ormaterial
damage due to fire or explosion. Beforeyou start, read the operating manual carefully.
● Accessible parts can become very hot. Keep children away. Wear grill griddle mittens while using.
● Clean the grease tray and cooking grate regularly to avoid deposits that could lead to a grease fire.
CAUTION
DANGER! Gas is highly flammable. When connecting the gas cylinder make sure that there are no
sources of ignition within a 16.4 ft radius. Protect the gas cylinder and the gas hose from direct sunlight and
other sources of heat (max. 122°F). Take particular care to ensure that the gas hose does not touch any part of
the hot barbecue.
DANGER! Before each use check to ensure that all of the connections through which gas is supplied are
sealed and intact. The grill griddle must not be used if the connections for the gas supply are porous or faulty.
This also applies, for example, to hoses or fittings that are blocked with insects, as this can result in a
dangerous flashback.
DANGER! When igniting the gas flame, do not bend over the barbecue surface as deflagration can occur
if the gas has accumulated in the combustion chamber.
CAUTION! Clean the grease tray and cooking grate regularly to avoid deposits that could lead to a grease
fire.
WARNING! Do not close any openings on the sides or on the back of the unit. Storage and/or non-use.
WARNING! Close the valve on the gas cylinder (b) immediately when you finish using the grill griddle.
WARNING! If you will not be using the product for a longer period of time, disconnect the gas cylinder and
store them properly:
● Protect the gas cylinder with a protective cap.
● The gas cylinder must be kept outdoors and out of the reach of children.
● Gas cylinder must not be stored below ground level, in garages, in stairwells, corridors or other closed
rooms.
3
Visit Us: Camplux.com
3330-A Marathon Ct Charleston, SC 29418 1(844) 538-7475
www.camplux.com

● Never use a dented or rusty liquid gas cylinder.
● Never use a gas cylinder with a damaged valve.
● Never place a gas cylinder on its side, always install, transport and store the gas cylinder in a stable, upright
position.
● Never expose a gas cylinder to extreme heat or direct sunlight.
WARNING
Important information about gas & gas connections
Liquid gas (lpg) propane, butane and mixtures that remain liquid at room temperature and low compression (< 10
bar). If the gas cylinder is opened, the pressure escapes and the liquid expands to the gaseous state.
Instructions for safely handling a gas cylinder:
● An empty liquid gas cylinder must not be stored directly next to a gas barbecue that is being used. Even
apparently empty liquid gas cylinders can still contain liquid gas and must, therefore, be treated with the same
care as a full liquid gas cylinder.
● When connecting and changing the gas cylinder, make sure that you do this only in rooms that are sufficiently
ventilated or outdoors. Make sure that there are no open fires or other sources of ignition, as well as other
persons in the vicinity.
Requirements for a liquid gas cylinder:
Only use liquid gas cylinders that comply with national regulations. Use liquid gas cylinders with the maximum
dimensions as specified in the installation instructions for your product.
If placed on the floor, the liquid gas cylinder may only be positioned at the side or rear of the barbecue. In this case,
make sure that the ground is firm and level.
Requirements for the gas pressure regulator:
The gas pressure regulator ensures that the gas grill griddle is always supplied with uniform gas pressure.
Only use the gas pressure regulator supplied with your grill griddle. If your product was delivered without a gas
pressure regulator (country-dependent), procure a gas pressure regulator that complies with your national
regulations.
Requirements for the hose line:
The hose line forms the connection between the liquid gas bottle and the gas barbecue.
The tested and CSA-Certified hose line must not be longer than 4.9 ft. Before each use, check whether the hose
line has any cracks or is wom.
● Make sure that the hose line does not have any kinks.
● Make sure that the hose line does not touch any hot surfaces.
Only use the hose line supplied with your gas barbecue. If your gas barbecue was delivered without a hose line
(country-dependent), procure a hose line that complies with your national regulations.
4
www.camplux.com
Visit Us: Camplux.com
3330-A Marathon Ct Charleston, SC 29418 1(844) 538-7475

What's In The Box
No.
1
2
3
4
5
6
7
8
9
10
Name
Griddle Plate
Body
Right Bottom Leg Unit
Front Frame Crossbar
Back Frame Crossbar
Griddle Cup
Upright Leg Unit
Left Bottom Leg Unit
Rubber Foot
Metal Stand
Qty
1
1
2
1
1
1
4
2
4
1
No.
11
12
13
14
15
16
17
Name
Gas Support Stand
Axle
Wheel
Wheel Lid
Attachment Strap
Cover Cloth
Side Table
Qty
2
1
2
2
1
1
2
14
1
2
5
9
4
7
17
3
71510111612 3
13
8
6
8
7
17
7
5
Visit Us: Camplux.com
3330-A Marathon Ct Charleston, SC 29418 1(844) 538-7475
www.camplux.com

Assembly Instructions
1. Assembly the Gas Support Stand (11).
Using the Screw (E) to lock the two Gas Support
Stand (11) at the Metal Stand (10).
3. Wheel installation.
Slide the Axle (12) through the holes located at the
bottom left, and then install the Wheels (13) at both
sides of the Axle (12). Lock them with R-Pin (D),
and then separately slide in the Wheel Lid (14).
Note: When installing the wheel(13), if the R pin
(D) cannot be installed, please change the front and
back of the wheel.
2. Assembly the Bottom Leg Unit.
Using M5 screw (A) to connect and lock the Metal
Stand (10) with the Left Bottom Leg Unit(Short)
(8) and Right Bottom Leg Unit(Long) (3).
Parts Board
A. Flange Screw M5x8, 16PCS
B. Flange screw M4x10, 12PCS
E. Screw M4x10x4
F. Strap x1
Screw Bag
C. Flange screw M6x50, 8PCS
D. R-Pin, 2PCS
E: Screw M4x10, 4PCS
A: Flange screw M5x8, 8PCS
11
10
14
12
13
8
3
10
6
www.camplux.com
Visit Us: Camplux.com
3330-A Marathon Ct Charleston, SC 29418 1(844) 538-7475

4. Connect the Frame Crossbar (4) (5)with the
Upright Leg Unit (7).
Using the screw (C) to connect the Front Frame
Crossbar (4), Back Frame Crossbar (5) with the
Upright Leg Unit (7).
Note: The screws should not be fully locked at the
same time,otherwise it will be difficult to insert the
Bottom Leg Unit (3) (8) in the next step!
6. Assembly the Side Table (17).
Using the screw (B) to connect the Side Table (17)
with the Upright Leg Unit (7).
7. Assembly the Body(2).
Using Rubber Foot (9) to connect the Body (2) with
the Frame Crossbar (4)(5).
5. Assembly the Upright Leg Unit
Using the screw (A) to connect the Upright Leg Unit
(7) with the Left Bottom Leg Unit (Short) (8) and
Right Bottom Leg Unit (Long) (3).
Note: After locking strap(15), tighten all screws.
B: Flange screw M4x10, 12PCS
A: Flange screw M5x8, 8PCS
C: Flange screw M6x50, 8PCS
Back Frame
Crossbar
Front Frame
Crossbar
5
4
Back Frame
Crossbar
Front Frame
Crossbar
7
45
Back Frame
Crossbar
Front Frame
Crossbar
5
4
15
7
8
3
17
17
是
非
9
9
2
5
4
7
Visit Us: Camplux.com
3330-A Marathon Ct Charleston, SC 29418 1(844) 538-7475
www.camplux.com

8. Placement of the Griddle Plate(1).
Place the Griddle Plate (1) inside of the Body (2).
9. Install the Strap (F).
Stabilize the pressure reducing valve with the
strap(F).
11. Finished View.10. Assembly of the Cover Cloth (16).
Install the Cover Cloth (16) at the Leg Unit of the
Base through stabilizing it with Velcro Straps.
12. 20 LB Propane Tank Placement.
1
2
Gas cylinder
16
8
www.camplux.com
Visit Us: Camplux.com
3330-A Marathon Ct Charleston, SC 29418 1(844) 538-7475

Liquid gas cylinder connection
Please note the different national connection options for liquid gas cylinders. Different pressure regulators are used
accordingly.
1. Make sure that all burner control knobs (B) are in the OFF position. Press the control knobs inwards and turn
them clockwise.
2. Determine the controller type and connect the controller to the liquid gas cylinder according to the instructions.
3. Make sure that the gas cylinder valve or the pressure regulator lever is closed.
Note: The pressure regulator supplied may differ slightly from the regulator shown due to national regulations.
A. Connecting the pressure regulator with a lever. Turn the pressure regulator lever (b) clockwise to the OFF
position. Press the pressure regulator onto the liquid gas cylinder valve until the pressure regulator obviously
engages. Turn the lever anti-clockwise to ON so that the gas flows out and you can start up the barbecue.
B. Connecting the pressure regulator with a collar. Make sure that the pressure regulator lever (b) is in the OFF
position. Slide up the collar on the pressure regulator and maintain the pressure. Press the pressure regulator
onto the gas cylinder valve and slide down the collar to close it. If the pressure regulator does not engage,
repeat the procedure.
Removing the pressure regulator:
1. Make sure that the the pressure regulator lever (b) is closed.
2. Turn on all the burner control knobs so that the remaining gas in the system can escape.
3. Now remove the pressure regulator in the opposite order to as described above.
Leakage check:
Open the pressure regulator lever (b) and use a standard leak indicator to check whether all connections on the
gas system and the connection between the gas cylinder and the pressure regulator are tight. For this purpose,
moisten all gas connections with a standard leak indicator or soapy water (80% water, 20% liquid soap). Bubbles
form at leaks in the joints. Observe the instructions for the leak indicator! Never check for leaks using a naked
flame. Listening for leaks is not a reliable method of detection.
If a leak is detected, close the pressure regulator lever (b) immediately and tighten the loose connection or replace
the leaking part.
Repeat the leak test.
A
Pressure
reducing valve
B
Pressure
reducing valve
9
Visit Us: Camplux.com
3330-A Marathon Ct Charleston, SC 29418 1(844) 538-7475
www.camplux.com
Table of contents
Languages:
Popular Griddle manuals by other brands


Keating Of Chicago
Keating Of Chicago MIRACLEAN PRE-2000 manual

Nexgrill
Nexgrill 720-0786A owner's guide

Outwell
Outwell FH-3047C instruction manual
Rankam
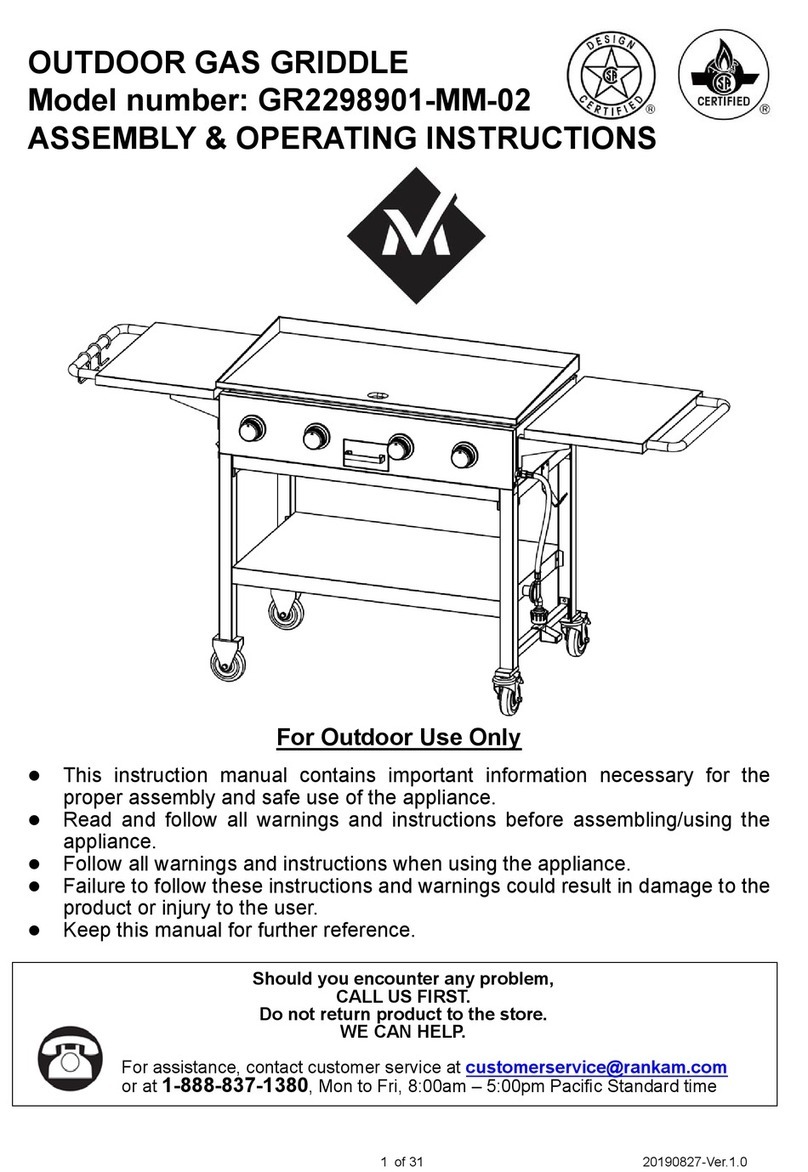
Rankam Member's Mark GR2298901-MM-02 Assembly & operating instructions

Black Stone
Black Stone 1972 owner's manual

Star
Star Ultra Max 760TA Installation and operation instructions