Body Craft SPX-Mag User manual
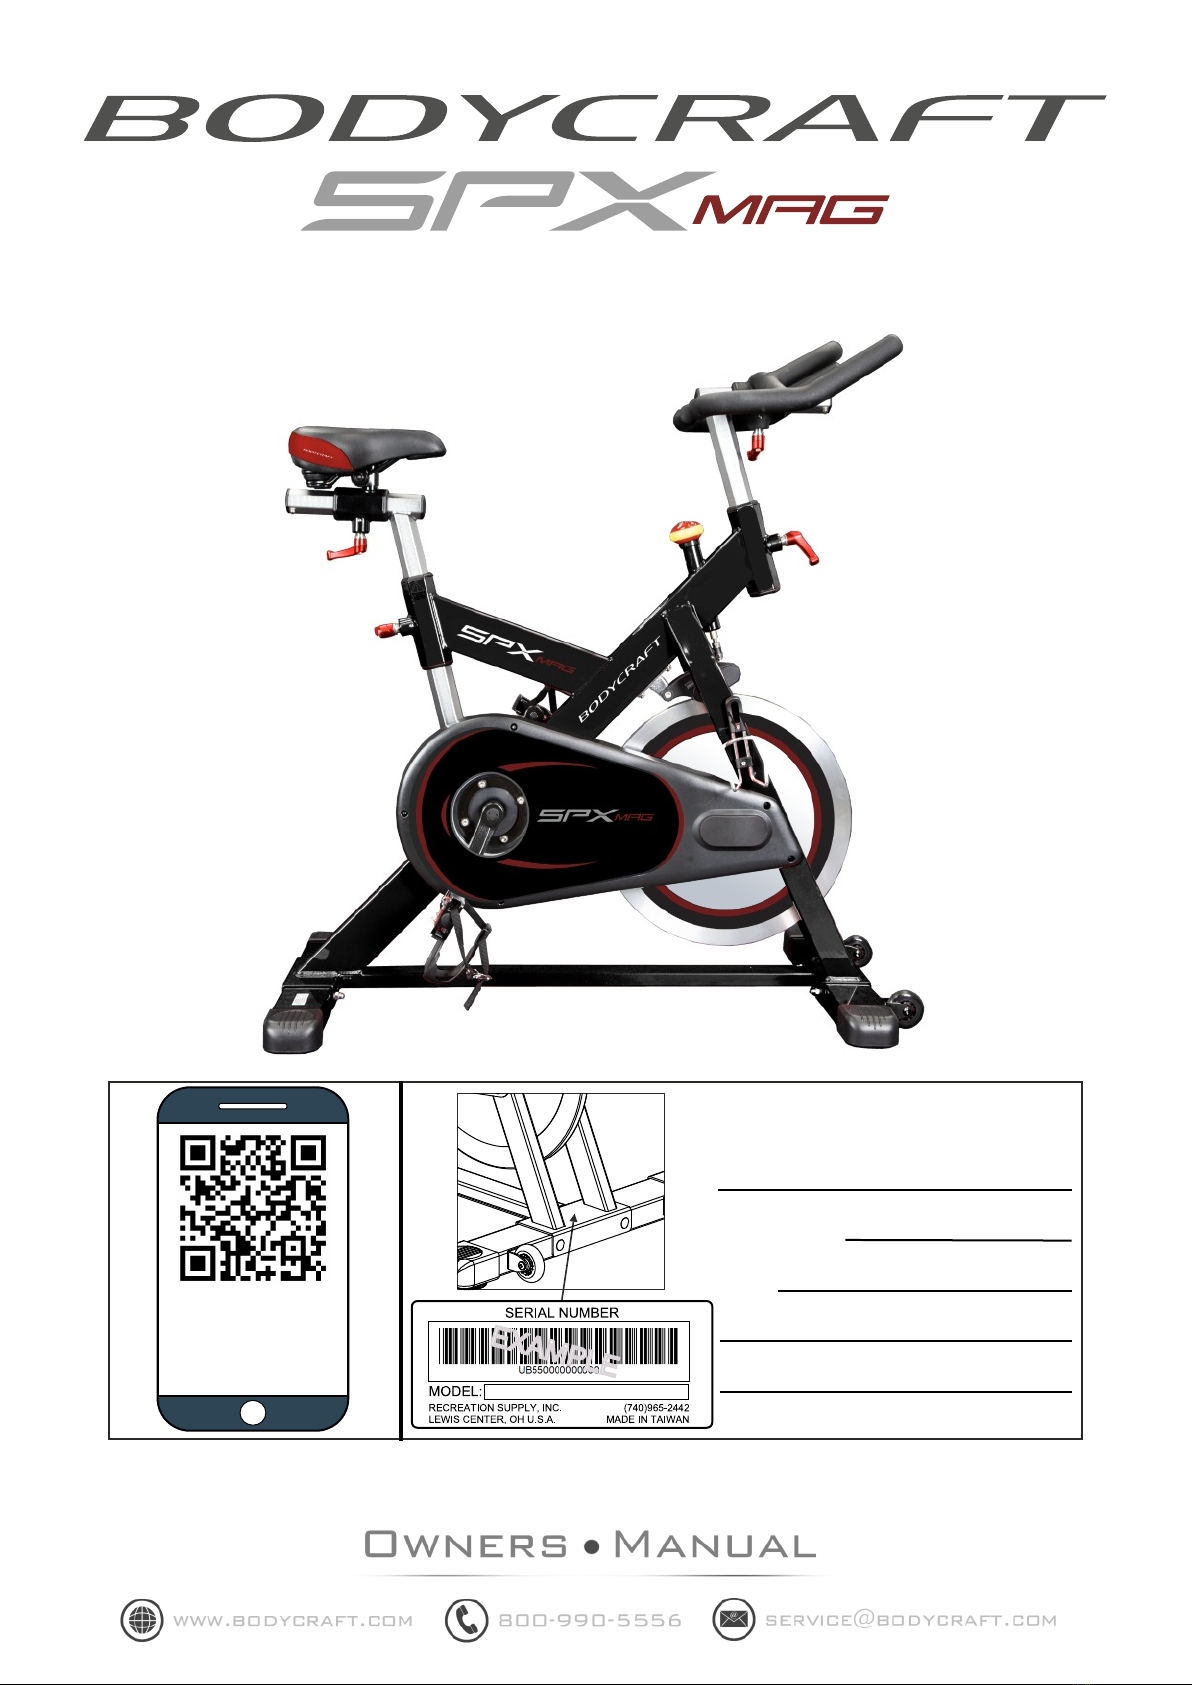
INDOOR TRAINING CYCLE
BODYCRAFT SPX-Mag
Open your Camera App and
point it at the QR Code for
additional information.
or go to
www.bodycraft.com/spx-mag-
qr.html
Record your serial number and
purchase date here:
S/N:
PURCH. DATE:
DEALER:
Register your product warranty at www.bodycraft.com/product-registration.html
Rev.081420

Contents
Congratulations and Thank You! 1
Important Safety Notes 1
Questions 1
SPX-Mag Assembly Parts List 2
Recommended Tools for Assembly 2
Dimensions 3
Product Callouts 3
Assembly 4-5
Before Using your Cycle 6
How to adjust the Seat and Handlebar 6
Adjusting the Resistance 6
EMERGENCY STOP feature 6
How to Level your Indoor Cycle 6
Moving your Indoor Cycle 6
Pedal Strap Routing 6
How to set-up your Cycle for Riding 7
Preventative Maintenance and Cleaning 8
Items recommended for Cleaning/Preventive Maintenance: 8
DAILY COMPONENTS INSPECTION: 8
BI-WEEKLY INSPECTION: 8
SPX-Mag Exploded View 10
SPX-Mag Detailed Parts List - (UB55) 11
PRODUCT WARRANTY 12

1
Thank you for selecting the BODYCRAFT SPX-Mag magnetic indoor training cycle. The
BODYCRAFT SPX-Mag is one of the finest indoor training cycles available. By choosing the
BODYCRAFT SPX-Mag you have made a decision that will improve the health, fitness and well
being for you and your family. The SPX-Mag will provide an efficient low-impact cardiovascular
workout that will help improve energy levels and quality of life.
Cardiovascular training is vital for all ages and the BODYCRAFT SPX-Mag will provide an
effective workout, producing results that will encourage you to reach your fitness goals and
maintain the body you have always wanted. Spending 15 to 30 minutes a day, three times a week
is all you need to start seeing the benefits of a regular exercise program. We, at BODYCRAFT
want you to enjoy the full benefits of your exercise program, so please take the time to read this
manual thoroughly.
By doing so you will learn to exercise safely and more effectively, learn proper techniques and
be able to define your fitness.
Before beginning, this or any other exercise program consult your physician. This is especially
important for individuals over the age of 35 or persons with pre-existing health problems.
Recreation Supply, Inc. assumes no responsibility for personal injury or property damage
sustained by or through use of this product.
1. This product must be assembled on a flat, level surface to assure its proper function.
2. Clean all parts and the frame on a regular basis. We recommend warm, soapy water. Do not
use harsh or a brace of chemicals.
3. Inspect and tighten pedals before every use. Failure to do so may result in serious injury.
4. Inspect and tighten all parts before every use. Replace any warn parts immediately. Failure to
do so may result in serious injury.
5. Keep children away from the BODYCRAFT SPX-Mag at all times.
6. Keep your hands away from moving parts during operation.
7. When adjusting the seat or handlebar make sure the lock lever is fully engaged. If not, the seat
may slip and cause serious injury.
8. Always exercise with care to avoid injury.If you are unsure about the proper use of the
BODYCRAFT SPX-Mag, call your local BODYCRAFT dealer or our customer service
department.
As a quality exercise equipment supplier, we are committed to your complete satisfaction. If you
have questions or find missing or damaged parts, we will guarantee your complete satisfaction
through our authorized dealer service centers or our home office customer service department.
Please call your local dealer for assistance or contact BODYCRAFT at service@bodycraft.com or
800-990-5556 9 a.m. to 5 p.m. Eastern Standard Time. Our trained technicians will provide
immediate assistance to you free of charge.
Congratulations and Thank You!
Important Safety Notes
Questions

2
SPX-Mag Assembly Parts List
Lock Lever
Handlebar Post
Cages
Right Pedal Fronts Stabilizer
Handlebar
Seat Saddle
Left Pedal
Seat Saddle Post
Rear Stabilizer
Main Frame
Recommended Tools for Assembly
*An adjustable wrench can be substituted
** We highly recommend you purchase a pedal wrench such as a
Park Tools PW-4 Professional or PW-5 Home version for future maintenance
NOTE: We include a basic tool set with this cycle, but
It is always better to use higher quality tools when available
1/2” Wrench or Socket with Ratchet*
9/16” Wrench or Socket with Ratchet*
Pedal Wrench (15mm) or included Wrench
4mm Hex (Allen) Wrench Tool

33
Height 40”~47”
Handlebar
Lock Levers
Seat
Saddle
Waterbottle
Holder x2
SPD Pedals
w/Toecage x2
Emergency
Stop / Resistance
Flywheel
Levelers x4
Transport
Wheels x2
Belt Guard
Lock
Levers
TOP VIEW
Dimensions
Product Callouts
43”L (120 cm)
24”W (60cm)

44
1. Attach the REAR STABILIZER (2) to the MAINFRAME (1) using two CARRIAGE BOLTS (3)
two WASHERS (4) and two DOME NUTS (5) as shown in FIG. 1.
2. Attach the FRONT STABILIZER (6) to the MAINFRAME (1) using two CARRIAGE BOLTS
(3) two WASHERS (4) and two DOME NUTS (5) as shown in FIG. 2.
3. FULLY TIGHTEN both sets of bolts at this time.
4. Once you place the indoor cycle in its final location, take the time to level it using the
LEVELERS (82) located on each of the STABILIZERS.
Step 1. Front & Rear Stabilizer
Step 2. Install Pedals
1. NOTE: The Pedals are specific to each
side of the bike. Each pedal is marked with
an “L” for left and an “R” for right. The
LEFT PEDAL is REVERSE thread. It will
thread-in counter-clockwise.
2. BY HAND, carefully begin threading each
PEDAL (7L/7R) into each CRANK ARM
(62L/62R) as shown in FIG. 3.
3. FULLY TIGHTEN* each Pedal at this time.
* IMPORTANT! It is imperative that the
pedals be fully tightened with a wrench.
Failure to do so can cause serious injury and
can damage to the cycle.
Damage to the cycle due to improper
assembly will not be covered by the warranty.
FIG. 1 FIG. 2
3
2
45
4
5
3
6
1
1
FIG. 3
7R
62R
Assembly

55
Step 3. Handlebar
1. Install HANDLEBAR POST (14) into the front tube of the MAIN FRAME (1) as
shown in FIG. 4. Secure by Tightening the LOCK LEVER (18).
2. Remove the Pre-installed CAP SCREW (13) from the HANDLEBAR POST (14).
then Slide the HANDLEBAR (11) onto the HANDLEBAR POST (14) as shown in
FIG. 5. Reinstall the CAP SCREW (13) and Tighten.
3. Carefully install the LOCK LEVER (18) into the HANDLEBAR (11) as shown.
Step 4. Saddle & Saddle Post
1. Install the SADDLE POST (15) into
the rear tube of the MAIN FRAME
(1) as shown in FIG. 6. Tighten
LOCK LEVER (18) to secure.
2. Attach the SADDLE (17) to the
SADDLE POST (15). Adjust and
angle the Saddle to your preferred
position. If you are unsure of what
angle to use, start with a level
position, you can fine tune it from
there.
3. Then tighten the nut on eachside.
FIG. 5
FIG. 4
14
1
13
18
11
14
Assembly
15
18
17
Nut (Located
on each side)
1
FIG. 6

66
Before Using your Cycle
How to adjust the Seat and Handlebar
Adjusting the Resistance
EMERGENCY STOP feature
How to Level your Indoor Cycle
Moving your Indoor Cycle
The resistance level of the magnetic brake can be adjusted by rotating the ADJUSTMENT KNOB.
Turn the knob clockwise to increase resistance and counter-clockwise to decrease resistance.
The SEAT SADDLE and HANDLEBAR are adjustable with both vertical and fore/aft adjustments.
There is a convenient index scale on the seat and handlebar post for reference. When making an
adjustment, if you find that you do not have room to turn the handle of the LOCKING LEVER you
can disengage it by pulling the handle out and rotating it into a different position.
The ADJUSTMENT KNOB is also the EMERGENCY STOP. In order to stop the flywheel / crank
motion, PUSH DOWN on the ADJUSTMENT KNOB. The cycle will quickly come to a stop.
Warning! This indoor cycle is direct drive, it does not free wheel. The pedals and
flywheel move together so reducing speed in a controlled manner is required.
There are adjustable LEVELERS under the front and rear stabilizers. Is important that you level the
bike once you have it placed in its final location. Be sure to tighten the Leveler Jam Nuts up into the
stabilizer once you have the bike leveled.
Your indoor cycle is equipped with TRANSPORT WHEELS on the Handlebar side. If the bike
rocks or shakes after relocating it, re-level the bike as explained above.
Warning! This cycle is very heavy. To reduce the risk of injury it is highly
recommended that two people are used to move it. The transport wheels should only
be used on solid level surfaces.
Once you have routed the strap through the toe cage, open the spring-loaded buckle and feed the
strap between the roller coil and the teeth as shown below. The excess strap can be fed into the
retaining slot. Note: When routing the strap through the pedal assembly, confirm that it is not
twisted.
Pedal Strap Routing
77
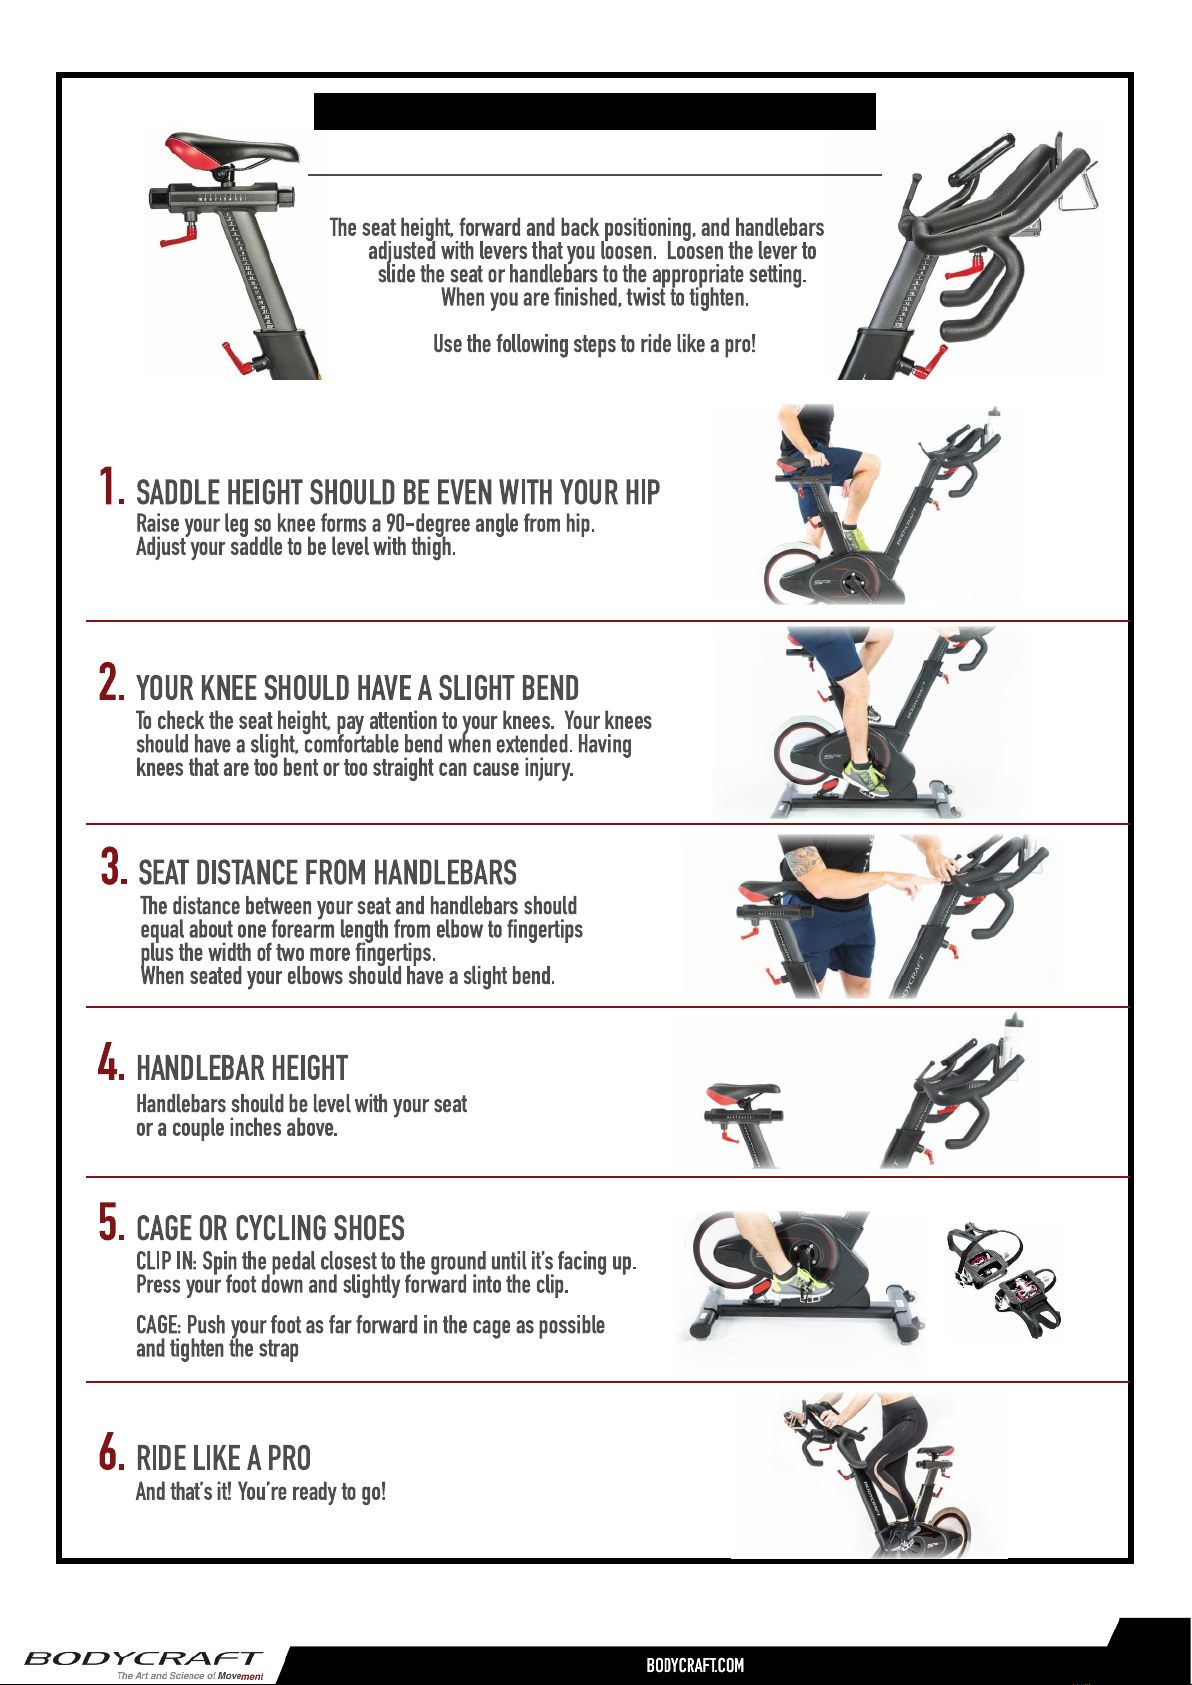
How to set-up your Cycle for Riding
NOTE: The bike shown is the SPR, but the setup instructions are the same.

88
Preventative Maintenance and Cleaning
The life of the bike will be determined by how consistent maintenance is
performed.
Items recommended for Cleaning/Preventive Maintenance:
●Pedal Wrench
●Metric Allen Wrench Set
●Metric Socket Set
●Non-Abrasive Cleaner (or warm soapy water)
●Soft Absorbent Cloths
IMPORTANT: Do not use abrasives or petroleum-based cleaning products.
Using a mixture of soap and water will do. Never spray cleaner directly onto
the frame, instead spray it onto the soft cloth you will be using to clean the
bike.
Wipe down the bike at the end of each workout to help prevent rust and
corrosion.
What parts of the bike to wipe down/clean: (Wipe down all areas where
perspiration can settle using an absorbent cloth. It's a good idea to raise the seat and
handlebar post to expose this moisture).
1. Handlebar
2. Flywheel
3. Front stabilizer Assembly
4. Rear stabilizer Assembly
5. Belt covers
6. Tension/Brake Knob/Lever
7. Lock Levers
8. Leveling Pads and Caps
DAILY COMPONENTS INSPECTION:
1. Pedals: Using a Pedal Wrench, verify that the pedals are not loose.
2. Seat Saddle: Confirm that it does not wobble or rotate and that it is secure to the
seat post.
3. Levelers: Inspect that the bike does not rock and is level to the floor.
4. Toe Cage/Straps: Inspect for damage and proper installation.
5. Water Bottle Holder: Inspect for damage.
BI-WEEKLY INSPECTION:
1. Crank Arms: Use a Foot pound torque wrench set at 30-35 lbs.
2. Water Bottle Holder: Tighten assembly screws
3. Handlebar & Seat Slides/Posts: Lubricate with Silicone Spray. Do not use
solvents.
4. Inspect major moving parts that require proper torque and which, if ignored,
can cause injury or damage to the indoor cycle.
5. Inspect all exposed hardware: all bolts, screws and nuts must be secure and
tight.
Table of contents
Other Body Craft Exercise Bike manuals

Body Craft
Body Craft SPX User manual

Body Craft
Body Craft U1000G User manual

Body Craft
Body Craft R200 Recumbent User manual

Body Craft
Body Craft R25 User manual

Body Craft
Body Craft SPT User manual

Body Craft
Body Craft R18 User manual

Body Craft
Body Craft VF803J User manual

Body Craft
Body Craft R18 User manual

Body Craft
Body Craft RSI 300c User manual

Body Craft
Body Craft TourTrainer none User manual


 Service manual")


