
Body Champ BRM 3671 User manual

BRM 3671 /3681/3690
OWNER’S MANUAL
* This item is for consumer use only and it is not meant for commercial use.
For use under U.S. Patent numbers 6159132, D459773, D438264

This page intentionally left blank

General Information
BRM3671/3681/3690 Page 1
Warranty
Body Flex Sports warrants your product for
a period of 1 year for the frame and 90 days
on all parts if the item is used for the intended
purpose, properly maintained and not used
commercially. Any alterations or incorrect
assembly of the product will void this warranty.
Proof of purchase must be presented for any
warranty validation (no exceptions). This
warranty applies to the original purchaser only
and is not transferable.
This warranty does not cover abuse or defects
caused during use, storage or assembly.
During the warranty period, Body Flex Sports
reserves the right to:
a). provide replacement parts to the
purchaser in an effort to repair the item.
b). repair the product returned to our
warehouse (at the purchaser’s cost).
c). replace the product if neither of the two
previously mentioned actions effect repair.
This warranty does not cover normal wear and
tear on upholstery.
Questions
If you have any questions concerning the
assembly of your item or if any parts are
missing, please DO NOT RETURN THE
ITEM TO THE STORE OR CONTACT THE
RETAILER. Our dedicated customer service
staff can help you with any questions you may
have regarding the assembly of this unit and
can also mail you replacement parts.
Customer Support
Customer Support is open 9:00 a.m. to 5:00
p.m. (Pacific Time) Monday through Friday.
Please contact us by any of the following
means.
Body Flex Sports, Inc.
21717 Ferrero Parkway, Walnut, CA 91789
Telephone: (888) 266 - 6789
Fax: (909) 598 - 6707
Email: info@bodyflexsports.com
Safety
Before you undertake any exercise program,
please be sure to consult with your doctor.
Frequent strenuous exercise should be
approved by your doctor and proper use
of your product is essential. Excessive or incorrect
training may result to health injuries. Please read
this manual carefully before commencing the
assembly of your product or starting to exercise.
• Please keep all children away from this item
when in use. Do not allow children to climb or
play on them when they are not in use.
• Supervise teenagers while they use this unit.
• For your own safety, always ensure that there
is at least 3 feet of free space in all directions
around your product while you are exercising.
• Regularly check to see that all nuts, bolts and
fittings are securely tightened. Periodically
check all moving parts for obvious signs of
wear or damage.
• Clean only with a damp cloth, do not use
solvent cleaners. If you are in any doubt, do
not use your product; contact CUSTOMER
SUPPORT.
• Before use, always ensure that your product
is positioned on a solid, flat surface. If
necessary, use a rubber mat underneath to
reduce the possibility of slipping.
• Always wear appropriate clothing and
footwear such as training shoes when
exercising. Do not wear loose clothing that
could become caught in moving parts during
exercise.
• Do not use this unit if it is not functioning
properly or if it is not fully assembled.
• Do not use this unit for commercial purposes.
This unit is for home use only.
Storage and Use
Your product is intended for use in clean
dry conditions. You should avoid storage in
excessively cold or damp places as this may
lead to corrosion and other related problems.
Weight Limit
Your product is suitable for users weighing:
250 pounds or less.
• Before use, you must read and understand all
instructions & warnings stated in this Owner’s
Manual as well as posted on the equipment.
• It is the facility owner’s responsibility to properly
instruct users on the proper operation of the
equipment and to warn them of the potential
hazards.
• If at any time during exercise you feel faint, dizzy
or experience pain, stop and consult your
physician.
Assembling Tools
- Ruler with both metric and English measurements
- 2 x Adjustable Wrenches
- 1 x Philips (”Crosshead”) Screw Driver
•
Any adjustment devices that could interfere with
the user's movement on this unit should not be
left projecting.

Hardware & Tool List
The following hardware is used to assemble your unit. Please take a moment to familiarize yourself with these items.
Please note, most of these parts are already pre-assembled on your unit. Do not be alarmed if you see parts on this
page that are not included in your hardware packet.
Pre-assemble [3 pieces]
Pre-assemble
Pre-assemble [3 pieces]
Bolts
Washers
Nuts
Knobs
Caps
Misc.
Tools
#2. Bolt (M8 x 15 mm)
[2 pieces] #12. Bolt (M8x45 mm)
[4 pieces] #18. Left / Right Pedal Bolt
[2 pieces] #27. Carriage Bolt (M8x73 mm)
[4 pieces]
#38. Bolt (M8x20 mm)
[4 pieces]
#4. Spring Washer (for M8 bolt)
[4pieces]
#5. Washer (for M8 bolt)
[2 pieces] #73. Washer (for M8bolt,T1.5 mm)
[7pieces]
#42. Washer (for M10 bolt, T2.0 mm)
[1 piece] #47. Spring Washer (for bolt #18)
[2 pieces]
#72 Nylon Nut (for M 8 bolt)
[7pieces] #46. Nylon Nut (for bolt #18)
[2 pieces] #49. Cap Nut (for M8 carriage bolt)
[4 pieces]
#7. Knob Bolt (M8x36 mm)
[2 pieces] #43. Knob (M10)
[1 piece] #39. Spring Loaded Knob
[1 piece]
#3. Bolt Cap (for M8 bolt)
[4 pieces]
#45. Bolt Cap (for bolt #18)
[2 pieces]
#66. Clamp Cover [1 piece]
#63. Screw (M4 x 10 mm)
[4pieces] #65. Bolt (M8x30 mm)
[2 pieces]
#37. Arc-Washer (for M8 bolt)
[8 pieces]
Page 2
BRM3671/3681/3690

Page 3
BRM 3670 Stride Cycle Page ?
Parts Listing
Part # Description
1......................Handle Bar Foam Grip
2......................Bolt (M8 x 15 mm)
3......................Bolt Cap (for M8 bolt)
4......................Spring Washer (for M8 bolt)
5......................Washer (for M8 bolt)
6......................Bushing for Coupler Bar
7......................Knob Bolt (M8x36 mm)
8......................L/R Coupler Bar
9......................Nylon Nut (for M10 bolt)
10....................Bolt Cap (for M10 bolt)
11. ...................Bushing
12....................Bolt (M8x45 mm)
13....................Pedal
14....................Pedal Tube
17....................Bolt (M10x50 mm)
18L..................Left Pedal Bolt
18R. ................Right Pedal Bolt
19....................Bushing for Pedal Connection Joint
20A..................Pedal Connection Joint
22....................End Cap (rectangular 25x40 mm)
25....................Adjustable End Cap for Rear Stabilizer
26....................Rear Stabilizer
27....................Carriage Bolt (M8x73 mm)
28....................End Cap (round 28mm)
29L/29R...........Handle Bar
30....................Handle Bar Sleeve
31....................Spacer
33....................Seat
34....................End Plug (square 38mm)
35....................Horizontal Seat Bar
36....................Seat Post
Part # Description
37....................Arc-Washer (for M8 bolt)
38....................Bolt (M8x20 mm)
39....................Spring Loaded Knob
41....................U Bracket
42....................Washer (for M10 bolt, 2.0 mm Thick)
43....................Knob (M10)
44....................Seat Post Sleeve
45....................Bolt Cap (for bolt #18)
46....................Nylon Nut (for bolt #18)
47....................Spring Washer (for bolt #18)
48....................Main Frame
49....................Cap Nut (for M8 carriage bolt)
51....................Computer
54....................Main Sensor Wire (middle)
58....................Center Post
59....................End Cap (round 25 mm)
60....................Pulse Handle Bar Foam Grip
61....................Pulse Sensor
62....................Screw
63....................Screw (M4 x 10mm)
64....................Pulse Sensor Wire (Lower)
65....................Bolt (M8x30 mm)
66....................Clamp Cover
67....................Main Sensor Wire (lower)
68....................End Cap for Front Stabilizer
69....................Front Stabilizer
70....................Pulse Handle Bar
The following parts list describes all of the parts illustrated on the
exploded diagram on the following page. Please note, most of
these parts are already pre-assembled on your unit.
32....................Bolt (M10x55 mm)
71....................AC Adapter
72....................Nylon Nut (for M8 bolt)
73....................Washer (for M8 bolt)
15....................Washer (for M10 bolt)
52....................Main Sensor Wire (Upper)
53....................Pulse Sensor Wire (Upper)
BRM3671/3681/3690

Page 4
Exploded Diagram
The following diagram is provided to help you familiarize yourself with the parts and
hardware that will be used during the assembly process. Please note that not all of the
parts and hardware you see here will be used while you are assembling the machine
because some of these items are already pre-installed. Please continue to the next
page to begin the assembly process and use this page only as a reference guide for
parts and hardware.
BRM3671/3681/3690

Page 5
Assembly Instructions
Assembly Step 1
Tool Required
Hardware Required
Make sure this wire is hanging out before proceeding
to the next step. If it has fallen inside the tube, use a
bent wire to “sh” it out.
#49. Cap Nut
[4 pieces]
#27. Carriage Bolt (M8x73 mm)
[4 pieces]
#37. Arc-Washer
[4 pieces]
REAR STABILIZER ASSEMBLY
FRONT STABILIZER ASSEMBLY
Secure the Front Stabilizer (#69) to the
Main Frame
(#48) using a total of two Carriage Bolts (#27)
two Arc-Washers (#37) and two Cap Nuts (#49).
Secure the Rear Stabilizer (#26) to the Main Frame
(#48) using a total of two Carriage Bolts (#27)
two Arc-Washers (#37) and two Cap Nuts (#49).
BRM3671/3681/3690

Assembly Instructions
WIRE CONNECTIONS
Connect the Main Sensor Wire [middle] (#54) to the Main
Sensor Wire [lower] (#67).
CENTER POST ASSEMBLY
Slide the Center Post (#58) onto the Main Frame (#48) and
secure it using a total of four Arc-Washers (#37) and four
Bolts (#38).
Assembly Step 2 Hardware Required
Tools Required
55
40 1 2 3 4
55
40 1 2 3 4
Make sure this wire is hanging out before
assembling the Center post (#58).
#38. Bolt (M8x20 mm)
[4 pieces]
#37. Arc-Washer
[4 pieces]
Page 6
BRM3671/3681/3690

Page 7
Hardware Required Tools Required
#18. Left / Right Pedal Bolt
[2 pieces]
#4. Spring Washer
[2 pieces]
#47. Spring Washer
[2 pieces]
#46. Nylon Nut (for bolt #18)
[2 pieces]
#45. Bolt Cap
[2 pieces]
#2. Bolt (M8 x 15 mm)
[2 pieces]
#5. Washer
[2 pieces]
#3. Bolt Cap
[2 pieces]
Assembly Instructions
Assembly Step 3
Coupler Bar Assembly
Slide two Spacers (#31) onto the two bars that are protruding from the Center Post (#58). Then slide
one Left Pedal Bolt (#18L) into the Pedal Connection Joint (#20$). Assemble the Coupler Bar (#8L) to
the left side of the unit by sliding the upper part onto the left bar that is protruding from the Center Post
(#58). Secure it using one Washer (#5), one Spring Washer (#4), one Bolt (#2) and then place a Bolt
Cap (#3) on top of the Bolt (#2). Lift the lower segment of the Coupler Bar (#8L) and align the Pedal
Connection Joint (#20$) to the hole on the pedal crank. Push the Left Pedal Bolt (#18L) through the
hole on the pedal crank and secure it using one Spring Washer (#47), the Nylon Nut (#46) with black inner rin
g,
and then place a Bolt Cap (#45) on top of the Nylon Nut (#46). Repeat this process on the opposite side.
PLEASE NOTE:
a):Turn COUNTERCLOCKWISE to tighten the Left Pedal Bolt (#18L) and CLOCKWISE to tighten Nylon Nut (#46) with BLACK inner nylon ring.
b):Turn CLOCKWISE to tighten the Right Pedal Bolt (#18R) and COUNTERCLOCKWISE to tighten Nylon Nut (#46) with WHITE inner nylon ring.
Note:
Keep the Left/Right Pedal Bolt
(#18L/18R) perfectly
straight as they
go through the Left/Right Pedal
Connection Joint (#20$)
and the
Crank . If the Left/Right Pedal Bolt
(#18L/18R) are connected to the
Crank
incorrectly, damage to the
Left/Right
Pedal Bolt (#18L/18R) and Crank
will
occur.
LEFT SIDE RIGHT SIDE
BRM3671/3681/3690

Assembly Instructions
Page 8
HANDLE BAR ASSEMBLY
Insert the two Handle Bars (#29L & 29R) into the
openings at the end of the two Coupler Bars
(#8L & #8R). Secure the Handle Bars (#29)
using two Knob Bolts (#7). Place two Bolt
Caps (#3) on the welded nuts located on the
opposite side of the Knob Bolts (#7).
Assembly Step 4
Hardware Required Hardware Required
Assembly Step 5
PULSE HANDLE BAR ASSEMBLY
Install the Pulse Handle Bar (#70) onto the
front side of the Center Post (#58) using two
Bolts (#65) and two Spring Washers (#4).
Feed the Pulse Sensor Wire (#64) through the
neck of the Center Post (#58) until is sticking
out of the opening. You will need to connect
this wire to the Computer (#51) later. Slide
the Clamp Cover (#66) over the Pulse Handle
Bar (#70).
Tool Required
#66. Clamp Cover
[1 piece]
#65. Bolt
(M8x30 mm)
[2 pieces]
#4. Spring Washer
[2 pieces]
#7. Knob Bolt (M8x36 mm)
[2 pieces] #3. Bolt Cap
[2 pieces]
Feed the Pulse
sensor wires (#64)
through the neck
of the Center post
(#58) until they are
sticking out of the
opening.
BRM3671/3681/3690
Other manuals for BRM 3671
1
This manual suits for next models
2
Table of contents
Other Body Champ Elliptical Trainer manuals


Popular Elliptical Trainer manuals by other brands


Bonn Germany
Bonn Germany Concept 2.2 user manual

Precor
Precor Resolute RSL 620 Assembly guide

NordicTrack
NordicTrack E 9.2 Elliptical HASZNALATI UTASITAS
Vision Fitness
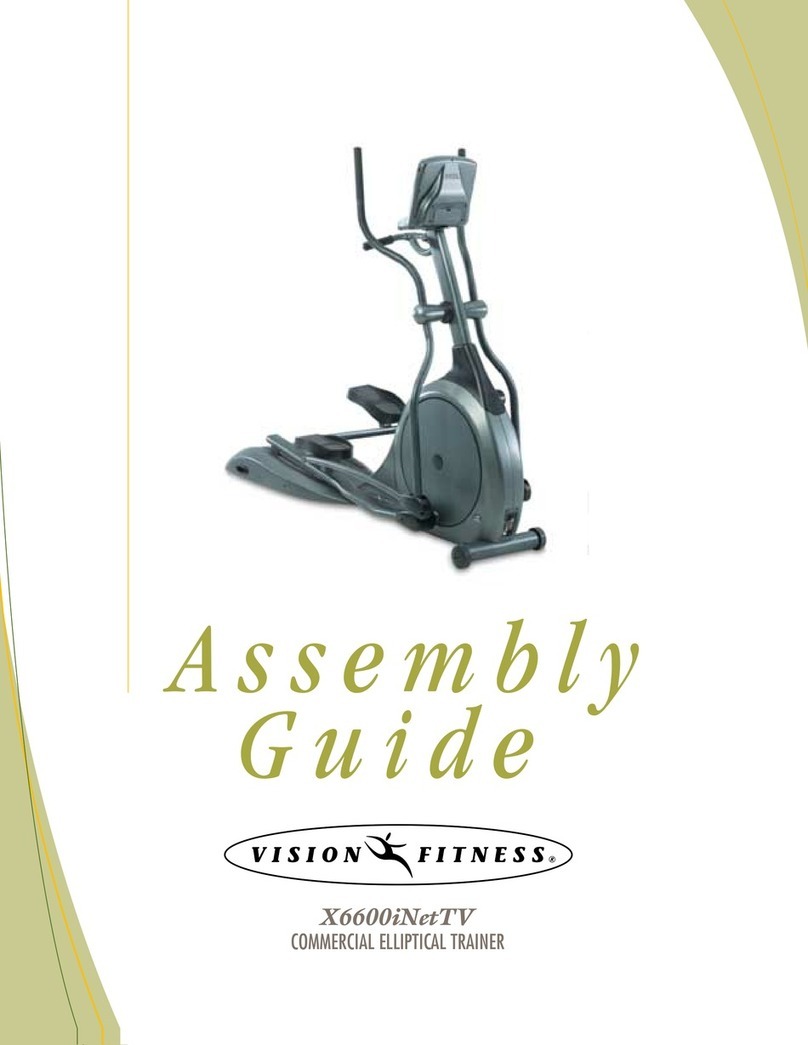
Vision Fitness X6600iNetTV Assembly guide

Matrix
Matrix MX-A5x owner's manual
SportsArt Fitness
SportsArt Fitness ECO-NATURAL Elite E874 owner's manual


