
BIXOLON SRP-F310 User manual

User Manual
Network Interface
Rev. 1.02 SRP-F310
SRP-F312
http://www.bixolon.com

Network Interface
■Table of Contents
1. Specifications.................................................................................................................3
2. How to Connect .............................................................................................................5
2-1 Initial Wireless LAN Connection (Windows 2000)....................................................8
2-2 Initial Wireless LAN Connection (Windows XP).......................................................8
2-3 Initial Wireless LAN Connection (Windows VISTA, Windows 7) ............................13
3. Configuration ...............................................................................................................19
3-1 Configuration Tool..................................................................................................21
3-2 Web Browser .........................................................................................................28
3-3 FTP........................................................................................................................31
3-4 Telnet .....................................................................................................................33
4. SMTP.............................................................................................................................34
5. Ethernet/WLAN Test by using Windows Test Page...................................................36
6. Factory Reset ...............................................................................................................42
7. Troubleshooting...........................................................................................................44
Rev.1.02 - 2 -

Network Interface
1. Specifications
(1) WLAN USB Adapter (IEEE 802.11b/g)
SRP-F310 requires WLAN USB adapter to use the wireless LAN function.
SRP-F310 is compatible with WLAN adapters using the Ralink RT73, ZD1211rw
chipset. WLAN USB adapters using chipsets other than Ralink RT73, ZD1211rw won’t
work when they are connected to SRP-F310.
The printer can be used as a wireless LAN printer by connecting the WLAN USB adaptor
provided by BIXLON as an optional item.
Besides the WLAN USB adaptor provided by BIXOLON, other WLAN USB adapters using
the RT73 chipset can also be used.
The following products are recommended. (Test completed)
RT73 chipset
Manufacturer Model Name
CNET CWD-854
TP-Link TL-WN32G
D-Link DWA-110
D-Link DWL-G122
Buffalo WLI-U2-SG54HP
ZIO F7
ZD1211rw chipset
Manufacturer Model Name
3COM 3CRUSB10075
PCI GW-US54GXS
ZYXEL AG-225H
Rev.1.02 - 3 -
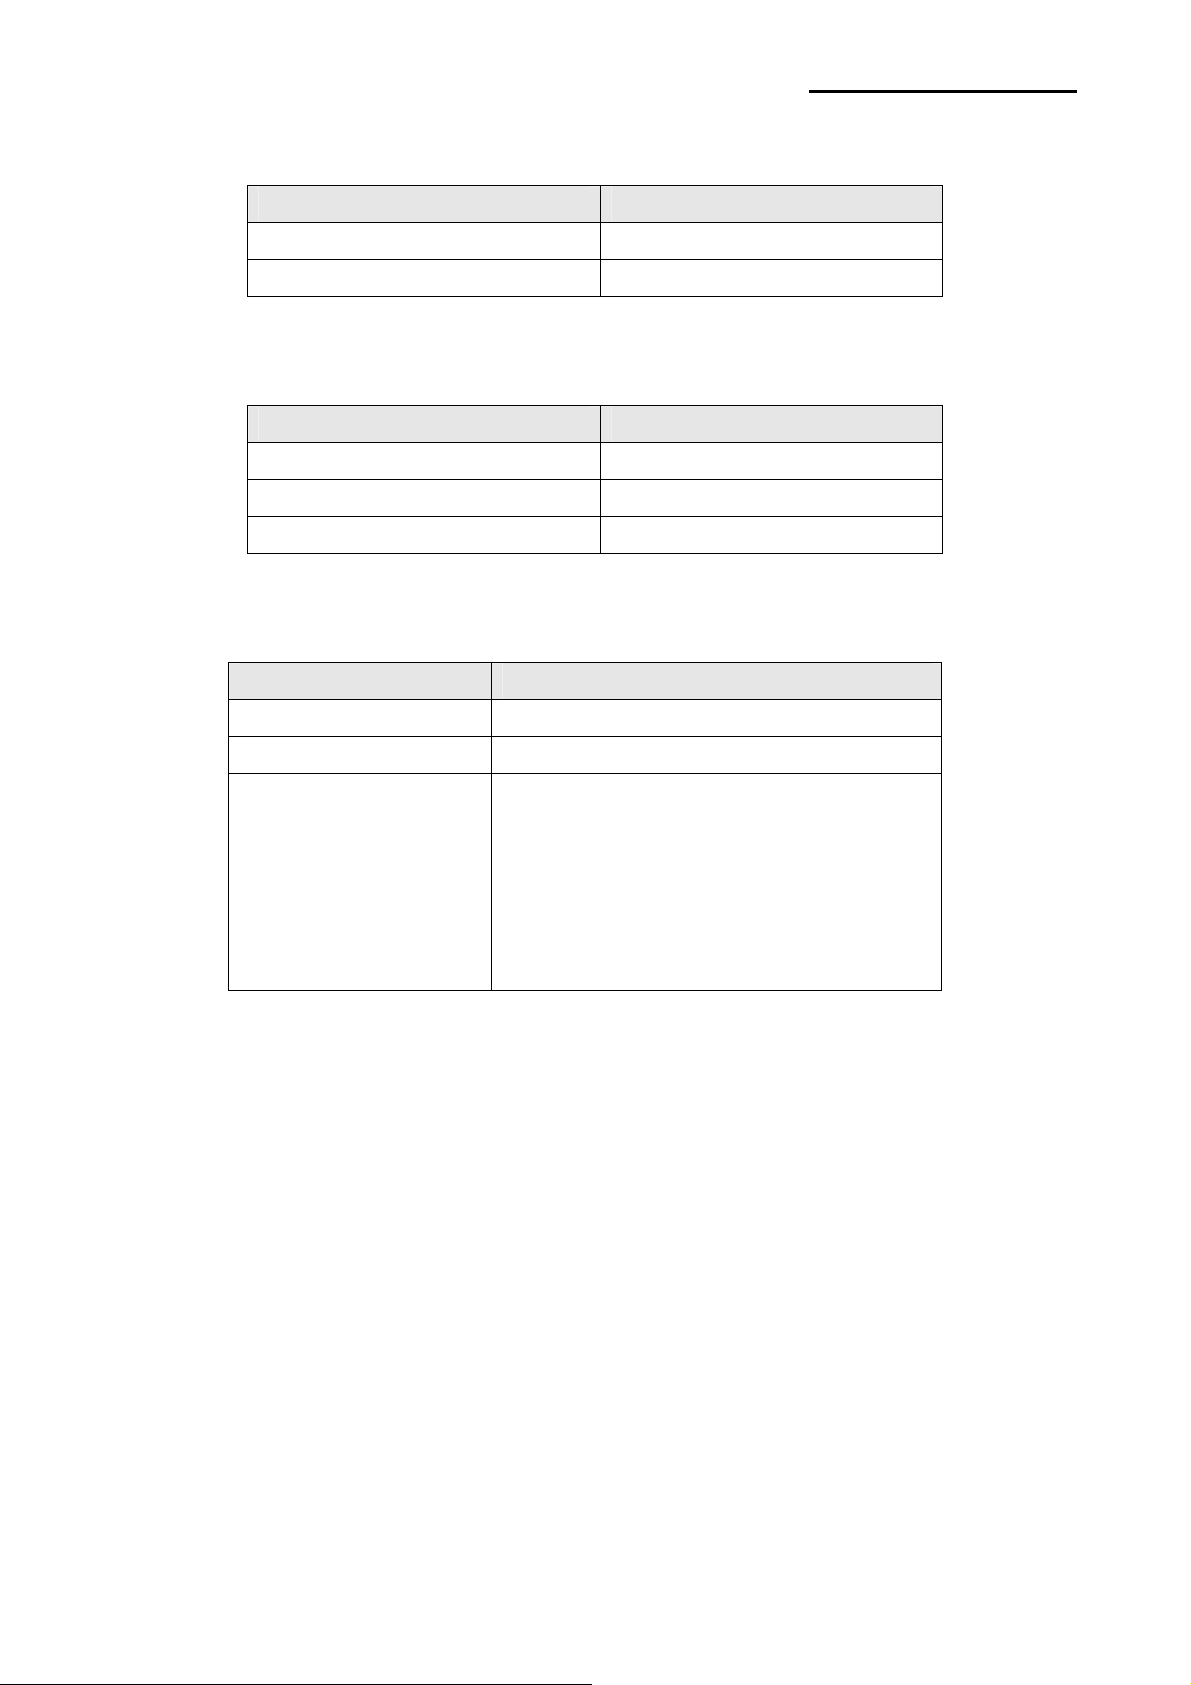
Network Interface
RT2070sta chipset
Manufacturer Name
PREMIERTEK PL-H5DN-3070
TP-Link TL-WN321G
8712u chipset(support 802.11 b/g/n)
Manufacturer Name
IOGEAR GWU-625
ZIO ZIO-3000NU
AZiO AWU212N
(2) Ethernet / WLAN Protocol
Layer Protocol
Network Layers ARP, IP, ICMP
Transport Layers TCP, UDP
Application Layers
DHCP, DNS
Raw Print
SMTP (notify printer status)
HTTP, HTTPS (setting)
FTP (settings)
TELNET (settings)
(3) Ethernet Security
- HTTPS (SSL2.0, SSL3.0, TLS1.0)
(4) WLAN Security
- WEP64/128
- WPA/WPA2 (TKIP/AES-CCMP) PSK
- EAP(PEAP, FAST, LEAP, TTLS)
- HTTPS (SSL2.0, SSL3.0, TLS1.0)
Rev.1.02 - 4 -

Network Interface
2. How to Connect
Both Ethernet and WLAN can be configured through the printer’s Ethernet interface.
Likewise, both Ethernet and WLAN can also be configured though the printer’s WLAN
interface. When you want to change the Ethernet or WLAN of the printer, the network
settings of the host (PC, PDA, etc) and Ethernet or WLAN of the printer must configured
properly configured so that communication can be established.
(1) Connecting Printer
1) LAN
Connect the LAN cable to the printer
A direct cable or cross cable can be connected to the Hub or Host for use.
2) WLAN
Connect to the AP (Access Point) configured in Infrastructure mode in order to connect
to the LAN/wireless network.
A
Infrastructure Mode
In order to configure the network between wireless terminals, connect to the terminal in
Ad-hoc Mode.
Ad-hoc Mode
Rev.1.02 - 5 -

Network Interface
(2) Checking Network Setting
1) Function Key
Pressing the Function Key while the power is ON will print the LAN/WLAN setting status
page.
*Output Message
ETHERNET SETTING
MAC ADDR: xx:xx:xx:xx:xx:xx
LAN_DHCP disabled
IP ADDR : 192.168.192.123
NETMASK : 255.255.255.0
GATEWAY : 192.168.192.254
PORT : 9100
WLAN SETTING
NETWORK: adhoc
AUTH: open
ENCRYPT: none
ESSID: BIXOLON_adhoc
WLAN_DHCP disabled
IPADDR: 192.168.1.1
NETMASK: 255.255.255.0
GATEWAY: 192.168.1.2
PORT : 9100
Rev.1.02 - 6 -

Network Interface
2) Self-test
While the printer is turned off, turn on the printer while pressing the feed button. The printer
setting values will then be printed with a beep sound.
*Output Message
SRP-F310 V01.00 STD 010110
================================
FPGA INFORMATION
BOARD VER.: 0x3
PROGRAM VER. : 0x11
DIP SWITCH STATUS
12345678
ON: *
OFF: ****** *
MEMORY SWITCH STATUS
MSW1 12345678
MSW2 12345678
MSW3 12345678
MSW4 12345678
MSW5 12345678
MSW6 12345678
MSW11 12345678
MSW12 12345678
SERIAL SETTING
BAUD RATE : 115200 BPS
DATABITS :8BITS
PARITY CHECK : NONE
STOP BITS : 1 BIT OR MORE
HANDSHAKING : DTR/DSR
ETHERNET SETTING
MAC ADDR: 00:11:22:33:44:55
LAN_DHCP disabled
IP ADDR : 192.168.192.123
NETMASK : 255.255.255.0
GATEWAY : 192.168.192.254
PORT : 9100
WLAN SETTING
NETWORK: adhoc
AUTH: open
ENCRYPT: none
ESSID: BIXOLON_adhoc
WLAN_DHCP disabled
IPADDR: 192.168.1.1
NETMASK: 255.255.255.0
GATEWAY: 192.168.1.2
PORT : 9100
BUFFER CAPACITY: 512KBYTES
PRINT DENSITY
LIGHT [ 1 2 3 4 ] DARK
*
SELF-TESTPRINTING
PLEASE PRESS THE FEED BUTTON
ASCII
!"#$%&'()*+,-./0123456789:;<=>?@
"#$%&'()*+,-./0123456789:;<=>?@A
#$%&'()*+,-./0123456789:;<=>?@AB
$%&'()*+,-./0123456789:;<=>?@ABC
%&'()*+,-./0123456789:;<=>?@ABCD
&'()*+,-./0123456789:;<=>?@ABCDE
'()*+,-./0123456789:;<=>?@ABCDEF
()*+,-./0123456789:;<=>?@ABCDEFG
)*+,-./0123456789:;<=>?@ABCDEFGH
*+,-./0123456789:;<=>?@ABCDEFGHI
+,-./0123456789:;<=>?@ABCDEFGHIJ
,-./0123456789:;<=>?@ABCDEFGHIJK
-./0123456789:;<=>?@ABCDEFGHIJKL
./0123456789:;<=>?@ABCDEFGHIJKLM
/0123456789:;<=>?@ABCDEFGHIJKLMN
0123456789:;<=>?@ABCDEFGHIJKLMNO
123456789:;<=>?@ABCDEFGHIJKLMNOP
23456789:;<=>?@ABCDEFGHIJKLMNOPQ
3456789:;<=>?@ABCDEFGHIJKLMNOPQR
456789:;<=>?@ABCDEFGHIJKLMNOPQRS
56789:;<=>?@ABCDEFGHIJKLMNOPQRST
6789:;<=>?@ABCDEFGHIJKLMNOPQRSTU
789:;<=>?@ABCDEFGHIJKLMNOPQRSTUV
89:;<=>?@ABCDEFGHIJKLMNOPQRSTUVW
9:;<=>?@ABCDEFGHIJKLMNOPQRSTUVWX
PC437
ÇüéâäàåçêëèïîìÄÅÉæÆôöòûùÿÖÜ¢£¥
Pt
ƒ
üéâäàåçêëèïîìÄÅÉæÆôöòûùÿÖÜ¢£¥
Pt
ć
éâäàåçêëèïîìÄÅÉæÆôöòûùÿÖÜ¢£¥
Pt
ƒáí
âäàåçêëèïîìÄÅÉæÆôöòûùÿÖÜ¢£¥
Pt
ƒáíó
äàåçêëèïîìÄÅÉæÆôöòûùÿÖÜ¢£¥
Pt
ƒáíóú
àåçêëèïîìÄÅÉæÆôöòûùÿÖÜ¢£¥
Pt
ƒáíóúñ
åçêëèïîìÄÅÉæÆôöòûùÿÖÜ¢£¥
Pt
ƒáíóúñÑ
çêëèïîìÄÅÉæÆôöòûùÿÖÜ¢£¥
Pt
ƒáíóúñѪ
êëèïîìÄÅÉæÆôöòûùÿÖÜ¢£¥
Pt
ƒáíóúñѪº
ëèïîìÄÅÉæÆôöòûùÿÖÜ¢£¥
Pt
ƒáíóúñѪº¿
èïîìÄÅÉæÆôöòûùÿÖÜ¢£¥
Pt
ƒáíóúñѪº¿┌
ïîìÄÅÉæÆôöòûùÿÖÜ¢£¥
Pt
ƒáíóúñѪº¿┌┐
îìÄÅÉæÆôöòûùÿÖÜ¢£¥
Pt
ƒáíóúñѪº¿┌┐½
ìÄÅÉæÆôöòûùÿÖÜ¢£¥
Pt
ƒáíóúñѪº¿┌┐½¼
ÄÅÉæÆôöòûùÿÖÜ¢£¥
Pt
ƒáíóúñѪº¿┌┐½¼¡
ÅÉæÆôöòûùÿÖÜ¢£¥
Pt
ƒáíóúñѪº¿┌┐½¼¡«
ÉæÆôöòûùÿÖÜ¢£¥
Pt
ƒáíóúñѪº¿┌┐½¼¡«»
æÆôöòûùÿÖÜ¢£¥
Pt
ƒáíóúñѪº¿┌┐½¼¡«»▓
ÆôöòûùÿÖÜ¢£¥
Pt
ƒáíóúñѪº¿┌┐½¼¡«»▓▒
ôöòûùÿÖÜ¢£¥
Pt
ƒáíóúñѪº¿┌┐½¼¡«»▓▒░
öòûùÿÖÜ¢£¥
Pt
ƒáíóúñѪº¿┌┐½¼¡«»▓▒░┃
òûùÿÖÜ¢£¥
Pt
ƒáíóúñѪº¿┌┐½¼¡«»▓▒░┃┤
ûùÿÖÜ¢£¥
Pt
ƒáíóúñѪº¿┌┐½¼¡«»▓▒░┃┤╡
ùÿÖÜ¢£¥
Pt
ƒáíóúñѪº¿┌┐½¼¡«»▓▒░┃┤╡╢
ÿÖÜ¢£¥
Pt
ƒáíóúñѪº¿┌┐½¼¡«»▓▒░┃┤╡╢╖
Rev.1.02 - 7 -

Network Interface
2-1 Initial Wireless LAN Connection (Windows 2000)
Windows 2000 does not support wireless network stting.
When you use Windows 2000, you need to set the utility option as below after
installing utility program related to the wireless lan driver that you use.
- Network mode : Ad-hoc
- SSID : BIXOLON_adhoc
- IP address : 192.168.1.2
- Subneet Mask : 255.255.255.0
- Authentication(Encrpition) : Open(None)
2-2 Initial Wireless LAN Connection (Windows XP)
When wireless utility program is installed, you have to set the wireless control values
via the program, otherwise you have to terminate the program in order to do proper
setting after following the steps 'Control Panel>>Administrative tools>>
Services>>Wireless Zero Configuration>>Start'.
1) Right click on the icon, and select Properties.
2) Select and right click on the Wireless Network Connection, and then select Properties.
Rev.1.02 - 8 -

Network Interface
3) Select Internet Protocol (TCP/IP), and then click Properties.
4) Set the IP settings as shown below, and then click OK.
Rev.1.02 - 9 -

Network Interface
5) Select the Wireless LAN tab, and then select “Use Windows to configure my wireless
network settings.”
Click the [Advanced] button.
6) Select “Computer-to-computer (ad hoc) network only.”
Rev.1.02 - 10 -
Other manuals for SRP-F310
9
This manual suits for next models
1
Table of contents
Other BIXOLON Recording Equipment manuals



