
BETAFPV LiteRadio 3 User manual

LiteRadio 3 Radio Transmitter
BETAFPV Congurator Suppoed

01
The front side of the radio transmitter.
● Nano module bay for external RF TX module.
● Suppo BETAFPV Congurator for updating, conguring and tuning.
● 8 channels in total.
LiteRadio 3 is a remote control radio transmitter designed primarily for RC models,
including multicopters, airplanes. It gives you more than you ever thought possible
from an ent level 8-channel radio.
● USB Joystick suppo for most practice simulator.
● New designed joystick gimbal for longer usage life.
● Provide ExpressLRS 2.4G protocol version and Frsky protocol version for option.
● Built-in 2000mAh batte and USB charge supported.
LED Ring
Power Button
Throttle Joystick Direction Joystick
Switch A
Switch BSwitch C
Switch D

02
1.Button Functions
● Power Button: Turn the radio transmitter o/on.
● SETUP Button: Enter joystick calibration mode after radio transmitter is powered
on.
● BIND Button: Enter binding mode after radio transmitter is powered on.
There are three buttons on LiteRadio 3 radio transmitter.
2.Power On/O
POWER ON: Long press the power button on the radio transmitter for 3 seconds
until it beeps three times (do re mi) then release. The radio transmitter LED ring will
ash red quickly, then remain blue.
POWER OFF: A long press of the power button on the radio transmitter will turn it
o after three beeps (mi re do).
3.LED Indicator and Buzzer
The LED ring indicates the working status of the radio transmitter.
The back side of the radio transmitter.
SETUP BIND
Audio Po Type-C Po
NANO Bay
NC
VCC
GND
CRSF.po

03
4.Binding the Receiver
There are the steps to make the LiteRadio 3 enter binding status.
1. Power on the radio transmitterand wait for its system to load completely. LED
ring will be solid blue if done correctly.
2. Press the bind button on the back of the radio transmitter to enter binding stutas.
The LED ring will be red and ash quickly.
3. The LED ring will change to solid blue 5 seconds later when radio transmitter exits
binding status. If not bind successfully, repeat theprocessabove.
5.Switching Protocol
Note: Switching internal protocol is only available for Frsky version radio transmitter.
ExpressLRS version can only switch to the external TX module.
The Frsky version could suppo 4 dierent internal protocols, including Frsky D16
FCC, Frsky D16 LBT, Frsky D8 and Futaba S-FHSS, it also suppos. The protocol is
indicated by the ashing times of the LED when power on, before the buzzer
alarms.
Reason Solution
Red light solid on The throttle joystick or
switches are not in the lowest
Lower throttle and switches
to the lowest position.
Turn to blue then.
Red light ashing quickly
Blue light ashing slowly
Red light breathes slowly
Green light breathes slowly
The radio transmitter
is binding
Batte reaches the low
voltage limit
On charging
Charge complete
Charge the transmitter
Wait for completing binding
State of the LED Ring
The buzzer will alarm three times, which indicates a low batte and needs to be re-
charged.
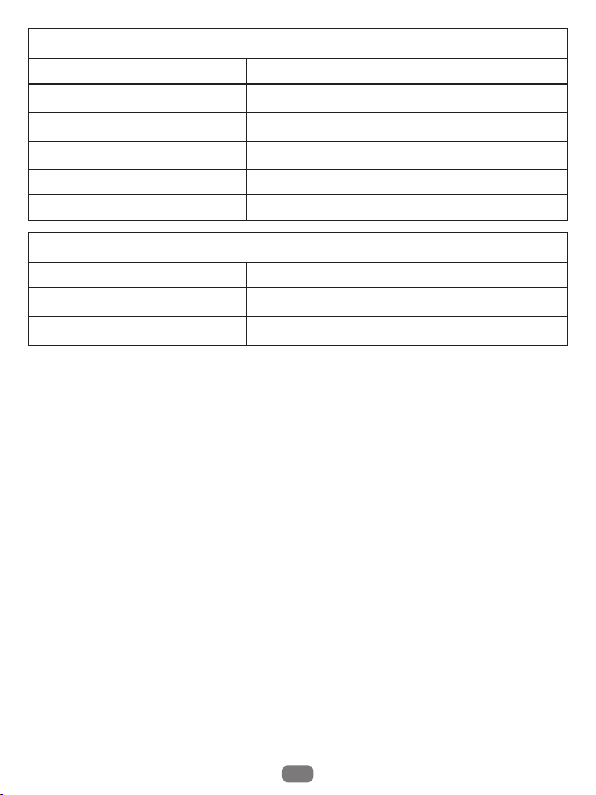
04
LiteRadio 3 radio transmitter has a built-in 2000mAh batte. It indicates low batte
and needs to be re-charged if blue light ashes slowly and buzzer beeps
continuously. Below charging method for reference:
● The LED ring breathes in red means charging, while in green means fully charged.
● Turn o the radio transmitter.
● Plug in radio transmitter with adapter by USB cable (5V output adapter is
allowed).
6.Charging
Note: LiteRadio 3 Frsky version only work with D16 ACCST 1.X Frsky protocol. So if you use a Frsky
receiver with D16 ACCST 2.X version or ACCESS version, binding will fail.
3. Then the ash color and times of the LED before buzzer alarms will change,
according to the tables above.
1. Power the radio transmitter o;
2. Press and hold the BIND button while power the radio transmitter back on;
To change protocols and TX module, here are the steps:
Red Flash once Internal Frsky D16 FCC (ACCST 1.X Version)
LED Status Protocol Version
Red Flash twice Internal Frsky D16 LBT (ACCST 1.X Version)
Red Flash Three Times Internal Frsky D8
Red Flash Four Times Internal Futaba S-FHSS
Purple Flash Three Times Quickly Internal TX Module O and Run External TX Module
Frsky Version
Red Flash once Internal ELRS
LED Status Protocol Version
Purple Flash Three Times Quickly Internal TX Module O and Run External TX Module
ExpressLRS Version

05
7.HID Joystick
It is the safest and quickest method to get staed by using model practice simulator
for staers. LiteRadio 3 radio transmitter suppos most of simulators on market
with comprehensive conguration.
The continue working time for full charged batte is about 15 hours.
Output 5V
Type-C Data Cable
Type-C Data Cable

06
8.Joystick Calibration
The joystick data may oset after it has used for a period of time (if joysticks is hit
by physical). User need to re-calibrate joysticks based on following steps.
● After powering on, press SETUP button on the back of remote control radio
transmitter, it hears two "Bee Bee" sounds, and red LED ash quickly (two ashes
each time), which means remote control radio transmitter entered calibration mode.
● Move throttle joystick and direction joystick to middle position, press SETUP
button again, wait until the buzzer beep three "Bee Bee Bee" sounds, red LED light
ashes quickly (two ashes each time), which indicates joystick data has been
acquired and enter into the bounda value calibration mode.
● Slowly rotate the throttle and direction joystick twice around the bounda of the
● Connect the transmitter to computer via USB data cable. Wait for the LED ring
breathes in red or green.
● Turn o radio transmitter.
● Install driver from PC automatically, prompt box pops up after successful
installation. Then, radio transmitter works as joystick human inteace device (AKA
HID device) normally.
Operation steps below:
User needs to manually install driver if PC doesn't install automatically or installed
incorrectly.
DO NOT power on the transmitter rst and connect it to the PC. The USB po is invalid in this
situation.
Other devices
Bluetooth & other devices
BETAFPV JoyStick
Setting up a device
We're setting up 'BETAFPV JoyStick'.

07
9.BETAFPV Congurator
BETAFPV Congurator is utility designed to simplify updating, conguring and
tuning the radio transmitter.
Download address: https://github.com/BETAFPV/BETAFPV_Congurator/releases
Remove the cover on the back of the transmitter and there is a label, comes with "BETAFPV
Congurator Suppoed".
How to recognise if your radio transmitter suppos the BETAFPV Congurator?
DO NOT power on the transmitter rst and connect it to the PC. The USB po is invalid in this
situation.
How to enter the radio transmitter conguration page:
● Turn o the radio transmitter.
● Click the "Connect Radio Controller" button on the top right of the page.
● Open the BETAFPV Congurator program in your computer and switch to the
congurator page for radio transmitter.
● Connect the transmitter to computer via USB data cable. Wait for the LED ring
breathes in red or green.
joysticks(counterclockwise/clockwise), then press SETUP button again, it hears a
long ''Bee''sound about 3 seconds. And the red LED light stops ashing, indicating
that joystick calibration is complete successfully.

08
● 内置2000mAh电池,支持USB充电。
● 提供ExpressLRS 2.4G协议版本,Frsky协议版本供客户选择;
LiteRadio 3作为该系列中新的成员,将带来更多更新的功能。
● 支持8通道;
LiteRadio 3遥控器是一款模型进阶需求的遥控器。BETAFPV LiteRadio系列遥控器从
2020年发布以来,成为深受广大模型爱好者喜欢的手柄遥控器之一。
● USB Joystick模式支持绝大部分模型模拟器;
● 使用新版本高寿命的电位器摇杆;
● 支持外接Nano高频头扩展;
● 支持BETAFPV Congurator上位机调参和升级;
LiteRadio 3遥控器正面如下图所示。
油门摇杆 方向摇杆
电源键 指示灯
拨杆SB
拨杆SA
拨杆SC
拨杆SD

09
1.按键功能介绍
● 开机键:长按开机/关机。
● SETUP键:遥控器开机状态,短按后遥控器进入摇杆校准模式。
遥控器上有3个按键,其功能如下:
● BIND键:遥控器开机状态,短按后遥控器进入对频模式。
2.开机/关机
● 开机状态下,长按遥控器电源键3秒,直到听到蜂鸣器发出三声响(mi re do),同时
红色LED灯快速闪烁,遥控器关机成功。
● 关机状态下,长按遥控器电源键3秒,直至听到蜂鸣器发出三声响(do re mi),同时
红色LED灯亮起,然后变成蓝色常亮,遥控器开机成功。
3.LED提示灯和提示音
遥控器开关按键下有一颗RGB LED提示灯,用于提示遥控器的常见状态。
LiteRadio3遥控器背面如下图所示。
SETUP按键 BIND按键
音频接口 Type-C接口
NANO高频头接口
NC
VCC
GND
CRSF.po
Table of contents







