Atlona USB 202 User manual
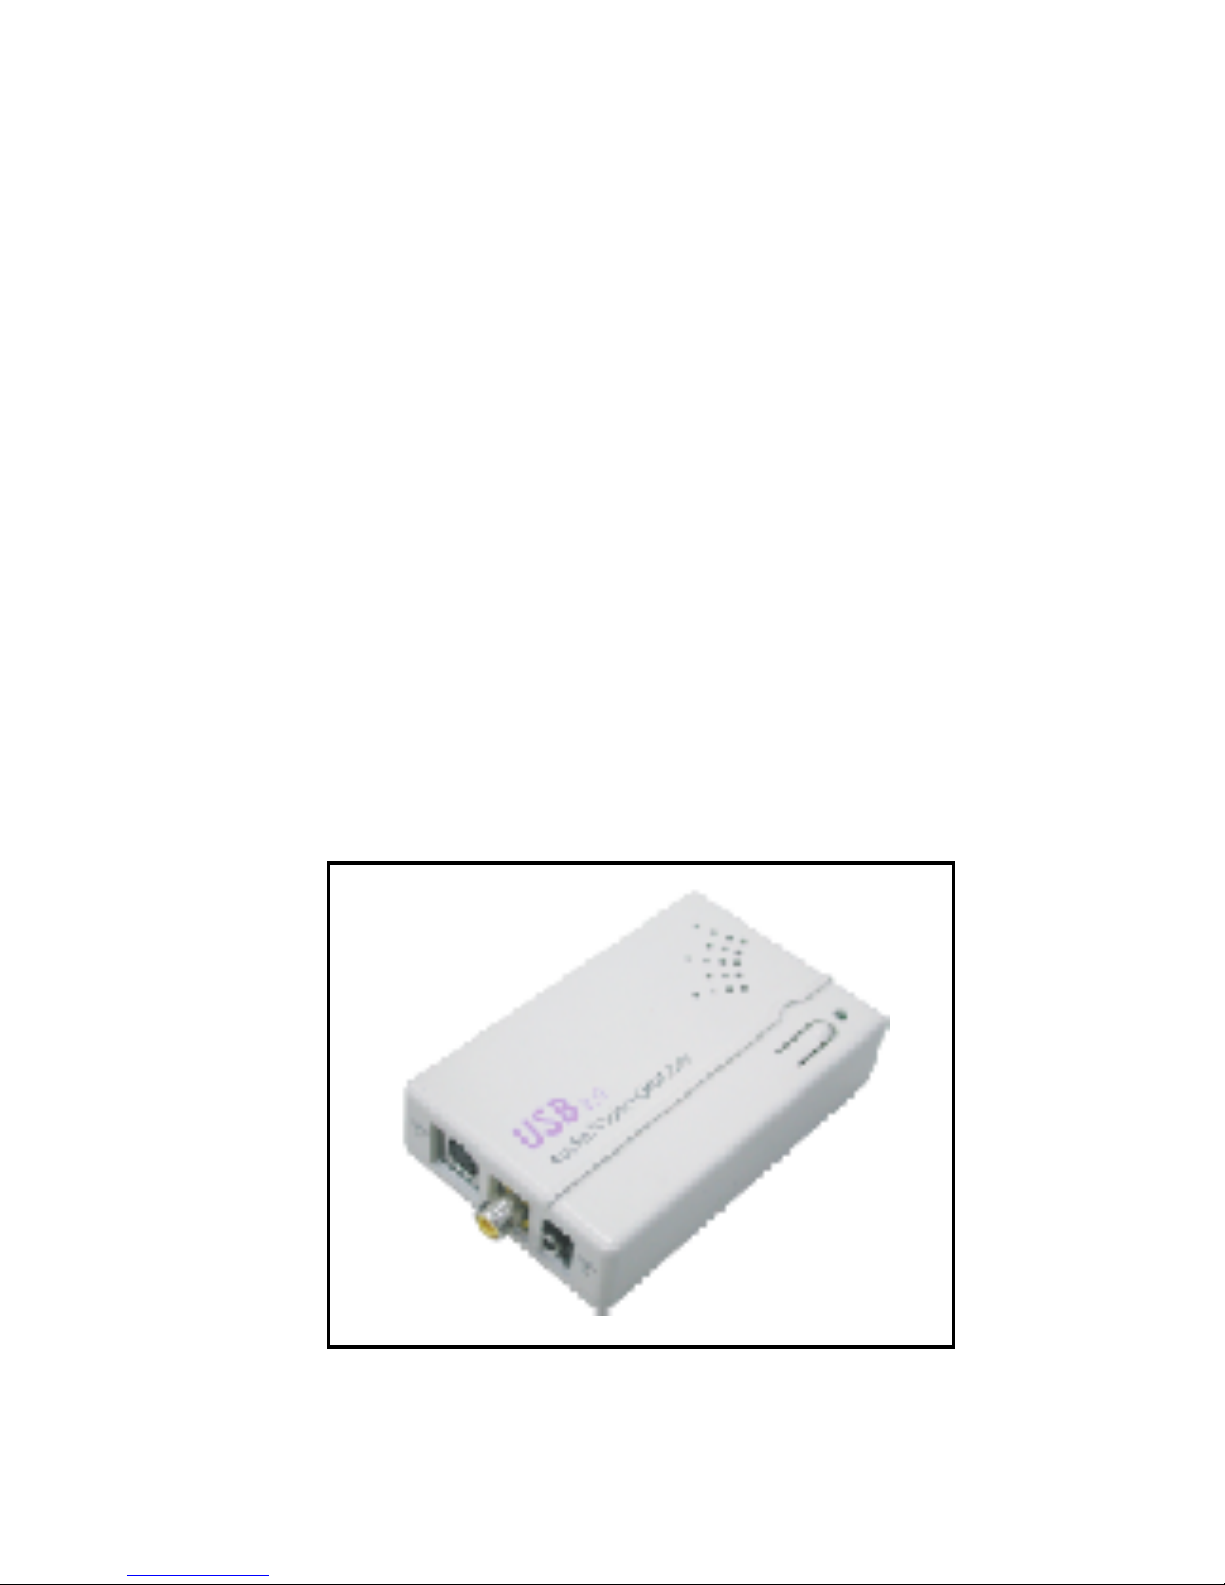
USB202
Video/Audio
to USB 2.0 Adaptor
Operation Manual

1
1. Introduction
Atlona USB 202 is a plug-n-play real-time video /audio capture box with USB 2.0
interface to PC. You can preview, record, or playback audio/video from a VCR,
camcorder, or DVD on your PC. The input audio/video can be captured in
MPEG 2 or MPEG 4 format, which subsequently can be edited, added titles and
burn onto a disc to create your own VCD, SVCD or DVD titles. You can also
snapshot a video to create a still image in BMP/JPG format.
USB2.0 interface provides a high-speed transmission rate so you can watch
video programs at high resolution up to DVD quality. It offers a simple and
easy way to get all of your old VHS tapes or movies on to VCD or DVD so
you can preserve your family treasures for a lifetime.
2. Features
.
External USB 2.0 plug-n-play video/audio capture box, no power adapter needed
.
Composite Video or S-Video input; supports NTSC, PAL and SECAM input system
. Stereo audio input
. Bundled with capture and edit software:
> WinAVUL-M9205 for preview, record and playback AV signal
on your PC, and convert image file format
> WinDVD_Creator for video editing and burning video into VCD or DVD or
SVCD data disc.
. Snapshot to save still image as BMP or JPEG file.
. Video captured in MPEG 2 VGA/MPEG 2 DVD-NTSC/MPEG 2 DVD-PAL/
MPEG 4 VGA/MPEG 4 DVD-NTSC/MPEG 4 DVD-PAL format.
. High video resolution up to DVD quality
. Supports resolution up to 720x480(NTSC)/720x576(PAL)/640x480 at
30 and 25 frame/sec. respectively.
. Preview on full screen and window size adjustable.
. Compatible OS: Window XP

2
3. Specification
. Fully compliant with USB Specification Revision 2.0
. Input Signal:
NTSC/PAL/SECAM composite video or S(Y/C) video at 1 Vp-p 75 ohm.
. Stereo audio input.
. Output Format:
> Snapshot still image: BMP/JPG
> Captured Video Resolution:
4. Package
. USB 202 Capture Box
. Software Installation Disc
(Includes driver, AP software--- WinAVUL-M9205,
WinDVD_Creator....)
. Serial number of WinAVUL-M9205 and WinDVD_Creator
. USB Cable
. Video Cable
. S-Video cable
. Phono-RCA Audio cable
. User Manual
. Dimension: 65(W) x 102(D) x 26(H) mm
. Weight: 70g
MPEG 2
VGA
MPEG 2
DVD
MPEG 4
VGA
MPEG 4
DVD
MPEG 2
VGA
MPEG 2
DVD
MPEG 4
VGA
MPEG 4
DVD
NTSC
PAL/SECAM
640x480
IN \ OUT
29.97fps 29.97fps
640x480
720x480
25fps
29.97fps
29.97fps
720x576
640x480
640x480
29.97fps
720x480
25fps
720x576
29.97fps
Video(max)
Audio(max)
IN \ OUT
48KHz 48KHz 44.1KHz 44.1KHz
384kbps 384kbps 354kbps 354kbps
Data Transmitting Rate:
6 Mbps 6 Mbps
3 Mbps 3 Mbps
3
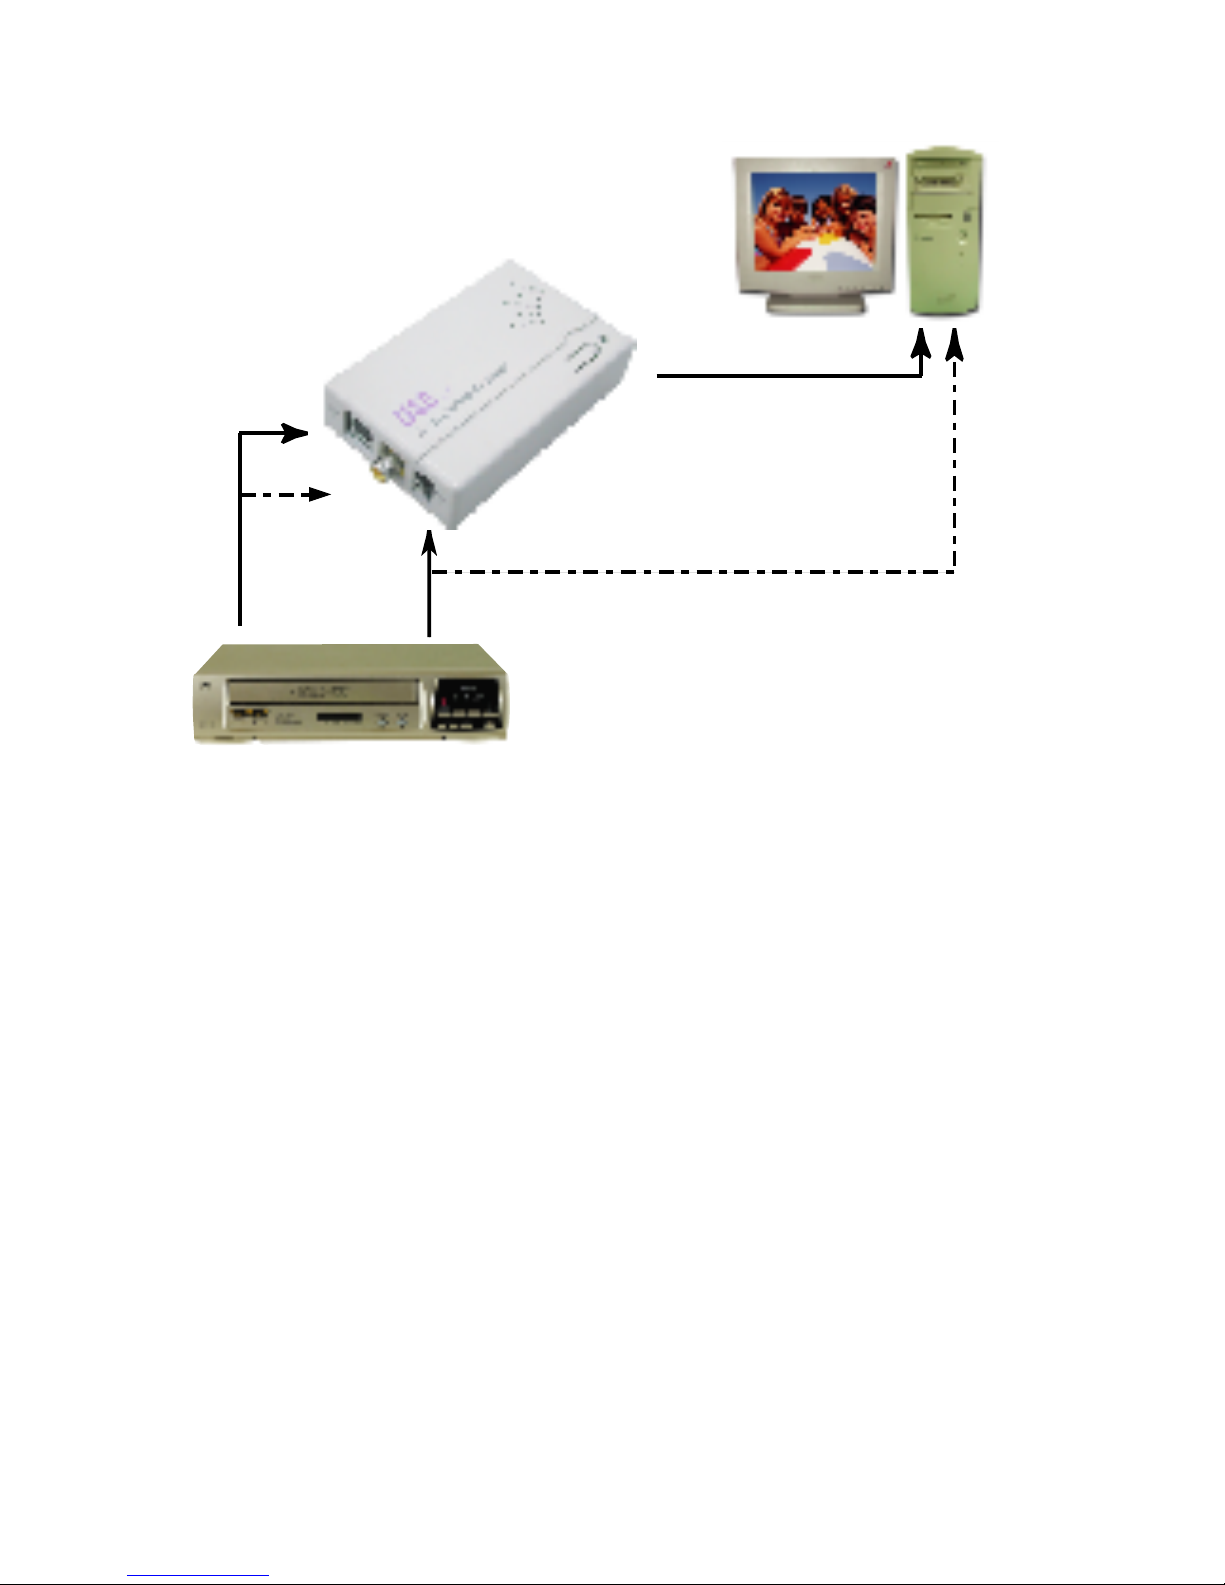
S IN
PC sound card
Audio Line in
USB 2.0 port
Audio out
VCR/ VCD/ DVD
Video Out
5. Hardware connection
6.Computer system requirement
. When Previewing
> Pentium IV 2.4GHz CPU or up
> USB 2.0 port
> Hard Drive speed 5400 rpm
> Graphic card with
16MB memory or up
> Sound Card
> 128MB main memory
> DirectX 9.0C or up
> Windows XP
. When Recording
> Pentium IV 2.4GHz CPU or up
> USB 2.0 port
> Hard Drive speed 7200 rpm
> Graphic card with 32MB memory or up
> Sound Card
> 128MB main memory
> DirectX 9.0C or up
> Windows XP
or
Audio
in
V IN
4
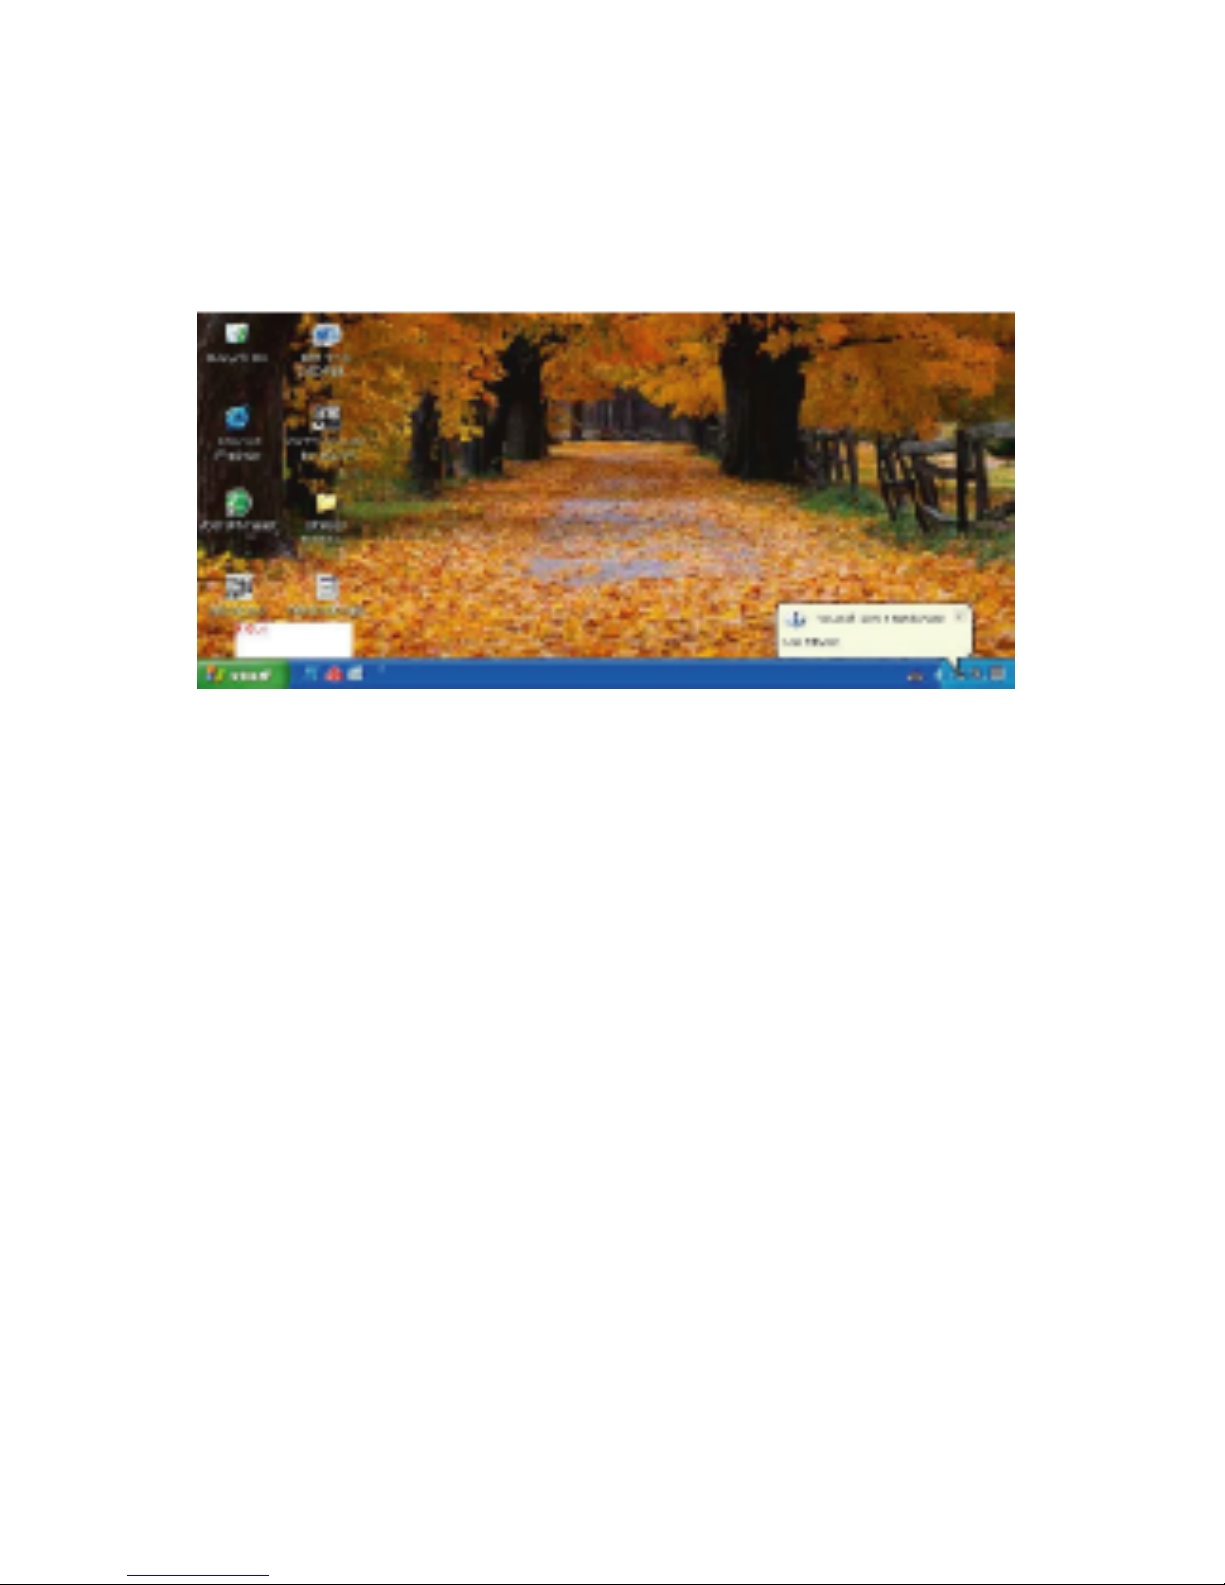
7.USB202 Installation
Step 1 > Power off the computer first with no USB 202 connection.
Step 2 > Power on the computer.
Step 3 > Connect USB202 to computer's USB2.0 port with USB cable.
Step 4 > A screen as Figure 1 will come up.
Figure 1
5
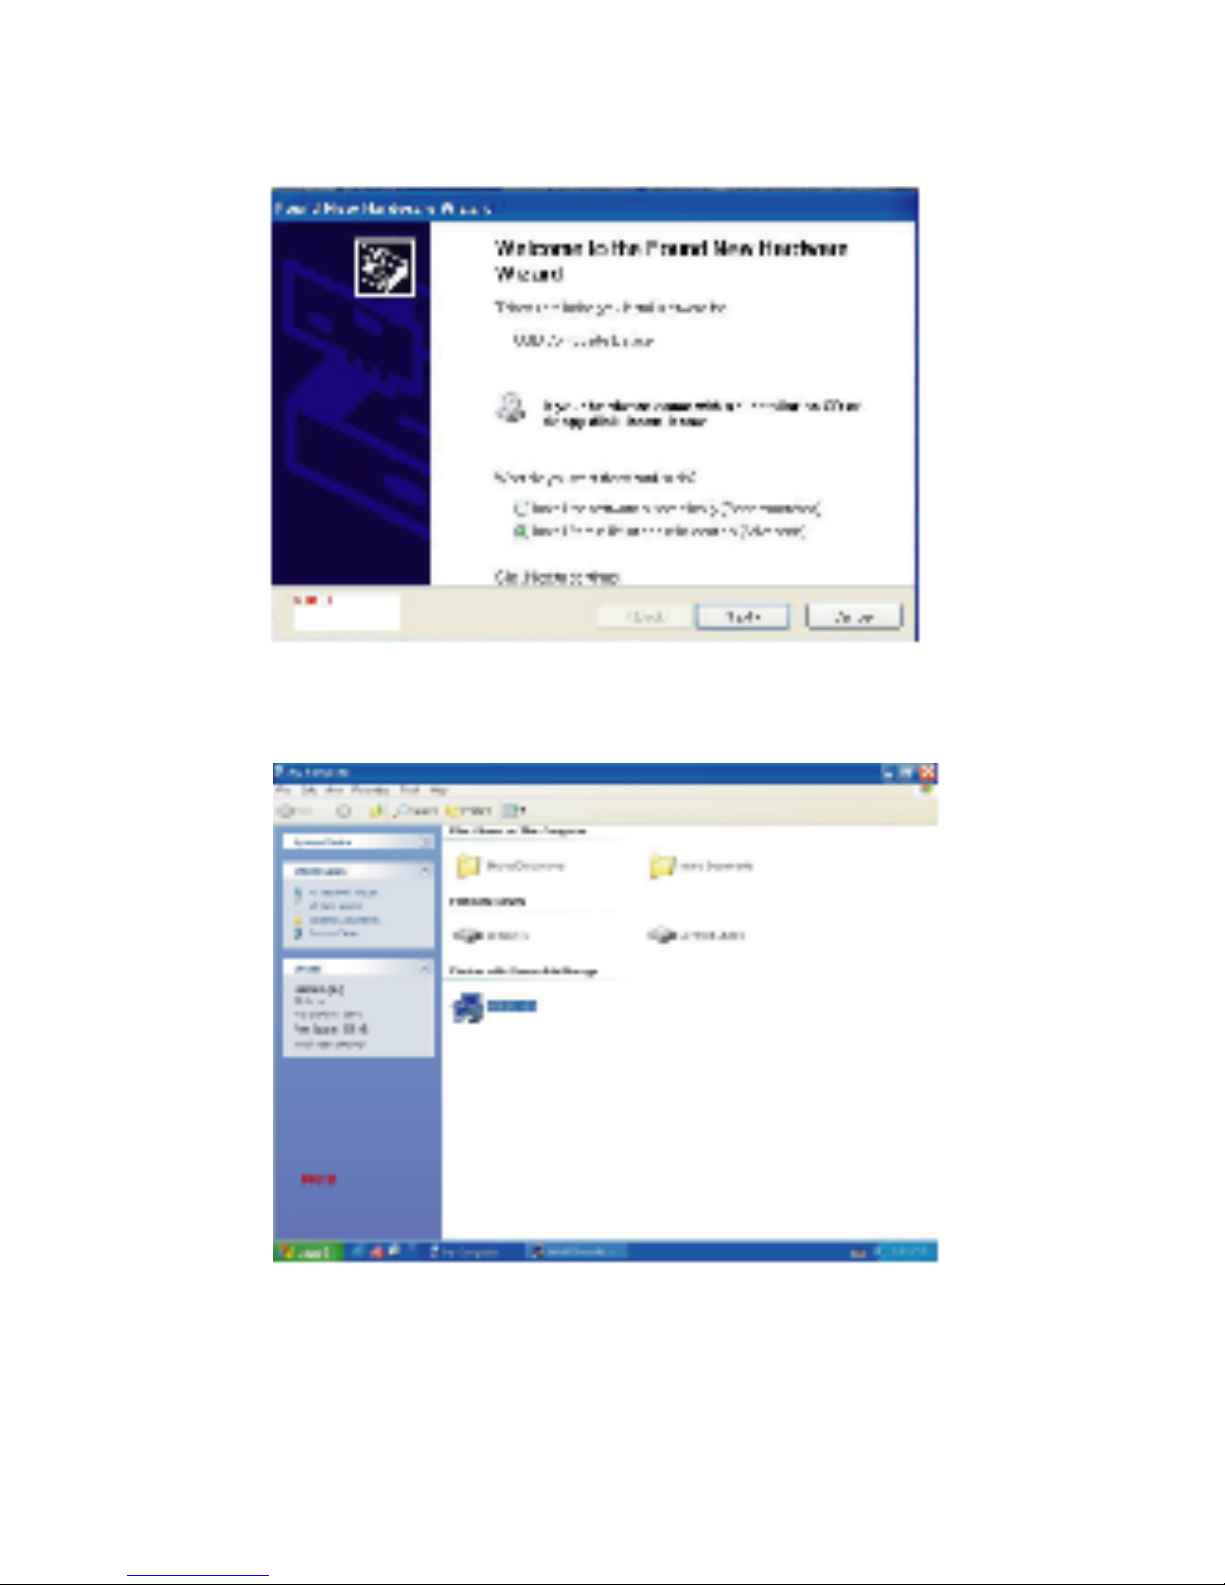
Step 5 > A dialogue box as Figure 2 will come up to request the installation
of the driver. Click [Cancel]
Step 6 > Select CD-ROM Drive
Figure 2
Figure 3
6
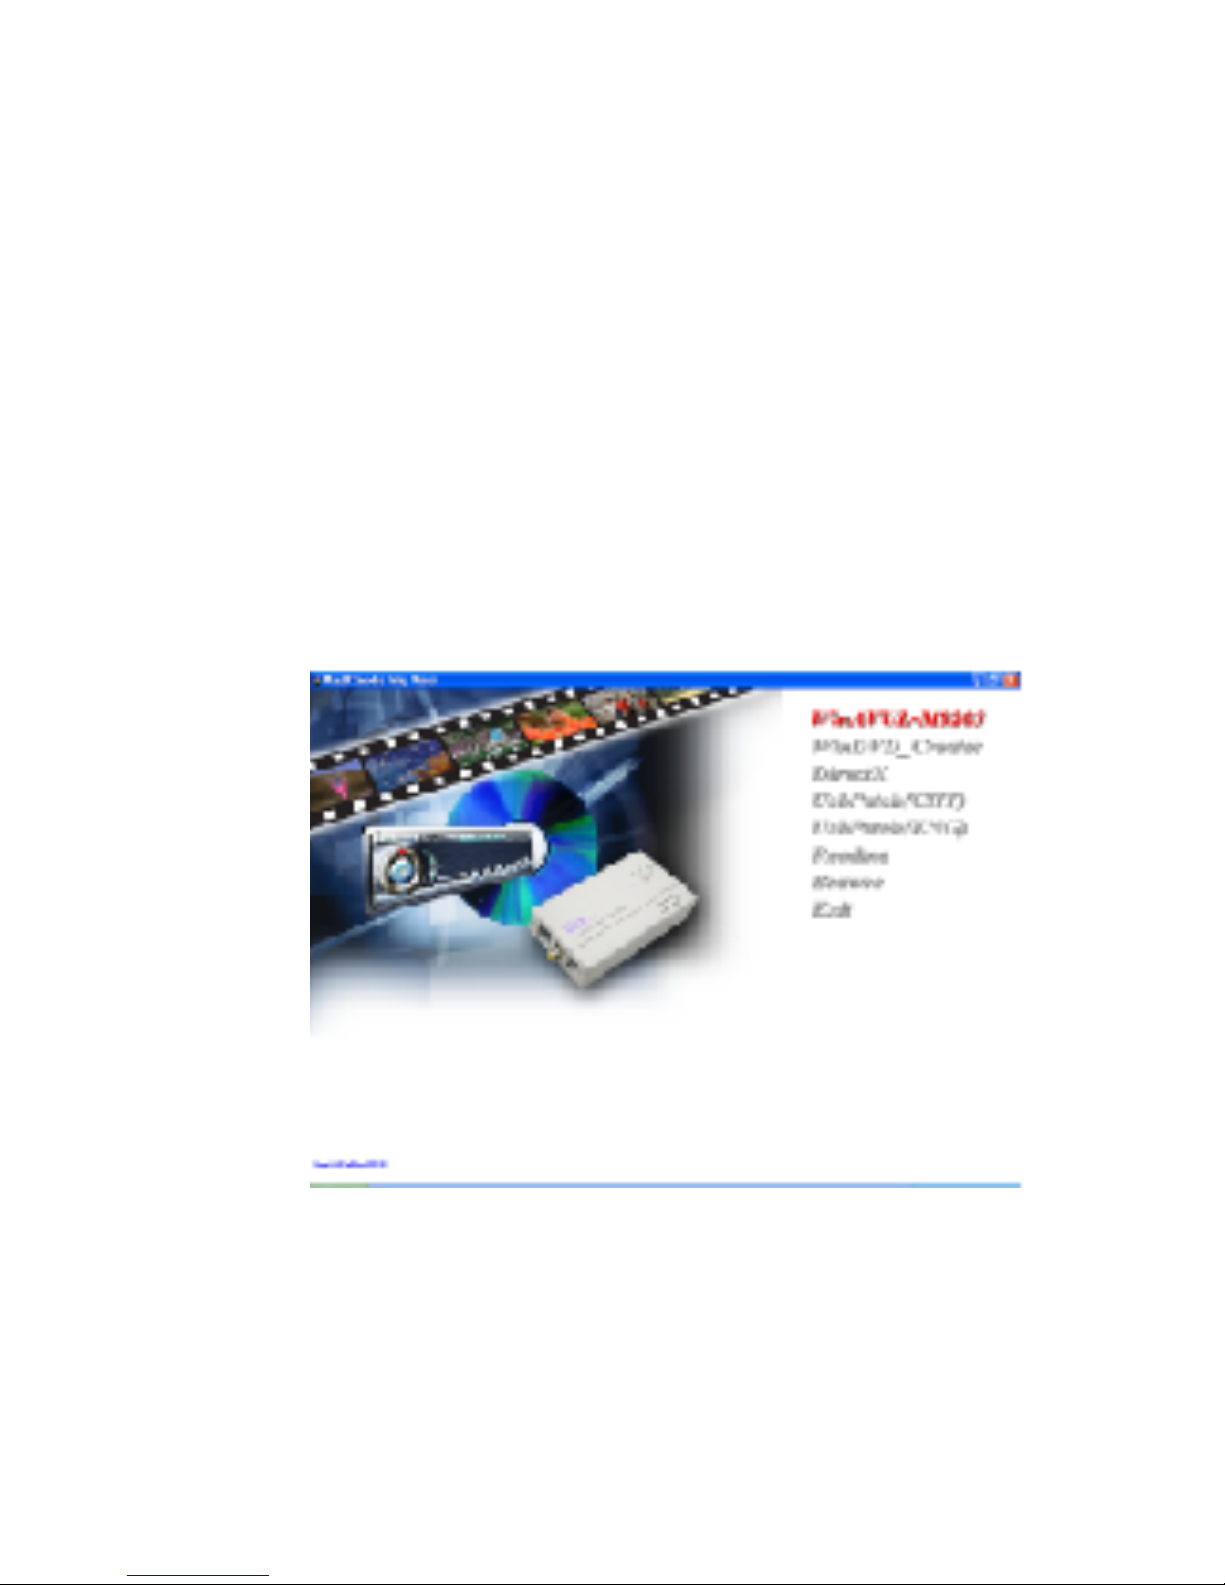
8.USB202 Application Software Installation
.
An auto run Menu will come up for installation of Driver and other application
softwares:
>
WinAVUL-M9205 : The application software of USB 202. It must be installed
so user interface of the USB 202 can be set up.
>
WinDVD_Creator:
It is a video editing and burning software developed by
InterVideo.
The software must be installed so WinAVUL-M9205
can perform completely.
> DirectX : Microsoft DirectX9.0 must be installed in order for
WinAVUL-M9205 to work normally.
> Browse : Browse the CD.
> Exit : Exit installation window.
Figure 4
7
Figure 5
Figure 6
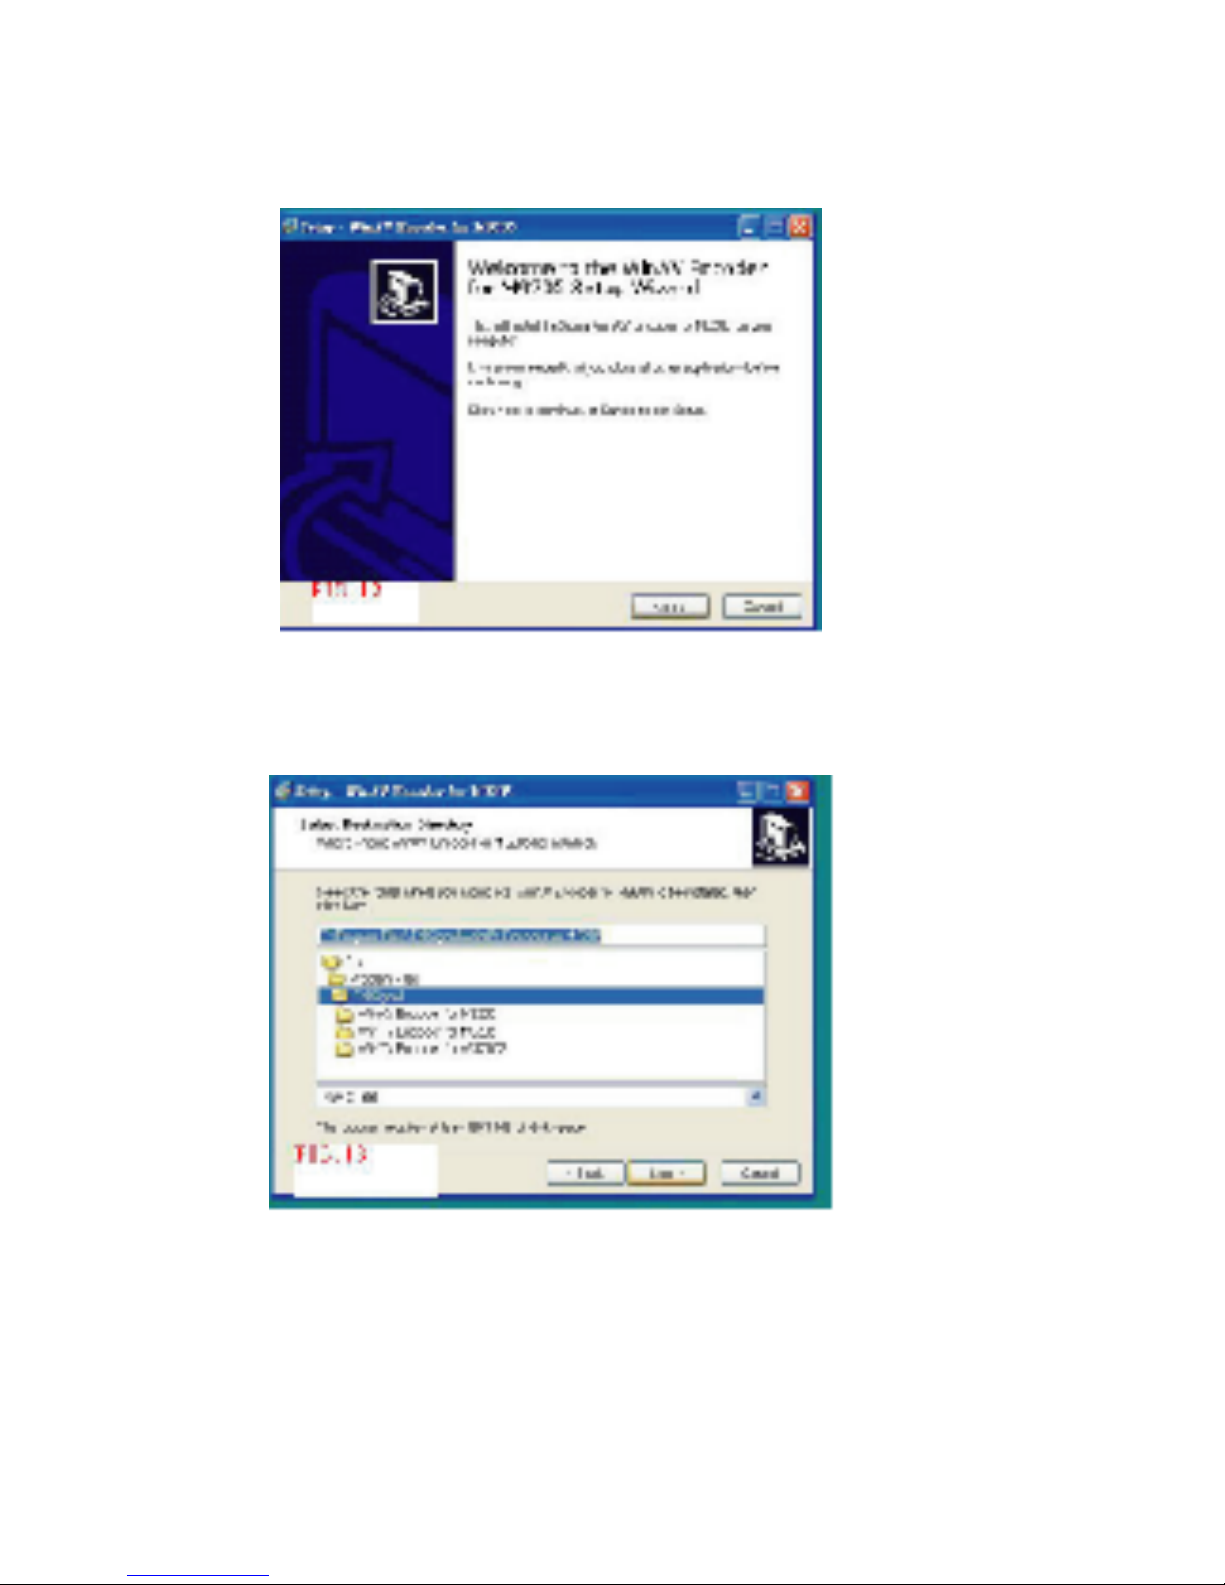
8.1. Application Installation
Step 2 > Select your desired Destination Directory where the WinAVUL-M9205
will be installed and Click [Next]
Step 1 > Click "WinAVUL-M9205" to start the installation,the InstallShield Wizard
will come up as Figure 5, Click "Next"
8
Figure 8
Figure 7
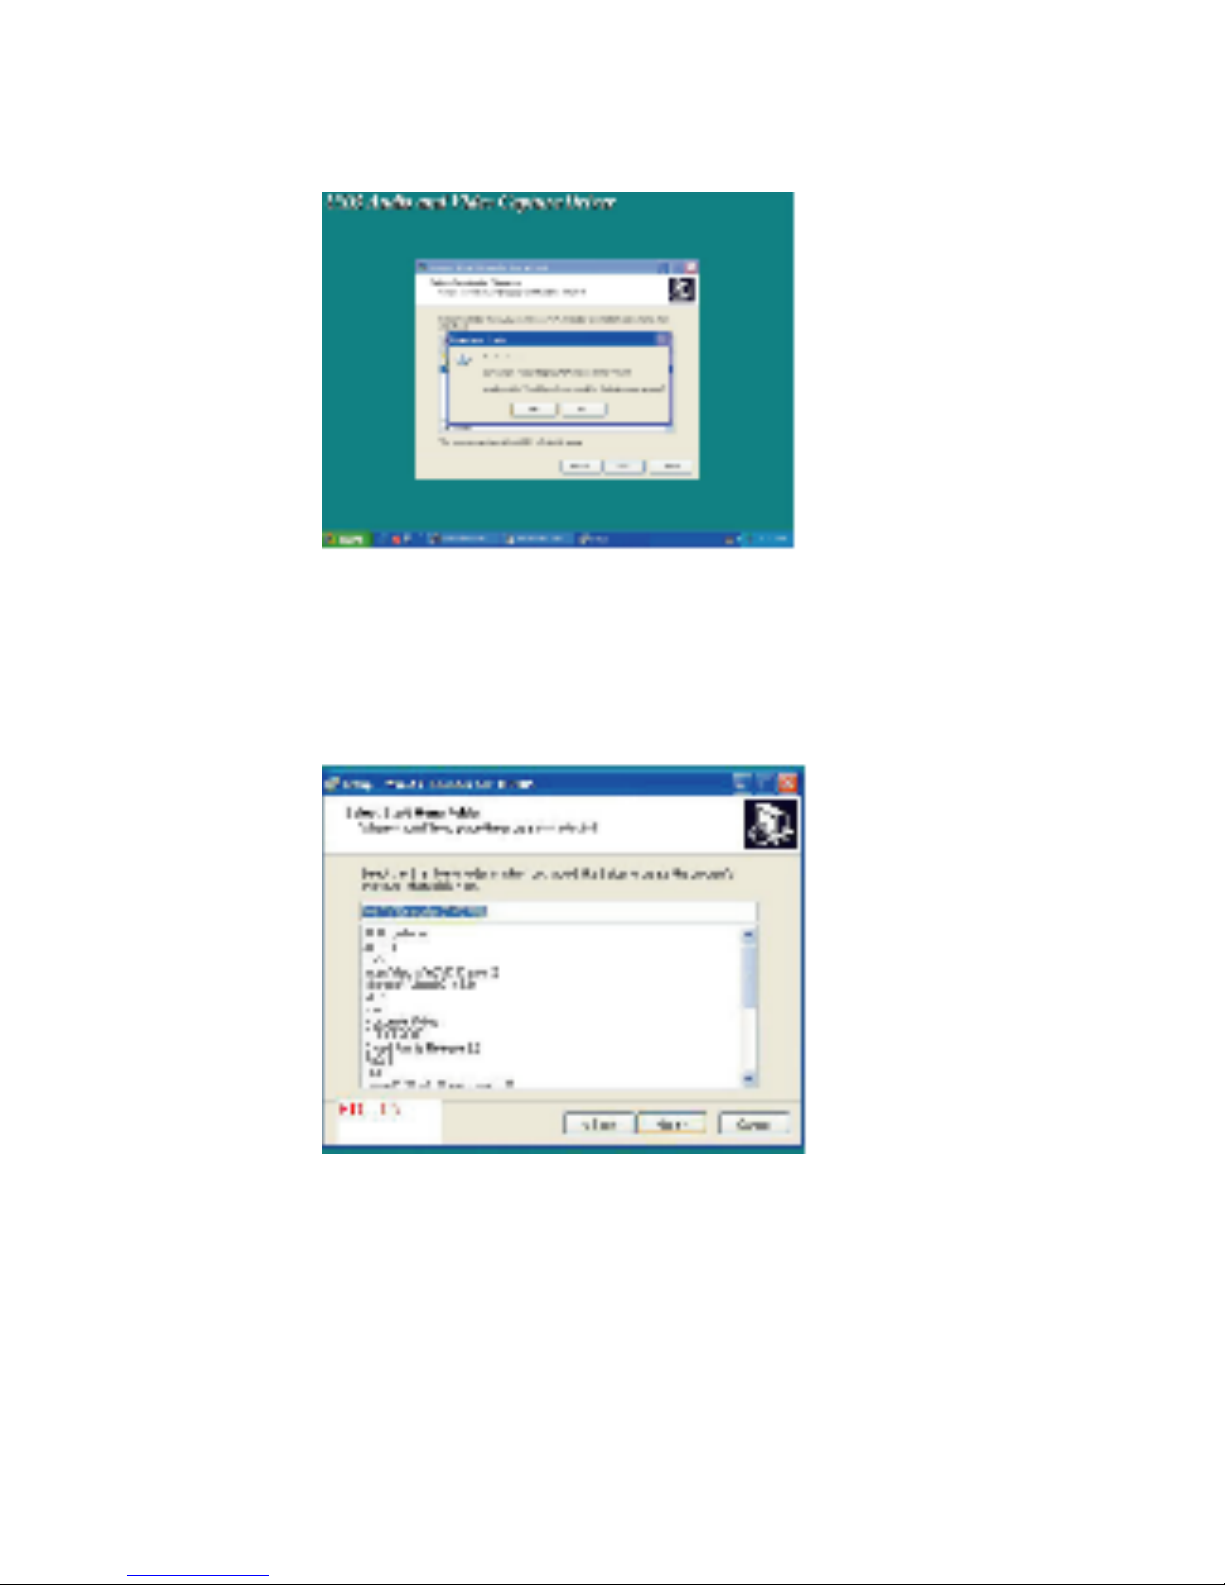
Step 3 > When dialogue box of " Directory already Exists" comes up.
Click [Yes]
Step 4> When dialogue box as Figure 8 come up. Click [Next]
9
Figure 9
Figure 10
Step 5 > When dialogue box as Figure 9 come up. Click [Install]
to continue installation.
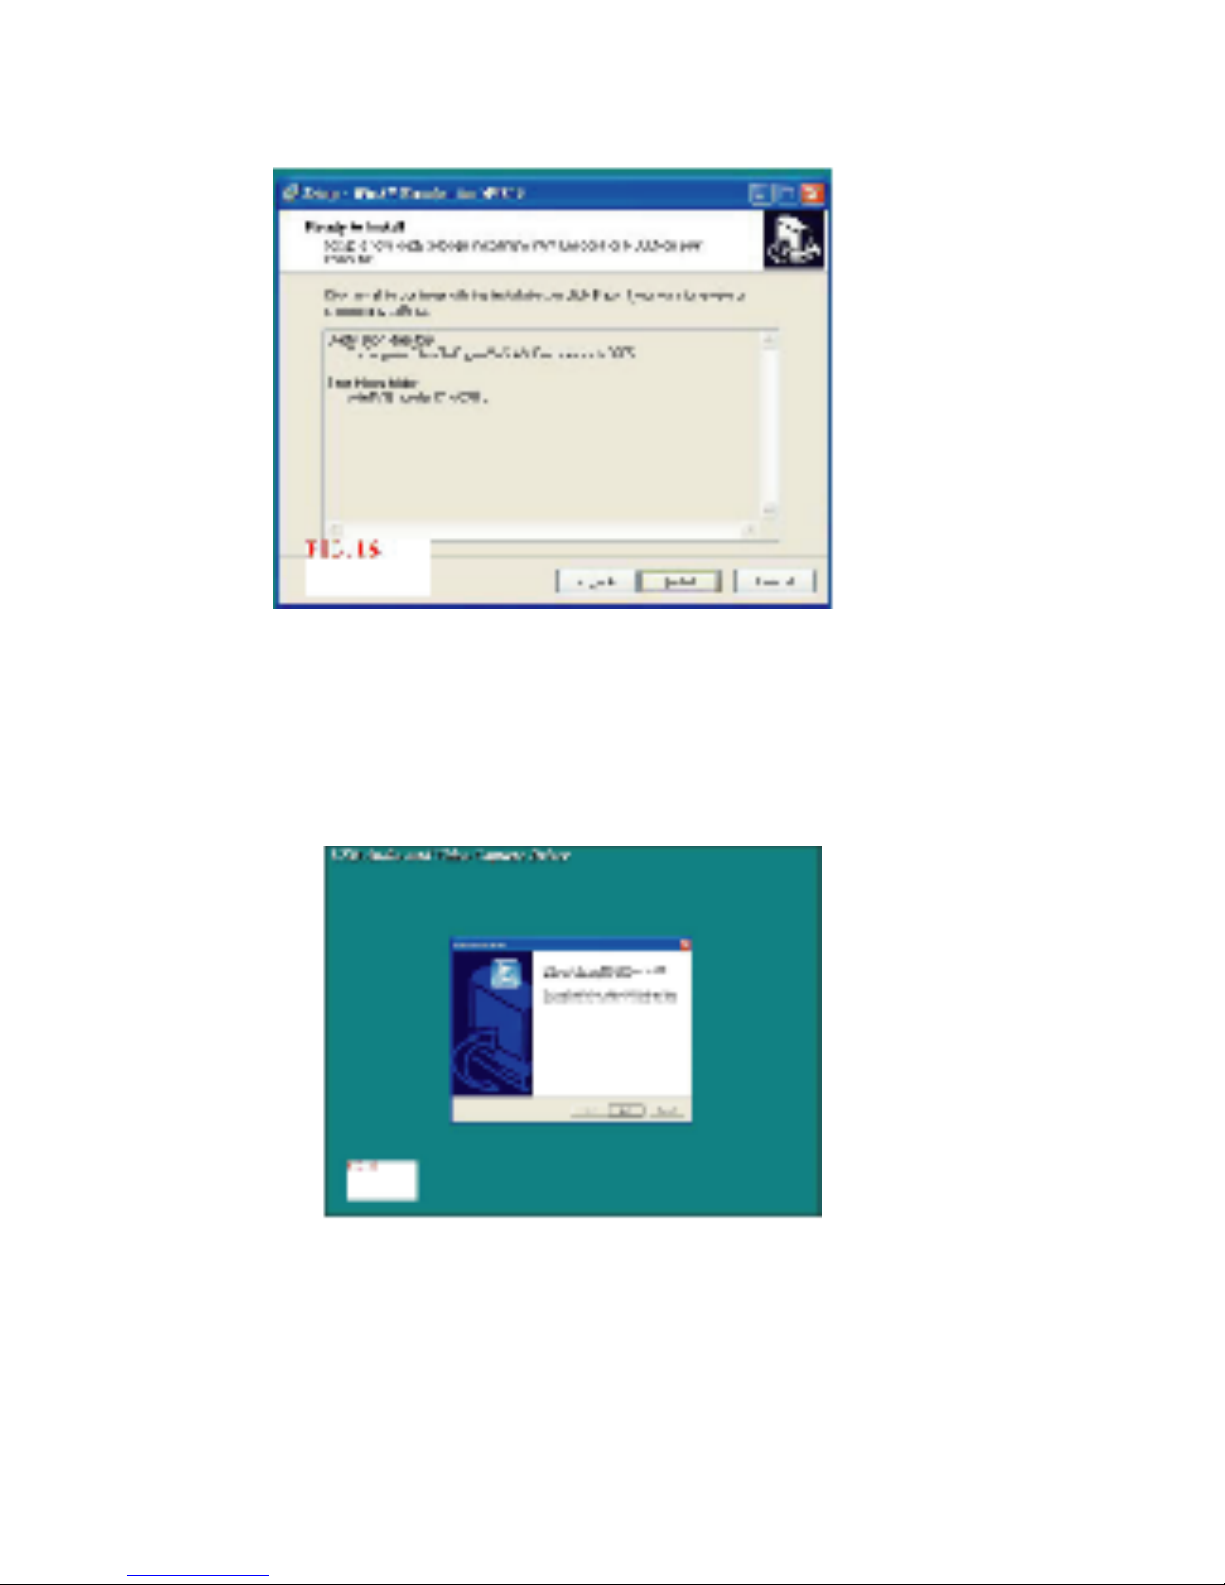
8.2. Driver Installation
Step 6 > When installation of WinAVUL is complete a dialogue box
as Figure 10 will come up. Click [Next]
Table of contents


