ASTRO Fibre WiFi Kencang User manual


Content
Safety Instructions 1
Product Specification 2
Packaging Items 3
Indicators 4
Single RGW Installation 7
Multiple RGW Installations for Deploying Mesh Networks 8
Setup Mesh Ap with Wired Connection 9
Setup Mesh Ap with Wireless Connection 10
Login Web Manager and Change Settings 11
Troubleshooting 12
Hazardous Substances Table 13
1
Safety Instructions
1. This equipment is an electrical appliance which requires to be plugged into the supplied
power adapter.
2. WARNING: To reduce the risk of fire or electric shock, do not expose this device to rain
or moisture. Users are also advised to avoid exposing it to water drips or splashes, and
that objects filled with water such as vases shouldn’t be placed on or anywhere near the
device.
3. Correct Disposal of this product. This marking indicates that this product should
not be disposed with other household wastes, and users are encouraged to recycle it
responsibly to promote sustainable reuse of materials.
5. Users are advised that devices marked with this symbol “ ” may be of sufficient
magnitude to constitute a risk of electric shock and if self-installation is performed, to
take due precautions by using ready-made cords.
6.
This lightning flash symbol is intended to alert the user to the presence of non-insulated
“dangerous voltage” within the product’s enclosure that may be of sufficient magnitude
to constitute a risk of electric shock. Users are advised NOT TO REMOVE THE COVER at
all times. If servicing is required, it needs to be operated by qualified personnel.
7. Users are advised to ONLY USE the AC adapter, which is included in the product
package, as any other adapter may cause damage to the device. Such damage is not
covered under warranty.

2
Product Specification
Item
Specification
Product Model
RG21
WAN Interface
1 x RJ45 Gigabit Ethernet Port
LAN Interface
3 x RJ45 Gigabit Ethernet Port
Wi-Fi Standard
2.4GHz:
IEEE 802.11b/g/n/ax
5GHz:
IEEE 802.11a/n/ac/ax
Band
2.4GHz and 5GHz Dual-band concurrent
MIMO
2.4GHz:
2x2 MIMO
5GHz:
2x2 MU-MIMO
Data Rate (maximum)
2.4GHz:
300Mbps(11n@40MHz)
574Mbps(11ax@40MHz)
5GHz:
867Mbps(11ac@80MHz)
1201Mbps(11ax@80MHz)
2402Mbps(11ax@160MHz)
Antennas
2.4Ghz:
2 x 3dBi internal antennas
5Ghz:
2 x 5dBi internal antennas
Wi-Fi Mesh
Wi-Fi Mesh Standard
Wi-Fi Alliance EasyMesh R2
Capacity
Maximum 6 Nodes (1 controller + 5 agents)
Backhaul Type
Wired or Wireless auto-redundancy
Environment
Rated Power Input
12VDC/1A
Operating Temperature
0ºC ~ 45ºC (32ºF ~ 113ºF)
Storage Temperature
-20ºC ~ 65ºC (-4ºF ~ 149ºF)
Operating Humidity
0% ~ 95% non-condensing

3
Packaging Items
Router
Residential Gateway (RGW)
Power
Adapter
Output 12VDC/1A Power Adapter
Ethernet
Cable
Standard CAT6 Ethernet Cable
Quick
Installation
Guide
This guide provides basic product specification
and information for installing the device to get
it up and running on your home network
4
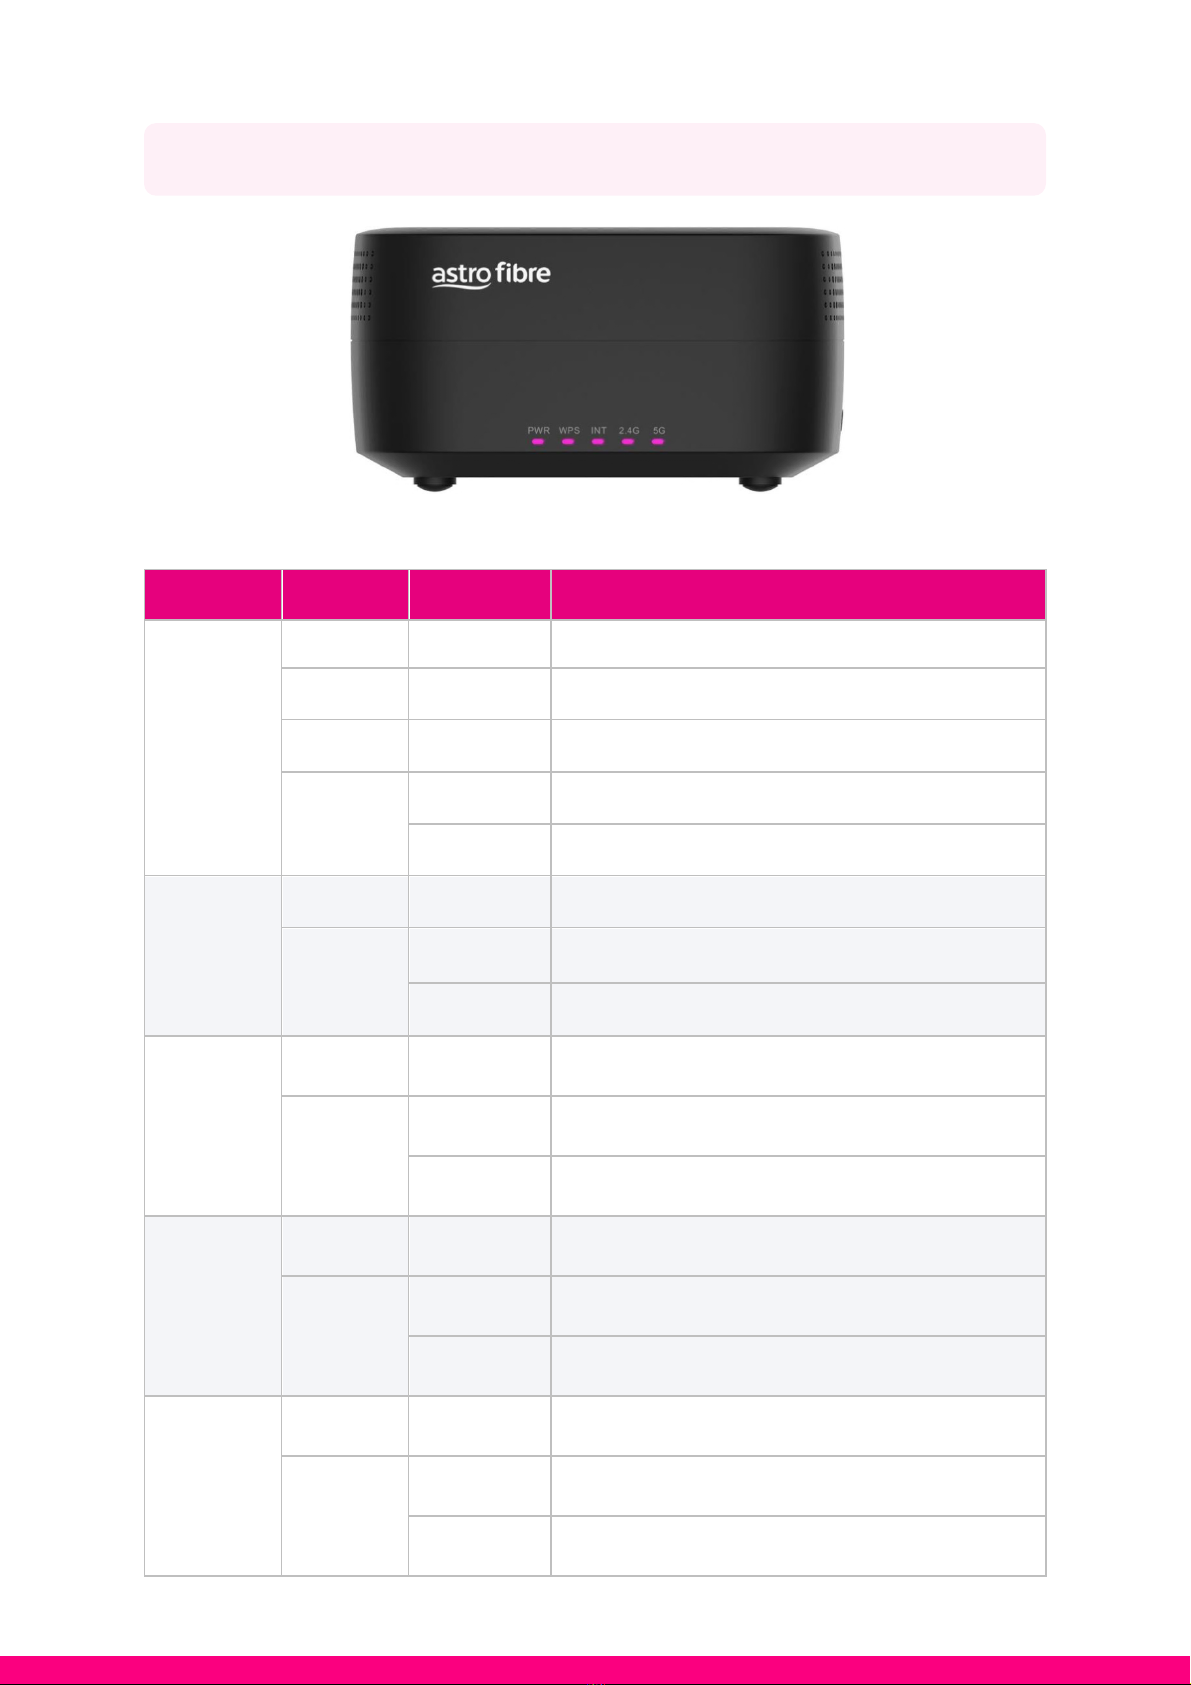
Indicators
Front Panel Indicators
LED
Colour
Status
Description
PWR
OFF
OFF
RGW is powered OFF
Magenta
ON
RGW is powered ON
Green
Blink (Slow)
Software update in progress
Red
ON
RGW is Booting
Blink (Fast)
Factory Reset in Progress
WPS
OFF
OFF
No MESH/WPS pairing activated
Magenta
ON
MESH/WPS Pairing Successful
Blink (Slow)
MESH/WPS Pairing Activated/Searching
INT
OFF
OFF
Internet Connection is DOWN/OFF
Magenta
ON
Internet Connection is UP/ON
Blink
Internet Connection is transferring data
2.4G
OFF
OFF
2.4G Wi-Fi Radio is OFF
Magenta
ON
2.4G Wi-Fi Radio is ON
Blink
2.4G Wi-Fi Radio is transferring data
5G
OFF
OFF
5G Wi-Fi Radio is OFF
Magenta
ON
5G Wi-Fi Radio is ON
Blink
5G Wi-Fi Radio is transferring data

5
Rear Panel Interfaces and Indicators
Interfaces on Rear Panel
Name
Colour
Description
ON / OFF
Black
Power button
12V/1A
Black
DC Input Jack
Reset
Black
Factory Reset Button
Long press (>10s) to reset configurations to
factory default.
WAN
Blue
WAN Port
For connection to fibre modem (BTU)
LAN 1
Yellow
LAN Port #1
LAN 2
Yellow
LAN Port #2
LAN 3
Yellow
LAN Port #3

6
Indicators on Rear Panel
LED
Colour
Status
Description
WAN
Amber
OFF
No WAN Connection
ON
1000Mbit WAN Connection established
Blink
10/100Mbit WAN Connection established
Green
OFF
No WAN Connection
ON
WAN Connection established
Blink
WAN is transferring data
LAN1
LAN2
LAN3
Amber
OFF
No LAN Connection
ON
1000Mbit LAN Connection established
Blink
10/100Mbit LAN Connection established
Green
OFF
No LAN Connection
ON
LAN Connection established
Blink
LAN is transferring data
Broadside Panel Interface
Name
Colour
Description
WPS
Black
WPS button, press for 3 seconds to enable
MESH/WPS pairing process

7
Single RGW Installation
Please follow the steps below to install a single RGW:
1. Connect power adapter and press the ON/OFF button to power ON the RGW. Wait
for the RGW boot up, the PWR indicator will change to magenta colour.
2. Connect the ethernet cable from the WAN (Blue) port of the RGW to the fibre modem.
The WAN port indicator on the RGW will light up to indicate a successful connection.
3. The INT indicator will light up and blink once the internet (login information) has
been provided to the RGW.
Note: If the INT indicator does not light up in step (3), please contact Astro for advice.

8
Multiple RGW Installations for Deploying
Mesh Networks
The RGW also functions as a Mesh Router Device.
Should users need to install multiple devices (to create a Mesh network) to increase the
coverage area for more WiFi Kencang experience throughout bigger homes, you can refer
to the description in this section.
First, make sure the primary RGW is installed as normal and is able to connect to the internet
normally (refer to the installation steps for single RGW).
Note: The secondary (or more) devices installed as Mesh Agent can be wired orwirelessly
connected to the primary RGW (Mesh Controller) device to create the mesh network and
there are several ways to execute this setup:
a. Setup Mesh AP with Wired Connection
b. Setup Mesh AP with Wireless Connection using WPS button
Note: Make sure the primary RGW is connected to the internet and the secondary
RGW (Mesh Agent) has been restored to its default/factory settings. To factory reset the
RGW, press and hold the RST button on rear panel of the RGW more than 10 seconds until
the RGW starts to boot up.
This manual suits for next models
1
Table of contents
Other ASTRO Gateway manuals


Popular Gateway manuals by other brands

LST
LST M500RFE-AS Specification sheet

Kinnex
Kinnex Media Gateway quick start guide

2N Telekomunikace
2N Telekomunikace 2N StarGate user manual

Mitsubishi Heavy Industries
Mitsubishi Heavy Industries Superlink SC-WBGW256 Original instructions

ZyXEL Communications
ZyXEL Communications ZYWALL2 ET 2WE user guide

Telsey
Telsey CPVA 500 - SIP Technical manual


