AG-BAG CT5 User manual

COMPOSTER
OWNER’S MANUAL
environmental
environmenta
2320 SE Ag-Bag Lane * Warrenton, OR 97146
1-800-334-7432 * (503) 861-1644
Fax: (503) 861-2527
MODEL CT5

Please complete the Delivery and Service/Warranty Record and mail the original to
Ag-Bag® International, Ltd. Failure to do so may affect your warranty. The Owner’s
Manual contains safety instructions and general operating procedures. Please insure
the purchaser thoroughly understands the information in this manual.

BE A SAFE OPERATOR
BY THINKING - BEFORE ACTING
AND
BY READING YOUR OPERATORS MANUAL
________________________________________
AVOID ACCIDENTS
Most accidents, whether they occur in industry,
on the farm,
at home or on the highway,
are caused by the failure of some individual to follow
simple and fundamental safety rules or precautions. For
this reason most accidents can be
prevented by recognizing the real cause and doing
something
about it before the accident occurs.
Regardless of the care used in the design and
construction of
any type of equipment, there are many conditions that
cannot be completely safeguarded against without
interfering
with reasonable accessibility and efficient operation.
A CAREFUL OPERATOR IS THE BEST
INSURANCE
AGAINST AN ACCIDENT.
THE COMPLETE OBSERVANCE OF ONE SIMPLE
RULE
WOULD PREVENT MANY THOUSAND
SERIOUS INJURIES EACH YEAR:
STOP MACHINE AND TURN OFF ENGINE TO
ADJUST, LUBRICATE, OR SERVICE.
SAFETY WARNINGS AND FEATURES
1.4
Ag-Bag® International, Ltd.
00.12.12
CT5
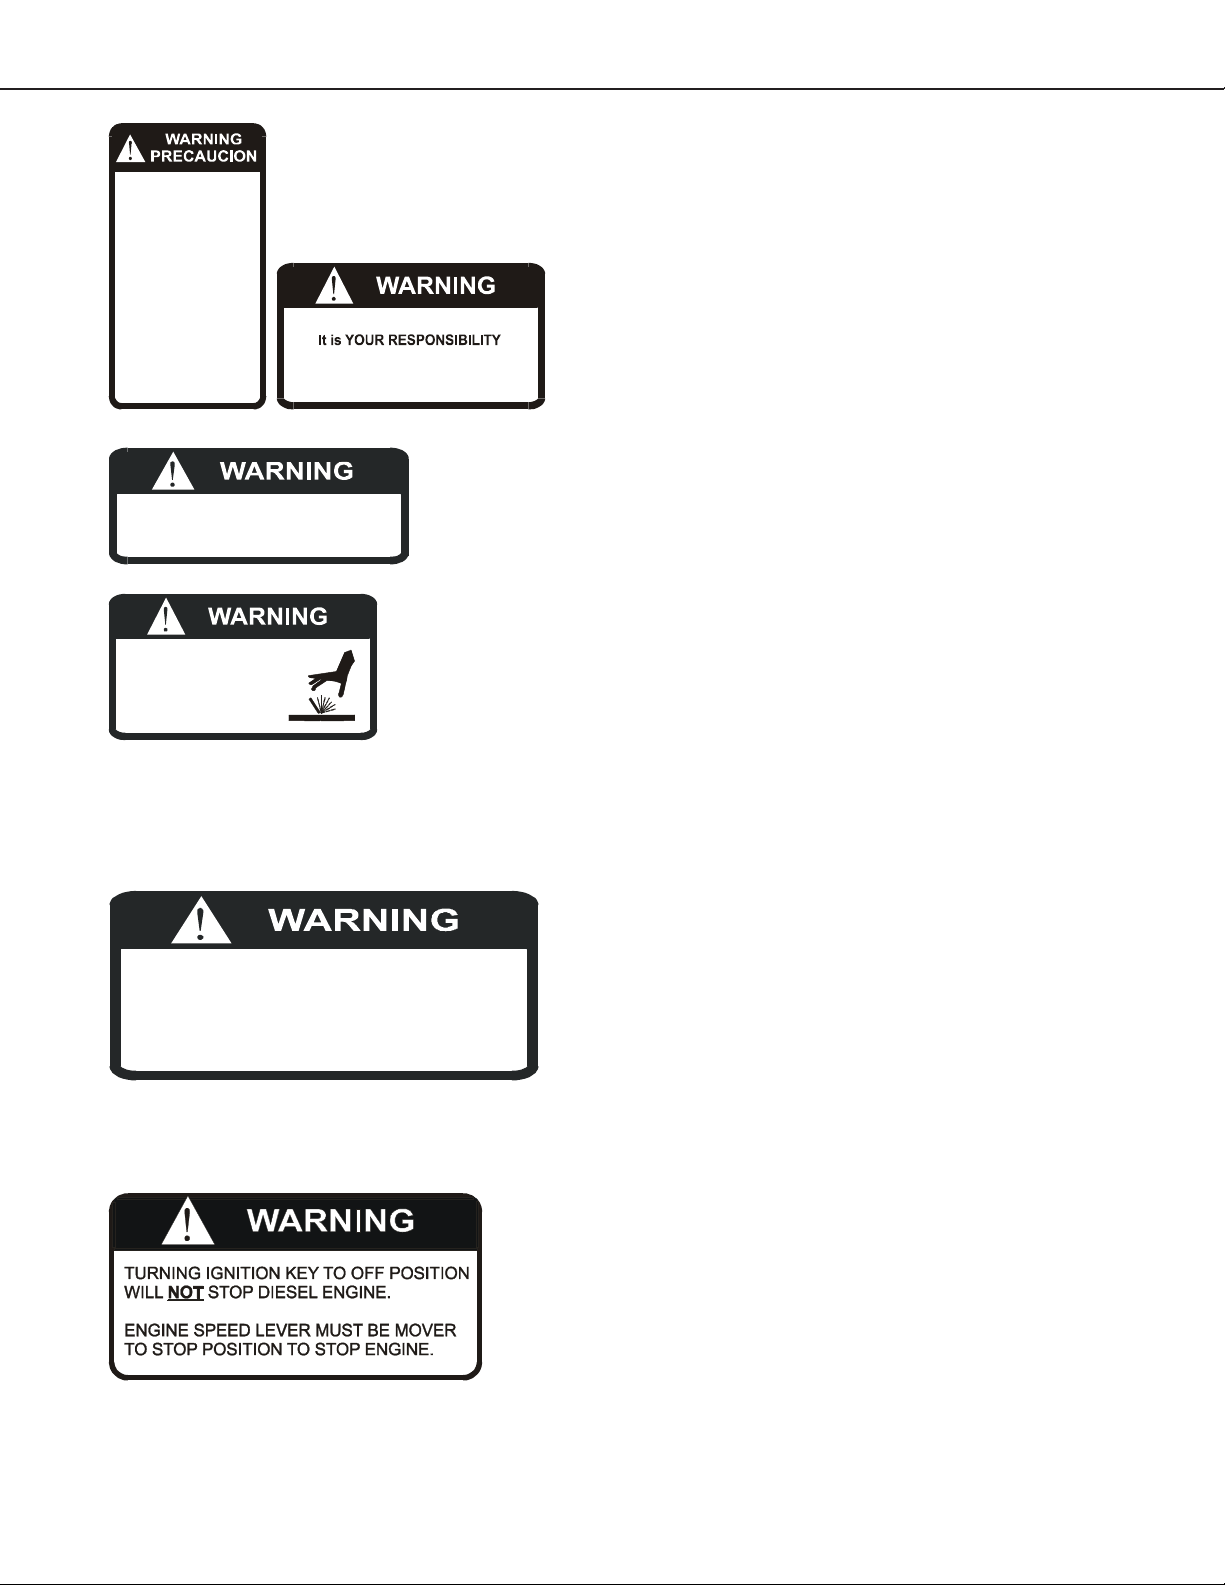
Warning Decals
The following list of warning and caution
decals may be posted on your Ag-
Bagger®. Always remember to think
safety and use caution in the entire
operating area.
nKeep shields in place.
nDo not reach or place any part of your
body inside the hopper.
nDo not attempt to service, remove or
unclog any material while the Ag-
Bagger® is in operation.
nDo not climb or ride on the Ag-
Bagger® during operation or transport.
nMake sure everyone is clear of the Ag-
Bagger® before engaging the power
takeoff (PTO). Keep children away at
all times.
nStay clear of hoses under pressure.
nKeep hands, feet and clothing away
from intake area and all other moving
parts of the Ag-Bagger®.
1. DO NOT reach
2. DO NOT attempt
3. DO NOT climb
4. Make sure everyone is clear
5. DO NOT stand
. STAY CLEAR
7. Keep all SHIELDS IN PLACE
8. Keep HANDS,FEET AWAY
9. THINK SAFETY
Personal injury. Stay clear
of hydraulic lines under
pressure. Replace any
damaged hydraulic
lines.
Do not climb on or enter machine
while in operation.
Shields/Guards
Always keep shields/guards properly in
place while operating the Ag-Bagger®.
Replace any damaged or missing shields/
guards prior to operation.
KEEP SHIELDS IN PLACE.
Diesel Engine
Turn the diesel engine off by
moving the speed lever to the stop
position. Throttle all the way to the
right. Key other turns off charging
system.

1.5
Ag-Bag® International, Ltd.
00.12.12
CT5
SAFETY WARNINGS AND FEATURES
1. Make sure you are in compliance
with all local regulations
regarding transporting
equipment on public roads and
highways.
2. Make sure the slow moving
vehicle emblem and all the lights
and reflectors that are required
by the local highway and
transport authorities are in place,
are clean and can be seen
clearly by all overtaking and
oncoming traffic.
3. Attach securely to the towing
vehicle using a retainer on the
tow hitch pin and a safety chain.
4. Do not allow anyone to ride on
the Ag-Bagger or towing
vehicle during transport.
5. Stay away from overhead
obstructions and power lines.
Electrocution can occur without
direct contact.
6. Always use hazard warning
flashers on towing vehicle when
transporting unless prohibited by
law.
7. Add extra lights or use pilot
vehicles when transporting
during times of limited visibility.
8. Secure all components and
accessories before transporting.
Transport Safety
Noise
Long-term exposure to loud noise can
impair and cause loss of hearing. Use
hearing protection.
Servicing the Ag-Bagger®
Do not attempt to perform service or
maintenance to the Ag-Bagger® unless all
moving parts have stopped.
Bodily injury or death may occur.
Prior to servicing the Ag-Bagger wait
until all moving parts have stopped.
Towing
Maximum towing speed is 25 m.p.h. Be
sure the wheels and hitch are in the
transport position (see the Procedures
section of this manual). Always check lug
nuts prior to towing.

PRE-OPERATION CHECKLIST
Ag-Bag® International, LTD.
01.09.20
CT10
nCheck that the hydraulic tank valve is OPEN.
nCheck all the fluid levels. Refer to the maintenance section.
nCheck all the service points. Refer to the maintenance section.
nCheck the brakes.
nCheck the tire air pressure and the lug nut torque.
NOTICE:NOTICE:NOTICE:
Running the machine with out opening the
hydraulic tank valve will damage or destroy
hydraulic pump. This type of damage may or
may not be covered under warranty.

CONTROLS & FEATURES 7
Ag-Bag® International, Ltd.
01.12.12
CT5
4
2
1. Sprayer Switch: Arms the sprayer
on and off from the remote.
2. Sprayer Gauge: The gauge
indicates the sprayer system
pressure.
3. Remote Switch: Turns the remote
receiver on (1) and off (0).
4. Manual Ram Control Handle:
Controls the forward and backward
movement of the ram.
5. Ignition Switch:
Gas Engine: Starts and stops the
engine. Located on the engine. (not
shown)
Diesel Engine: Starts (1) the diesel
engine. Turn the key to (0) to
shutdown the charging system. Must
move the throttle to the far right
position to stop the engine.
6. Remote Reset: Restores the remote
system if there is a power surge.
7. Charge Light: Light comes on when
electrical system is charging and
goes off when not charging.
Controls
31
7
6
5

CONTROLS & FEATURES
8
Ag-Bag® International, Ltd.
01.12.12
CT5
1. Powers up the transmitter.
2. Powers down the transmitter.
3. Activates the plunger towards the
bag.
4. Moves the plunger away from the
bag.
5. Toggles the lights on or off (if
applicable).
6. Toggles the sprayer on or off (if
applicable).
7. YELLOW - Indicates the transmitter
is powered up and transmitting.
8. RED - Slow flashing indicates
approximately 20% battery capacity
remaining.
Remote Transmitter
Hand Pump
The hand pump controls the hydraulic
brake pressure on the rear wheels.
Setting the brake pressure:
1. Close the pressure release knob.
2. Pump the handle back and forth until
desired psi is reached. See the
gauge for the psi. Desired psi will
vary depending on surface.
Adjusting the brake pressure:
1. Open and close the pressure release
knob to decrease psi’s.
or
2. Pump the handle back and forth to
increase psi’s.
Handle
Pressure
Release
Pressure
Gauge
1
2
6
4
7
8
3
5
AERATION TUBING 9
Ag-Bag® International, Ltd.
01.12.11
CT5
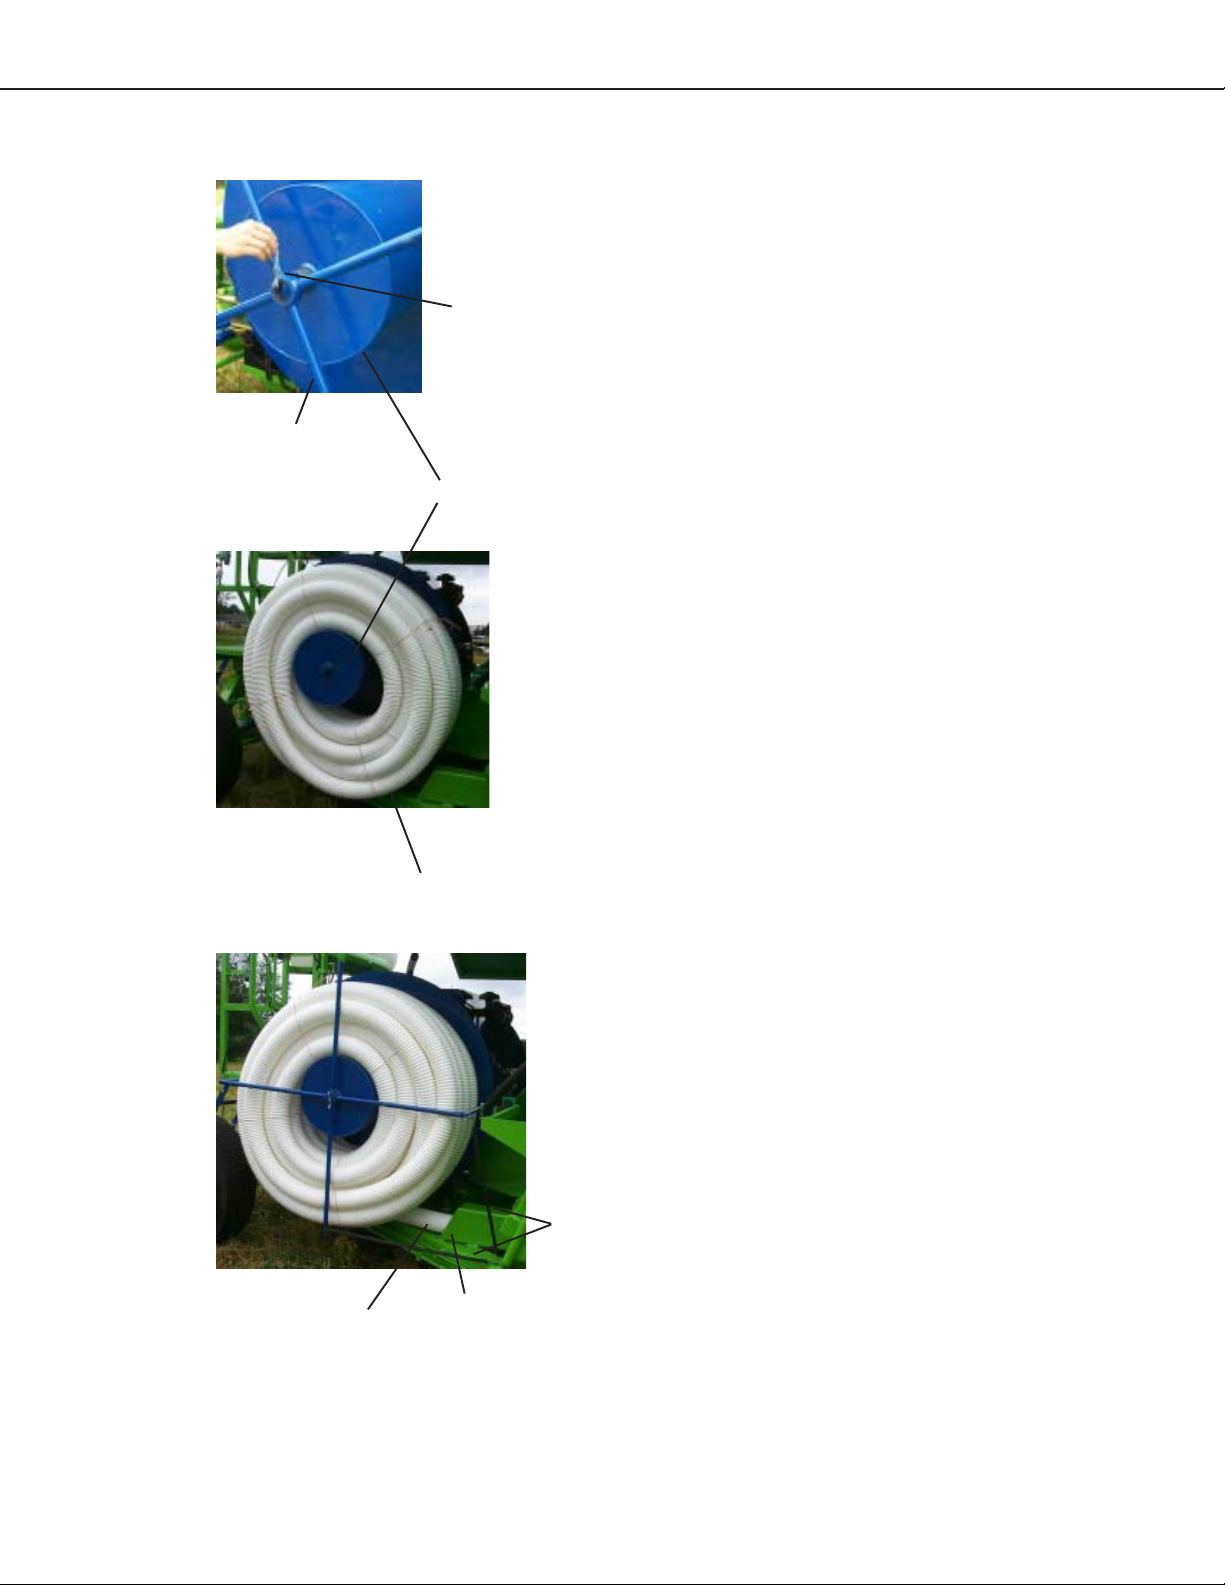
Installing Aeration Tubing
on Reel
1. Remove the retainer.
a. Unhook the bungee cords
b. Remove the pin.
c. Pull the retainer away from the
pipe reel.
2. Slide the aeration tubing on the
reel.
a. Outside end of tubing rolling off
the roll towards the rear of the
machine.
3. Install the retainer(s).
a. Slide the retainer back into place.
b. Insert the pin.
c. Hook up the bungee cords.
4. Remove the ropes holding the
aeration tubing together.
5. Feed the aeration tubing through
the steel tubes. Until you have 3 ft.
out of the tunnel.
Cotter Pin
Retainer
Pipe Reel
Aeration Tubing
Bungee
Cords
Steel Tubes
Aeration Tubing
Notice: As you are bagging, close
inspection of the unrolling of the aeration
tubing is required. As the tubing unrollsit
tends to pull towards the center of the
core and can restrict unrolling. After 2-3
pushes of the ram, inspect and spin the
real to make sure it is turning freely.

BAG INSTALLATION
10
Ag-Bag® International, Ltd.
01.12.11
CT5
Remember to use only Ag-Bag® bags
they are designed to fit and function
properly. Other brands may fail or cause
product loss.
1. Lower the bag pan.
a. Flip the handles down.
2. Place the bag box behind the
machine.
a. Point the arrows on the side of
the box towards the machine.
3. Open the bag box.
a. Cut the plastic bands.
4. Open the outer lid, the black folded
edge of the bag towards the
tunnel.
5. Lift the top half of the bag and
place it on the bag cradle.
6. Place the bag on the tunnel. Keep
the folds flat.
a. Work the bag onto the tunnel and
place on the bag pan.
b. Push/slide the bag as far back as
possible on the tunnel.
7. Lift the bag pan up. Maintain a 3/4
inch gap between the tunnel and
bag pan lip.
a. Rotate the turnbuckle to adjust
bag pan height. NOTE: Do not
over extend turnbuckle.
8. Install the bungee cord over the
bag.
9. Remove all the ropes that hold the
bag folds together.
Lower the Bag Pan
Bungee Cord
Bag on the tunnel
Table of contents
Other AG-BAG Farm Equipment manuals


