AEEZO Dream 01 User manual

User Manual
Digital Photo Frame
Dream 01
Moments Never Fade

LANGUAGE DIRECTORY
English.......................................................................... 1
Deutsch........................................................................ 14
Français........................................................................ 27
日本語........................................................................... 40
Español......................................................................... 53
Italiano.......................................................................... 66

Table of Contents
Initial Setup.....................................................................
Download the Frameo App on Your Phone...............
Connecting to a Frame.................................................
Sharing Photos/Videos.................................................
Quick Menu.....................................................................
Detailed Settings Menu.................................................
My Frame........................................................................
Manage Photos..............................................................
My Friends.......................................................................
Display ............................................................................
Slideshow........................................................................
Wi-Fi................................................................................
Backup and Restore......................................................
Help & About..................................................................
Warranty & Contact Us.................................................
3
4
5
6
7
8
8
9
10
10
11
11
12
Notifications.................................................................... 11
12
13
AEEZO Frame Overview............................................... 1

1
En
AEEZO Frame Overview
1. Frame Stand
3. Reset Button
2. Power Button
Hold the power button for about 5 seconds to power on
the frame.
When the frame is on, press the power button once to turn
the screen on or off.
Hold the power button for about 2 seconds to get power
off options. To avoid any possible damage to the frame,
please do not unplug the power adapter from the frame while
the device is on.
4. Micro USB Port
The micro USB port is for use with flash storage devices
(USB/thumb drive) for importing and exporting photos. In
order to use this function, you will need an adapter which is
not included with the frame. Note that photos cannot be
displayed directly from a USB drive. Additionally, the frame
cannot be connected to a computer via the micro USB port.
RESET USB Micro SD DC
77
1
1
2
3
4
5
6

2
En
5. microSD Card Slot
microSD cards can be used to import photos to the frame.
Photos can also be exported to a microSD card from the
frame to make a backup or move to a computer, etc. Note
that photos cannot be displayed directly from a microSD
card. Please ensure that your microSD card is using FAT32
or NTFS file system. If not, you can reformat the card to one
of these file systems.
6. DC (Power) Port
7. Speakers
AEEZO Dream 01 Specifications
Screen 9.7-inch Touchscreen
Resolution 2048x15362K IPSFHDdisplay
Wi-Fi 5GHz / 2.4GHz
CPU Quad-core A53 1.8G
GPU Mali-T760 732MHz
RAM 2G DDR3
Storage* 16G
*Storage specifications refer to capacity before formatting. Actual formatted
capacity will be less.

3
Initial Setup
1. Select a language 2. Connect to Wi-Fi
1. Plug in the power adapter included in the box to turn on the
frame.
2. You may need to wait for up to 15 seconds as the Frameo
system is loading.
3. Follow the prompts to set up the frame. You can use the
touchscreen to navigate through the setup menus.
1) First start by selecting a language. This will be used as
the system language and in all menus.
2) Connect your frame to the internet by selecting a Wi-Fi
network and entering the password.
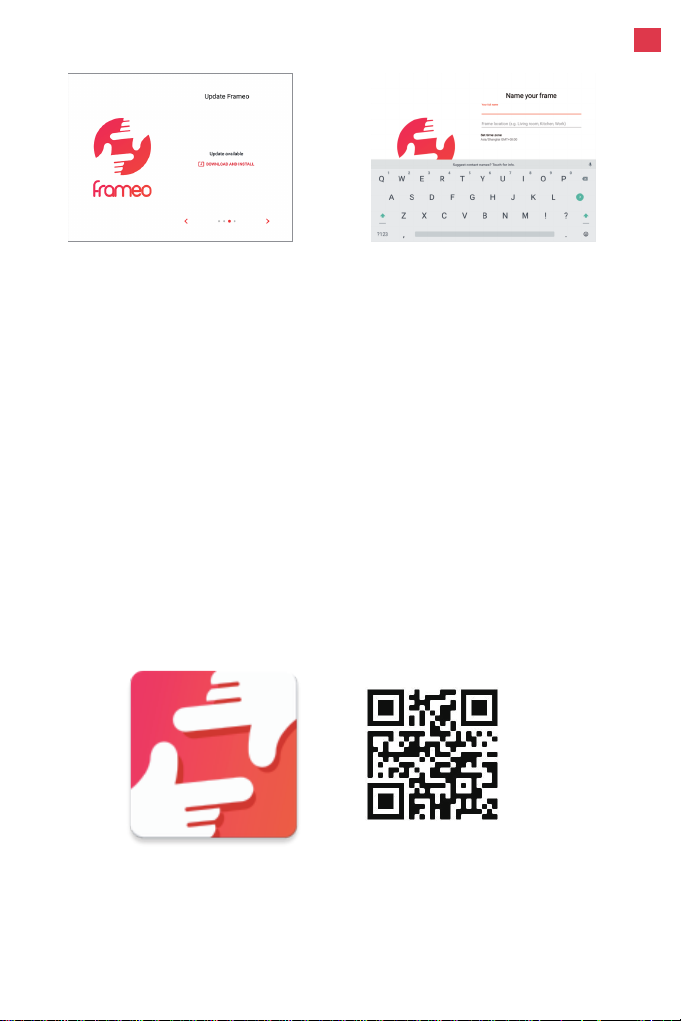
3) If a newer version of the Frameo software is available,
then you will be prompted with an update dialog. It is
recommended that you update your frame immediately if
prompted.
4) Enter your name and the location where you will place
the frame (e.g. “John Smith” and “Living room,” “Kitchen,”
or “Office.”) Finally, set the time zone.
En
Your frame is now online. You can proceed to link your
frame to mobile devices and start sharing photos and videos.
To share your special moments with AEEZO digital photo
frames from anywhere in the world, start by downloading the
free app Frameo on your mobile device.
Search “Frameo” in the App Store (iOS) or on Google Play
(Android) to download Frameo, or scan the QR code below.
4
Download the Frameo App on Your Phone
3. Update to the latest version 4. Enter your name
Follow the prompts in the app to set up your profile, including
your name and profile picture.
En

1. Tap the add friend icon on your frame. A box will
appear with a unique code which is valid for 12 hours.
2. Now go to the Frameo app on your phone and click the
add friend icon in the top right corner, then enter the
code from the frame. Your mobile app is now connected
to the frame.
3. Share the frame code with your friends or family. They
can add the frame and start sharing photos to the frame.
There is no limit to the number of mobile users that can
connect to the frame.
In order to send pictures to an AEEZO frame, you need to
connect to the frame using the Frameo App. Follow the steps
below to connect.
5
Download the Frameo
app on your phone Share the code
Enter the code in
the Frameo app
You can now send photos
from your phone to the frame
Click the add friend
icon on your frame
Connecting to a Frame
En

Once you have connected to a frame on the mobile app,
you can select photos and videos to share to the frame. If
sharing from your gallery, you can send up to 10 photos at a
time or send one short video (up to 15 seconds). You can also
take photos or video directly in the app.
6
Sharing Photos & Videos from
Frameo to an AEEZO Frame
En
The Frameo app
Write a caption to send
with the image
Choose one or more
recipients
Take a photo or video or select
one or more from your albums
7
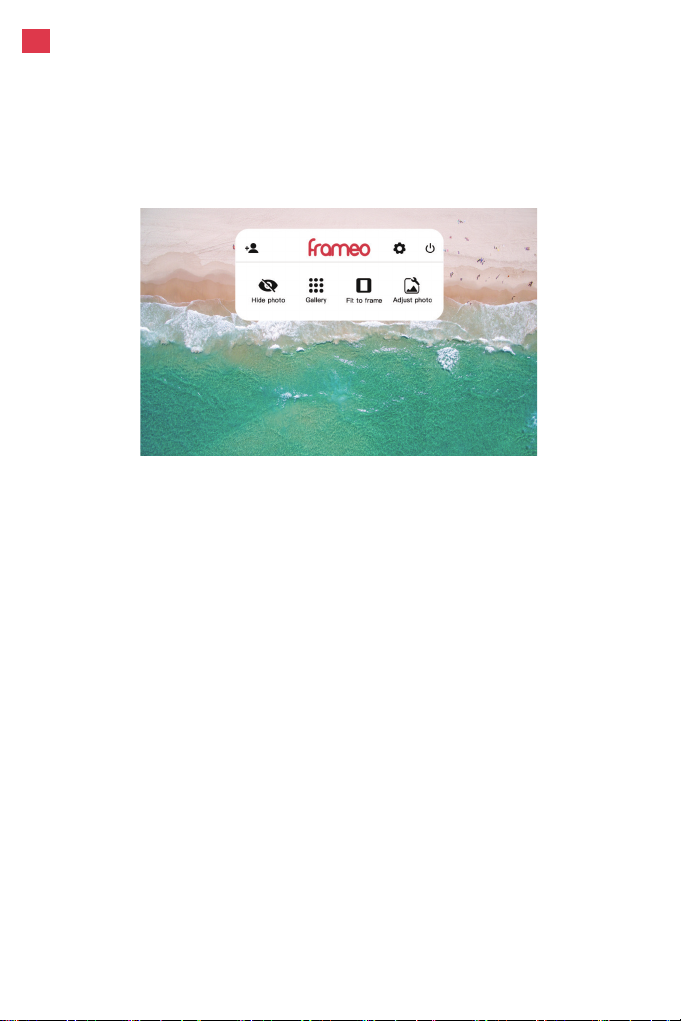
Gallery
View all photos stored in the frame.
Settings
Enter the detailed settings menu.
Hide photo
Tap this to make the current photo no longer appear in the
slideshow. The photo will not be deleted.
Fit to frame
The photo will be fully displayed on the frame in either orienta-
tion. Extra background space will be blurred out. This only
applies to the current photo.
Fill frame
The photo will be cropped to fully fill the screen in either
orientation. (Note: you can set the default display mode for all
photos in Settings - Slideshow)
Adjust photo
Adjust which part of the photo is displayed while using fill
frame mode.
En
Quick Menu
Simply tap the screen once, and the quick menu will
appear. You can use this menu to adjust/hide the current photo
and to access the gallery or other settings.
Table of contents
Other AEEZO Digital Photo Frame manuals


