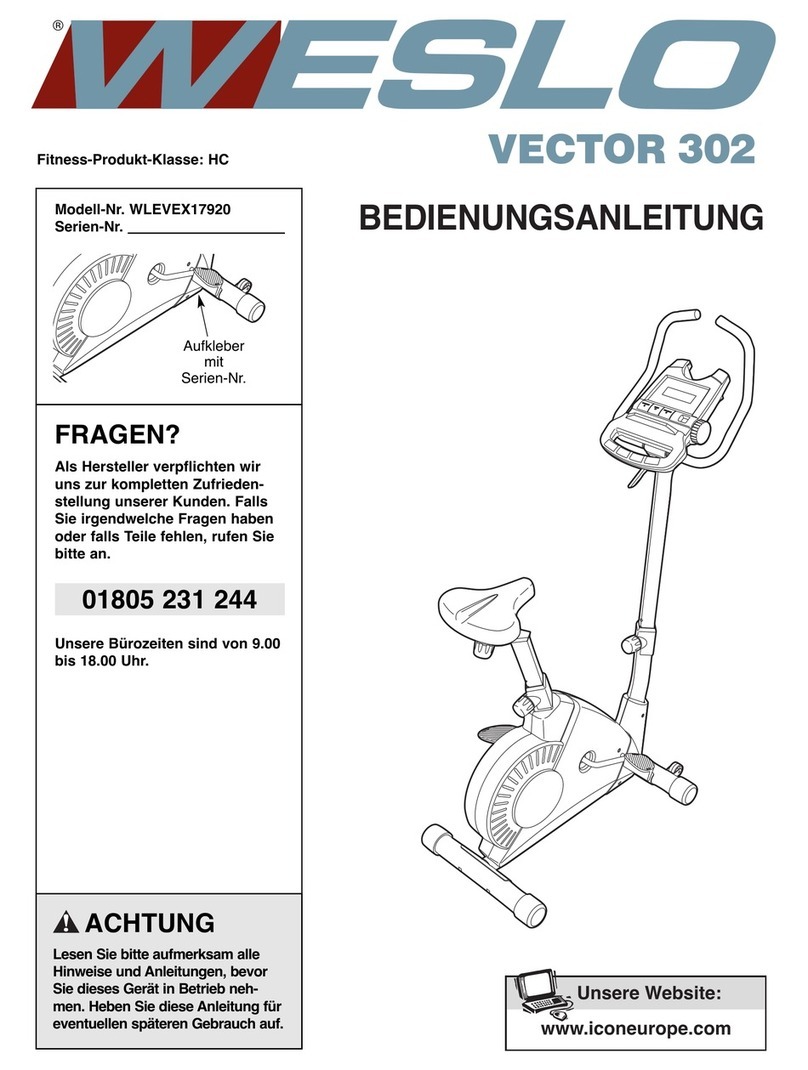
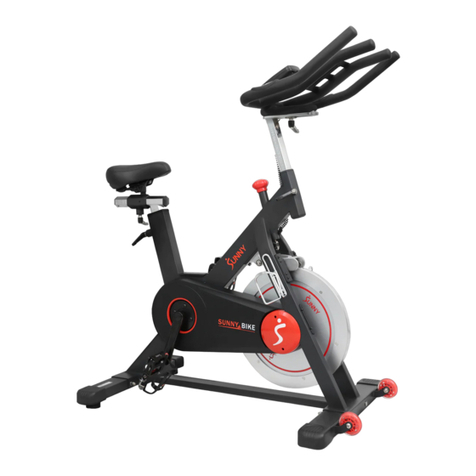
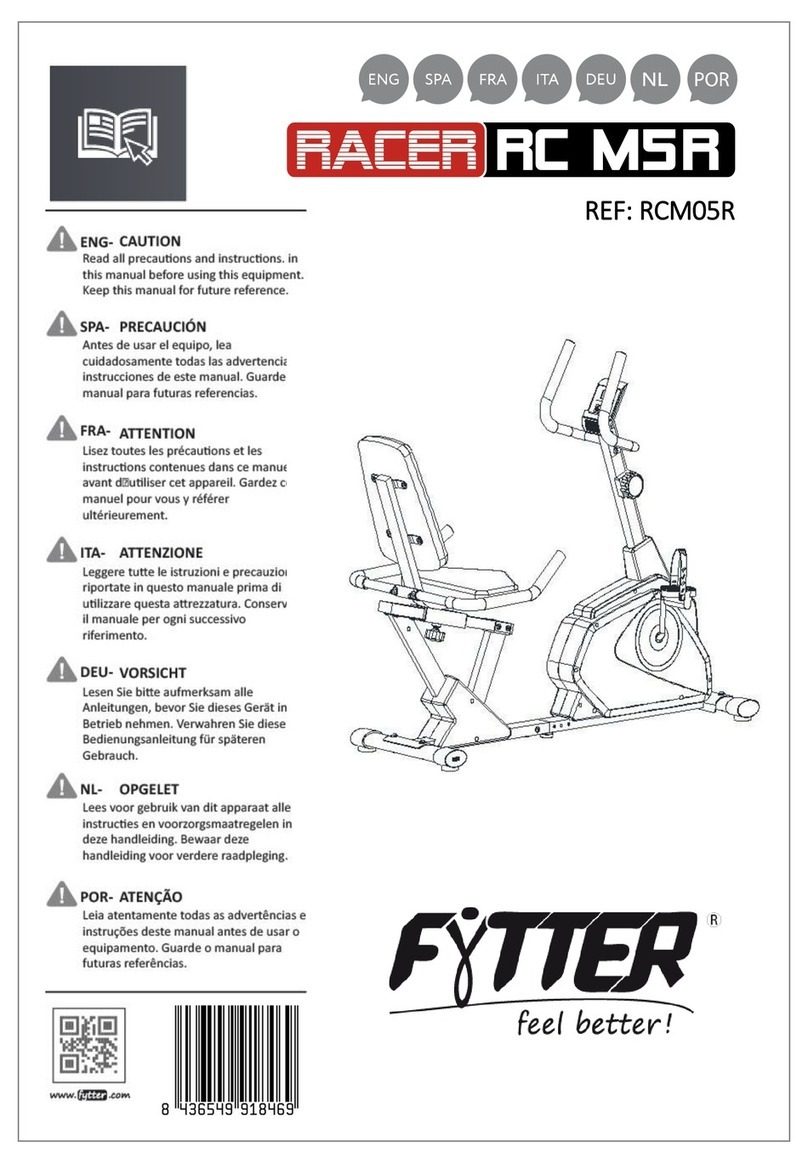
Achieve F000017 User manual

BFE Service Centre: 07 3272 7010 www.bfe.net.au
MODEL: F000017
OWNER’S MANUAL

BFE Service Centre: 07 3272 7010 www.bfe.net.au
Table of Contents
Exploded View ______________________
Part List ___________________________
Important Safety Information _____________
Before You Start _____________________
Assembly Instruction ___________________
Console___________________________
Warranty / Service ___________________
Page
3
4
5
6
7
11
12
4

BFE Service Centre: 07 3272 7010 www.bfe.net.au
Exploded View
2

BFE Service Centre: 07 3272 7010 www.bfe.net.au
Part List
ITEM Q’TY PART NAME ITEM Q’TY PART NAME
l with StrapadeP thgiR 1 13 emarF 1 1
tleB-V 1 23 ebuT elosnoC 1 2
)revliS( rehsaW mm91x01M 2 33 tsoP taeS 1 3
lennahC tnemtsujdA 2 43 ebuT tooF tnorF 1 4
tuN paC mm62x"8/3 2 53 ebuT tooF raeR 1 A4
rosneS htiW eriW rosneS 1 63 bonK gnikcoL 1 5
6 1 Crank with Pulley Assembly 37 2 TP M3x8mm Screw
eriW noisnetxE 1 83 ekarB gaM 1 7
8 1 Tension Knob Assembly 39 1 Tension Cable Bracket
wercS mm51x5M PT 1 04 daP taeS 1 9
eveelS rabeldnaH 2 14 rabeldnaH tnorF 1 01
11 1 Bottom Left Housing 42 4 M8 Acorn Nut
12 1 Bottom Right Housing 43 2 Round End Cap
gulP llaB mm2.22ψ 2 44 paC tooF tnorF 2 31
)revliS( rehsaW mm91x8M 3 54 rotinoM 1 41
)revliS( tunkcoL mm8 3 64 paC tooF raeR 2 51
16 4 M8x60mm Carriage Bolt 47 1 Seat Post Round Bushing
17 1 φ38*φ24*1.5t Large Washer 48 6 M8x15mm Hex Head Screw
rehsaW devruC mm81x8M 6 94 tengaM 1 81
19 1 8x12.5x14. 5L Spacer 50 2 Bearing Cup
gniraeB 2 15 mm04x6 tlobeyE 3 02
21 4 M6 Hex Nut (Silver) 52 1 Slotted Bearing Nut
tuN gniraeB dehctoN 1 35 gnirpS 1 22
rehsaW knarC 1 45 yelluP reldI 1 32
24 1 M8x20mm Screw (Silver) 55 2 Crank Nut
25 1 M8 Sliver Locknut (Thick) 56 4 TP M4x16mm Screw
26 1 M8 Sliver Locknut (Thin) 57 3 TP M4x30mm Screw (Silver)
27 5 M8x19mm Washer (Silver)
28 1 Belt Tension Bracket
29 1 M8x35mm Hex Head Screw
l with StrapadeP tfeL 1 03
58 2 M5x10mm Phillips Screw

3

BFE Service Centre: 07 3272 7010 www.bfe.net.au
Important Safety Information
WARNING!
Before using this unit or starting any exercise program, consult your physician. This is
especially important for persons over the age of 35 and/or persons with pre-existing health
problems. The manufacturer or distributor assumes no responsibility for personal injury or
property damage sustained by or through the use of this product.
SAFETY PRECAUTIONS AND TIPS
1. It is the owner's responsibility to ensure that all users of this unit have read the Owner's
Manual and are familiar with warnings and safety precautions.
2. This unit has a user maximum capacity of 100 kg.
3. The unit should only be used on a level surface and is intended for indoor use only. The
unit should not be placed in a garage, patio, or near water and should never be used
while you are wet. We recommend a mat be placed under the unit to protect floor or
carpet and for easier cleaning.
4. Wear comfortable, good-quality walking or running shoes and appropriate clothing. Do
not use the unit with bare feet, sandals, socks or stockings.
5. Always examine your unit before using to ensure all parts are in working order.
6. Allow the unit to fully stop before dismounting.
7. Pets should never be allowed near the unit.
8. Do not leave children unsupervised near or on the unit.
9. Never operate the unit where oxygen is being administered, or where aerosol products
are being used.
10. Never insert any object or body parts into any opening.
11. For safety and to prevent damage to your unit, no more than one person should use the
unit at a time.
12. Service to your unit should only be performed by an authorized service representative,
unless authorized and/or instructed by the manufacturer.
13. Failure to follow these instructions will void the unit warranty.
5

BFE Service Centre: 07 3272 7010 www.bfe.net.au
Before You Start
Thank you for purchasing this new Achieve Mag Bike! This quality product you have chosen was
designed to meet your needs for cardiovascular exercise. Before you start, please read the
Owner's Manual and become familiar with the operation of your new unit.
Remember to take the time to perform the stretching exercises provided to avoid injury.
If you are taking medication, consult your physician to see if the medication will affect your
exercise heart rate. If you have heart problems, you are not active, and/or are over the age of
35 years, do not use the pre-set programs or start an exercise program without first contacting
and receiving approval from your physician.
To avoid the risk of electrical shock, always keep the console dry. Do not spill liquids on the
console. We recommend a sealed water bottle for beverages consumed while using the unit
Please review the following drawing below to familiarize yourself with the listed parts.
6
LOCKING KNOB
HANDLEBAR

BFE Service Centre: 07 3272 7010 www.bfe.net.au
Assembly Instruction
1. Attach Foot Tubes (4 & 4A) to Main Frame (1) using :
Qty 4 –(16) Carriage Bolt
Qty 4 –(27) Washer
Qty 4 –(42) Acron Nut
Make sure that the Foot Tube (4 &4A) with Front Foot Caps (13)
2. Attach Seat Pad (9) to the Seat Post (3) with the Locknuts (46) and Washers (45) already
provided on the underside of Seat .
REMOVE ALL SECURITY TAPE AND WRAPPING BEFORE BEGINNING
7

BFE Service Centre: 07 3272 7010 www.bfe.net.au
Assembly Instruction
3. Turn Locking Knob (5) counterclockwise to
loosen and slide the Seat Post (3) into Main Frame
(1), then secure the Locking Knob(5) into the hole
of Seat Post for proper seat height.
* IMPORTANT
Locking Knob (5) must be to locked clockwise
tightly into hole in Seat Post (3) before you sit on
the seat.
4. Thread the Right Pedal (31) into the hole of
Right side of Crank (6). Secure in place by turning
it clockwise to tighten.
Note: Right Pedal (31) is marked with an “R”.
Thread the Left Pedal (30) into the hole of Left side
of Crank (6). Secure in place byturning it counter-
clockwise to tighten.
Note: Left Pedal (30) is marked with an “L”
8

Assembly Instruction
5. Connect the Extension Wire (38) in the console
tube to the Sensor Wire (36) in the main frame.
Connect the Tension control wire (8) in the console
tube into the slot of the Tension Cable Bracket (39).
Then slide the Console Tube (2) onto the Main
Frame Assembly and secure the Console Tube (2)
to the main frame.
Secure the Console Tube (2) to the main frame using:
Qty 4-(48) Hex Head Screw
Qty 4-(49) Washer
6. Secure the Front Handlebar (10) to the Console
Tube (2) using :
Qty 2-(48) Hex Head Screw
Qty 2-(49) Washer
BFE Service Centre: 07 3272 7010 www.bfe.net.au
9

7. Insert the batteries into the back of the Monitor (14)
8. Connect the Extension Wire (38) to the wire out from Monitor (14). Insert the Monitor (14)
into the top area of Console Tube( 2) directly and secure with the screws (58).
Note: The two Screws (58) are installed under the
console.
Assembly Instruction
BFE Service Centre: 07 3272 7010 www.bfe.net.au
10
Table of contents
Other Achieve Exercise Bike manuals